
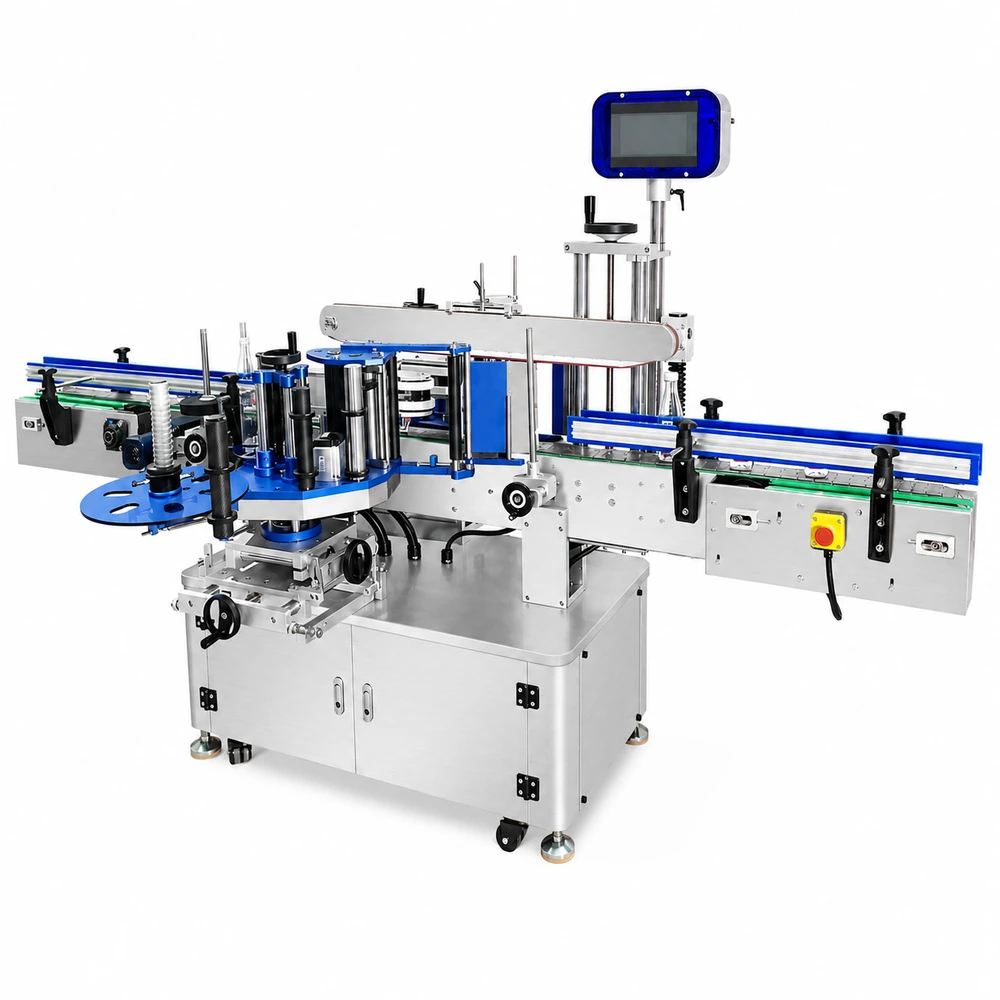
Labeling Machine Troubleshooting: Wrinkles, Bubbles, Skewing and Missing Labels
This guide covers pressure-sensitive bottle labeling, including wraparound and front-and-back applications. It helps you decide what to inspect, what evidence to keep, and when to discuss a different machine configuration. It does not replace the operating manual for your equipment. Glue application and shrink-tunnel faults need a different procedure; see our hot melt and pressure-sensitive labeling comparison if you are unsure which process you use.
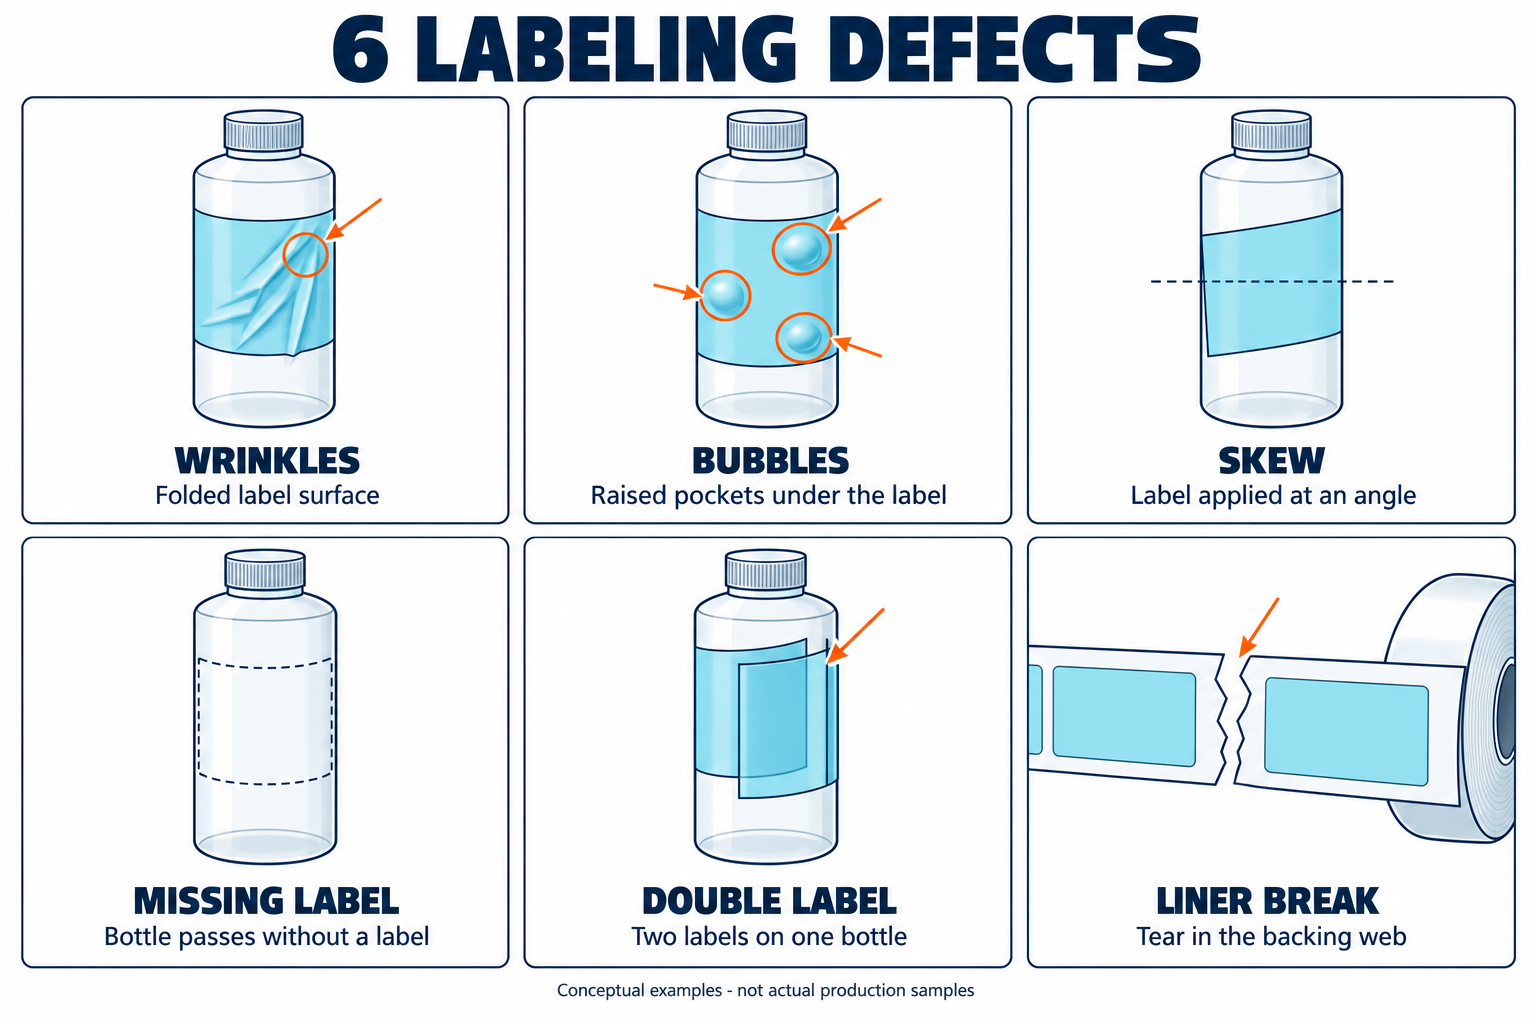
Quick checks by labeling defect
Start with an actual rejected bottle, not just the alarm description. Use this table to choose your first inspection, then follow the relevant section below.
| What you see | First inspection | Evidence to keep |
|---|---|---|
| Wrinkles or folds | Bottle shape, movement and wipe contact | Photos showing where the crease begins |
| Bubbles or lifting edges | Surface condition and label construction | A sample at line exit and after storage |
| Crooked or spiraling labels | Whether skew begins at the peel plate or on the bottle | Leading edge and final seam position |
| Missing labels | Product trigger, label feed and label transfer separately | The rejected bottle and adjacent bottles |
| Two labels dispensed | Label-gap detection and the actual roll | Label-and-liner section from the fault |
| Liner tearing | Where damage starts along the web path | The break, nearby liner and roll batch |
The distinction between product handling, label feeding, sensing and adhesion is also used in LANCING’s troubleshooting guide. It is a useful diagnostic boundary, not proof that a particular component has failed.
Before changing settings: make the check repeatable
Work safely. Cleaning, rethreading, unjamming and physical adjustments near moving parts must follow your site’s energy-isolation procedure and the equipment manual. An emergency stop is not an energy-isolation device. Only trained, authorized personnel should service the machine. Running tests require the approved guarded operating procedure; never bypass an interlock or reach into a moving labeler. See OSHA’s hazardous-energy guidance as a safety reference, alongside local requirements.
Before an authorized adjustment, save the current recipe and record what changed: bottle batch, fill condition, label supplier, roll construction, speed, cleaning method or shift setup. “The same artwork” does not establish that the label material and liner are unchanged.
For each test, write down the original setting, the single change made, the number of bottles checked, and the number and type of defects. Keep a good sample beside the failed sample. Do not treat one acceptable bottle as a confirmed repair.
A useful fault record is: product and roll batch → operating condition → first abnormal event → sample result. If the result cannot be reproduced, describe it as an observation rather than a solved root cause.
Why are labels wrinkling during application?
Watch where the crease starts during an approved test. Does the leading edge land smoothly, with the fold appearing later? Or does the label arrive at an angle before wrapping begins? Keep those two observations separate.
For an isolated machine inspection, check the dispensing plate alignment, the bottle’s labeling surface and the wrap or back-pressure contact. Excessive pressure is not a universal cure. Pack Leader’s PL-501 wrinkle guidance identifies early dispensing, inconsistent label gaps, bottle surface variation and an overly tight back-pressure plate as different possibilities. Its adjustment directions are specific to that model.
With a tapered or flexible bottle, ask whether the label shape and the support arrangement suit the container. Retain both an empty and a normally filled bottle if their shapes differ. A setup demonstrated on a rigid sample does not establish performance on your production package.
As a separate material check, ask the label supplier to apply the same label to the same bottle under its recommended conditions. If that sample also wrinkles, investigate the bottle-label combination before ordering machine parts. If it looks good, the machine application still needs its own test.
Why do bubbles or lifting edges appear?
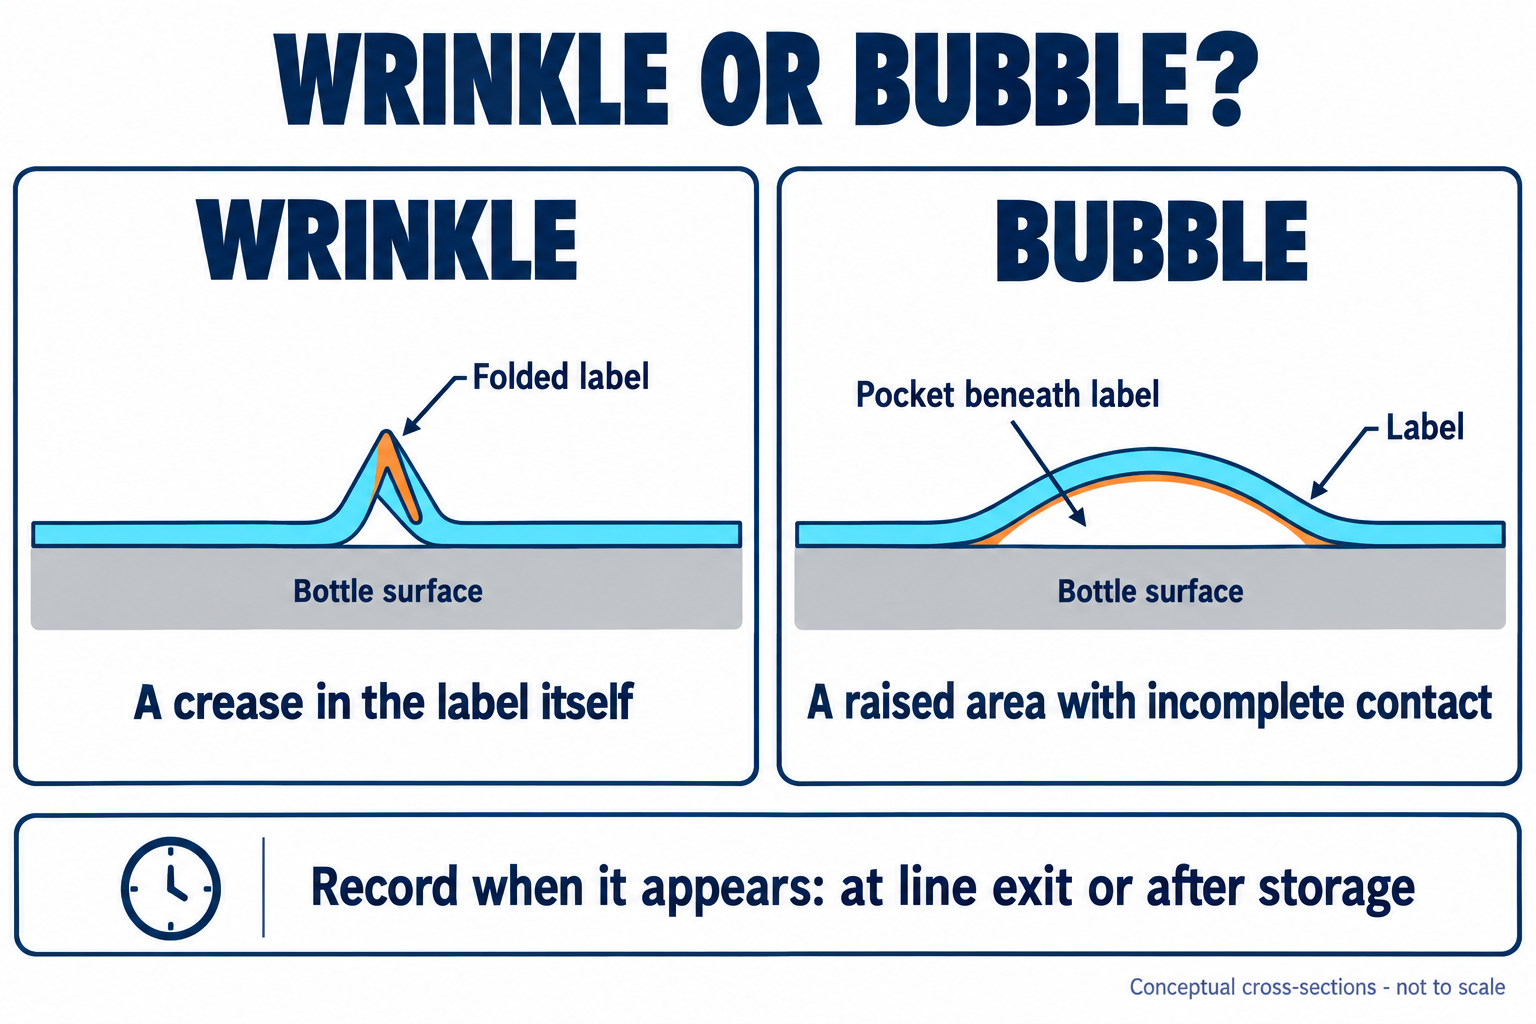
Separate immediate bubbles from delayed changes
Photograph the label at the machine exit and again after the normal holding or storage period. Include the bottle temperature, whether condensation was present, and where the bubbles formed. This gives the machine supplier and label converter a common starting point.
Immediate bubbles call for checks of application contact, container surface and label fit. Avery’s bubbling-label guidance includes surface defects, coatings and label size among its possible causes. Do not assume a new labeler will correct an unsuitable bottle-label combination.
Delayed bubbling can require a materials investigation. Avery Dennison’s Wine Handbook explains how moisture absorption can produce bubbles in uncoated paper where adhesion is incomplete. That is a material-specific explanation, not a diagnosis for every film or bottle.
Check the application conditions, not just pressure
Confirm the adhesive’s intended surface, application-temperature range and storage conditions with the label supplier. HERMA’s adhesive guidance treats the application, surface finish and environment as selection factors.
For ordinary dry-surface applications, check for oil, product residue, dust and moisture. If your process must label cold or wet containers, specify that requirement instead of assuming a dry-bottle setup will work. Avery Dennison documents special material selection for condensed surfaces. Its medical-container examples should not be copied as universal beverage-line settings.
Why are labels crooked or spiraling around the bottle?
First distinguish a repeatable offset from changing placement. Measure against a defined reference, such as the bottle base or an agreed molded feature. Comparing only with nearby artwork can hide the real direction of error.
During the approved test, observe the label at the peel edge, first contact and final wrap. A label that starts straight but finishes skewed directs attention toward bottle movement, wrap contact and package geometry. A label already leaving at an angle directs attention toward the web path and applicator alignment. Check for bottle leaning, slipping, uncontrolled rotation and label-web drift before repeatedly changing the timing offset.
Quadrel describes these interacting causes in its automatic labeling problem guide. Conveyor motion and label dispensing need coordinated setup; this does not mean setting every motor to the same displayed number.
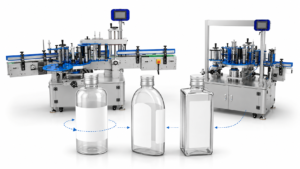
For round bottles, discuss the required wrap and orientation with a supplier of round-bottle labeling equipment. For shaped bottles needing front and back labels, review the bottle control provided by a multifunction labeling configuration.
Why does the machine miss labels or feed two at once?
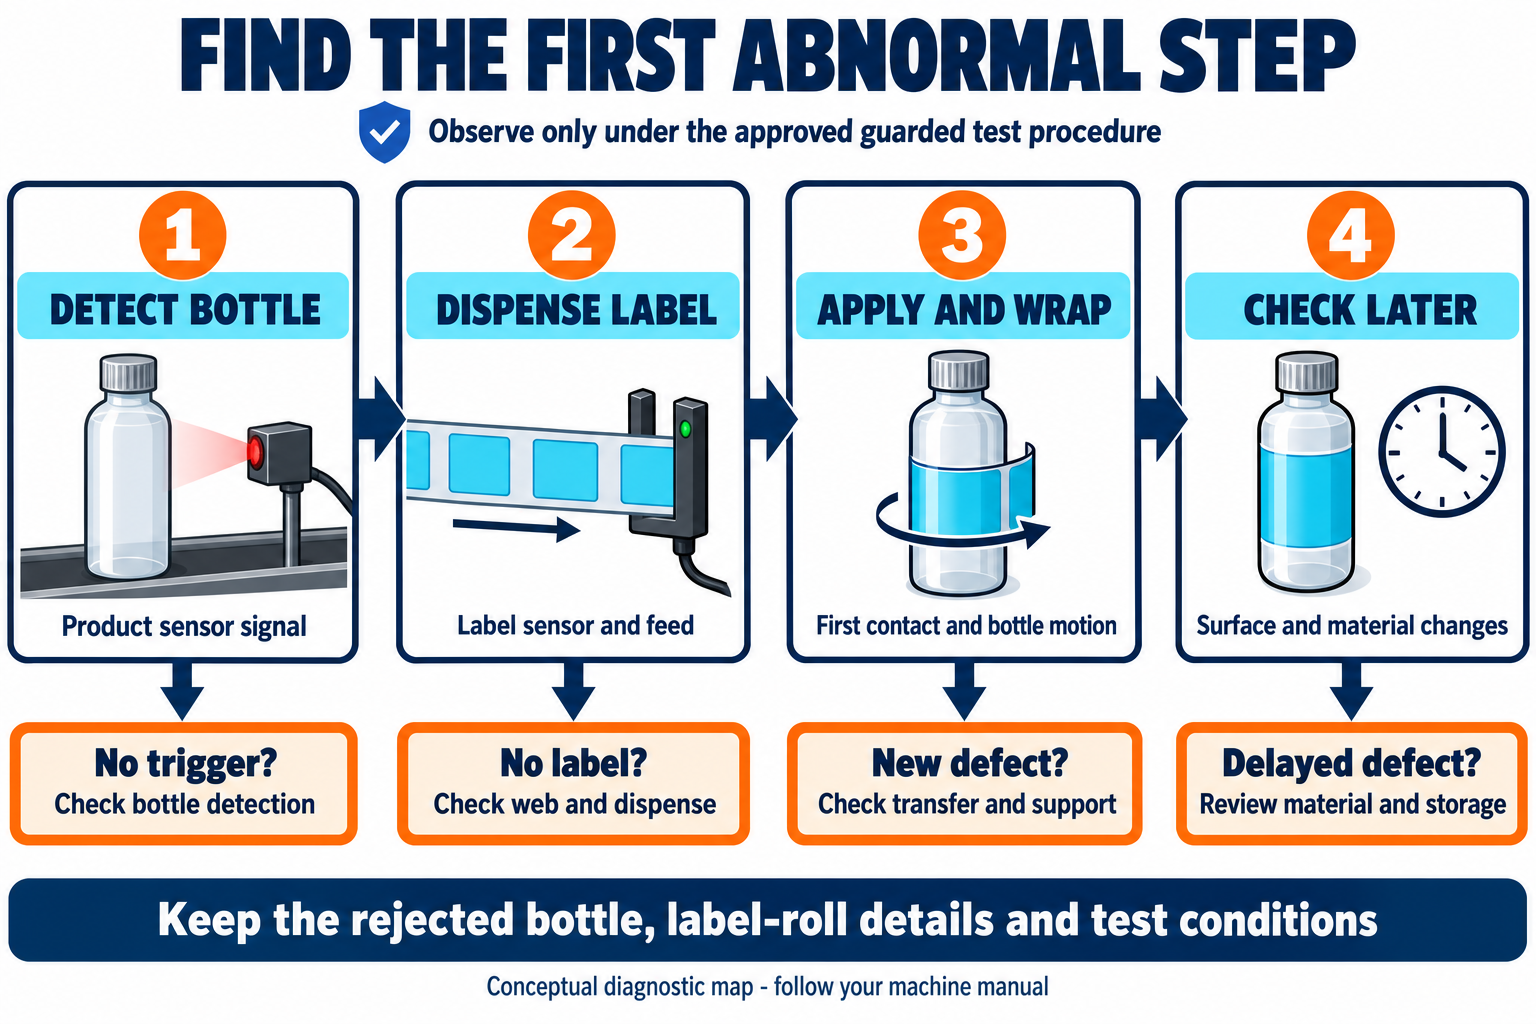
Check two different sensors
The product detection sensor tells the system that a bottle has arrived. The label sensor identifies the label or gap on the moving liner. One working signal does not prove that the other is correct. Pack Leader’s PL-521 setup transcript covers these as separate setup steps.
- No product trigger: have the technician inspect the product sensor indication and the actual bottle presentation.
- Trigger present, no label movement: record the label-feed permission, machine status and any alarm for the equipment supplier.
- Web moves, but no label reaches the bottle: locate the label. Is it still on the liner, dropped nearby, or attached to another bottle?
- More than one label advances: inspect label-gap detection using the finished production roll and the model-specific setup procedure.
Clear labels need a compatible detection method
Do not confuse a clear-label problem with a clear-bottle problem: they occur at different sensors. Confirm the exact installed sensor model before ordering a replacement.
For example, Lion Precision lists both its LRD2100 capacitive sensor and LRD8200 ultrasonic sensor for clear labels. The LRD2100 documentation also identifies metallic inks and hot stamps as a limitation. “Suitable for clear labels” therefore does not settle compatibility with every decorated label roll. Have the sensor supplier validate the complete label-and-liner construction and the required operating speed.
If the fault appears only at higher speed
Retain samples from both operating conditions and record actual throughput, spacing and the point where failure begins. Check the rejected bottle and its neighbors before describing the event as a simple miss. This question also appears in a public operator discussion about high-speed missing labels; it is an anecdote, not a confirmed repair or a performance benchmark.
A slower test can help locate the boundary. It does not prove the line meets the required output, and it should not become the permanent solution without an explicit production decision.
What should you check after a roll change or liner break?
For a fault that begins with a replacement roll, compare the old and new roll specifications before altering the entire recipe. Request the converter’s identification for the facestock, adhesive, liner and production batch.
- Confirm roll winding direction and the correct threading route against the machine documentation.
- Compare label dimensions, gaps and any metallic decoration or special coating.
- Inspect for damaged roll edges, uneven winding, splices and cuts in the liner beneath removed labels.
- Record where the liner first becomes damaged, not only where it finally separates.
- Have the technician inspect backing paper tension, take-up behavior, guide alignment and roller condition within the manufacturer’s procedure.
Keep a section of the failed material for both suppliers. Do not grind a peel plate, increase tension without a limit, or substitute a different web path to keep running. A controlled comparison with a known-good roll is more useful than losing the original evidence through multiple adjustments.
Repair the existing labeler or consider a different configuration?
A fault does not automatically justify buying a machine. First ask whether the existing equipment can meet your approved bottle and label requirements after a documented correction.
| Situation | Practical next step |
|---|---|
| A previously stable format fails after a material change | Compare materials and restore the documented setup before considering replacement. |
| The new package needs different support or orientation | Ask whether an approved change part or alternative handling arrangement is feasible. |
| The required output cannot be demonstrated with production samples | Request a configuration trial with agreed quality and speed conditions. |
| Infeed or downstream interruptions disrupt application | Review line spacing and control interfaces as part of the project. |
Before accepting a proposal, agree on the bottles, fill condition, label rolls, inspection reference and placement tolerance. Include startup, restart and roll-change checks in the test plan. Request recorded results rather than a short demonstration on a substitute package.
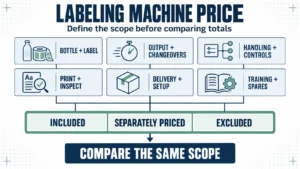
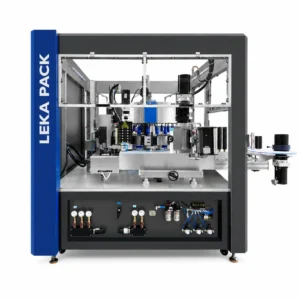
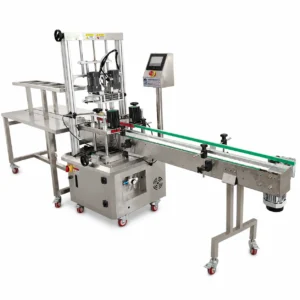
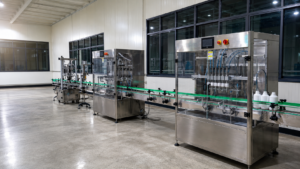
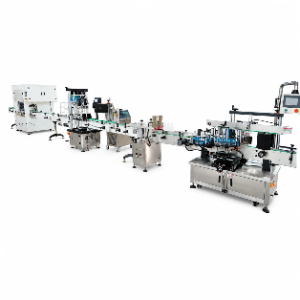
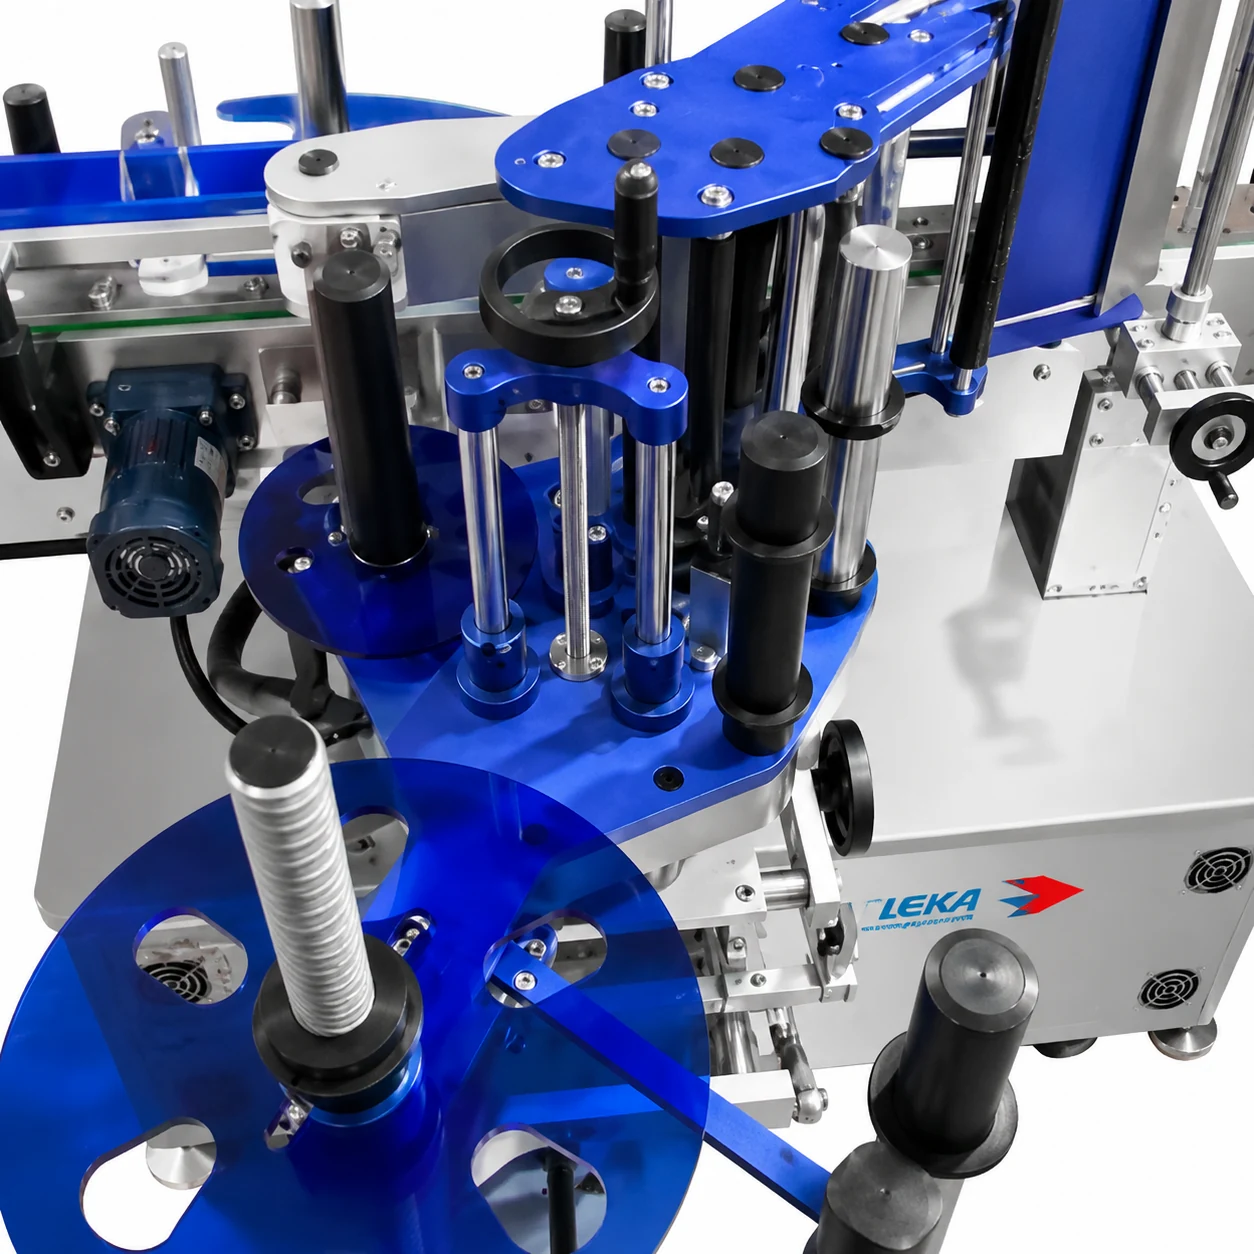
When a different configuration is justified, compare the scope of LEKA labeling equipment and review the factors behind labeling machine prices. Compare bottle handling, detection, changeover and line integration alongside the quoted machine price.
Send the bottle and label details before choosing equipment
Planning a new labeler or a packaging-line upgrade? Send LEKA the following information so we can discuss a suitable labeling arrangement:
- Bottle photos, dimensions, material and normal fill condition.
- Label size, shape, material, liner, roll direction and roll specifications.
- Photos of acceptable and failed labels, plus a safely recorded application video if available.
- Current machine model, required output, and when the problem occurs.
- Available layout, conveyor height, upstream/downstream equipment and local power supply.
Start with the defect photos and bottle details if the full specification is not yet available. Existing-machine repairs should remain with authorized service personnel; the project review will focus on your application and equipment requirements.
Label applicator troubleshooting questions
Should I increase pressure when a label wrinkles?
Not automatically. Establish where the fold starts and check the bottle surface, application contact and current setup. Record the original setting, and use only the adjustment method permitted for your machine.
Can a clear-label sensor also fix clear-bottle detection?
Not by itself. The label sensor reads the roll; the product sensor detects the container. Identify which signal is unreliable and validate that sensor with the actual material.
Why does a new roll cause trouble with unchanged artwork?
Artwork does not define the entire construction. Ask for the facestock, adhesive, liner, gap and batch information, then compare those details with the previously successful roll.
What information helps a supplier respond usefully?
Send a clear defect photo, the machine model, bottle and roll details, actual operating speed and the event that precedes the failure. State what you changed and what happened. That is more useful than reporting only that the labeler “does not work.”