
How to Measure Bottle Cap Torque for Repeatable Results
Two operators test bottles from the same production lot, yet their cap-torque readings do not match. One suspects the capping machine. The other blames the tester. Before either person changes a machine setting, they need to answer a simpler question: did they measure the same opening event in the same way?
If one operator pulls sideways, allows the bottle to move, or records a tamper-evident bridge peak while the other records first movement, the numbers are not directly comparable. The capper may be stable while the measurement method is not.
Quick answer: To understand how to measure bottle cap torque, first define the opening event. Then control the sample condition and timing, check the tester, center and secure the bottle, use a consistent opening motion, and reject any reading affected by bottle movement, deformation, a slipping hand or cap-gripping fixture, or the wrong peak. Review the capper only after valid tests show a repeatable pattern.
Decide Which Torque Event You Are Measuring
An opening test answers a different question from a capping-machine setting. Application torque and removal torque are related, but they are not interchangeable.
Application torque is the torque used to tighten the closure. Removal torque is measured when the applied closure is first loosened or removed under a stated method. Opening a production-capped bottle does not recover the original torque applied by the machine.
ASTM D2063/D2063M-24 covers manual measurement of torque retention for matching container and continuous-thread closure systems. ASTM D7860-14(2022) covers automated testing with a known rotational velocity or torque ramp and is intended for dry torque measurement.[1][2] These standards define methods and scope. They do not provide one acceptable torque range for every package.
| Measurement Event | What It Means | What Must Be Defined | Common Mistake |
|---|---|---|---|
| Application torque | Torque used to tighten the closure | Application method, package specification, and any required axial force | Treating a machine dial or servo parameter as an independent torque measurement |
| Initial closure movement | The specified resistance as the closure starts to rotate | Direction, detection rule, timing, and the closure feature involved | Assuming the first visible bump is always the required result |
| Removal peak | A specified peak during the opening motion | Peak definition, opening method, sample state, and test interval | Using the highest displayed number without confirming the event |
| Tamper-evident bridge break | Resistance associated with breaking tamper-evident bridges or a band | Supplier terminology and whether the event is reported separately | Calling every pair of peaks T1 and T2 without the supplier’s method |
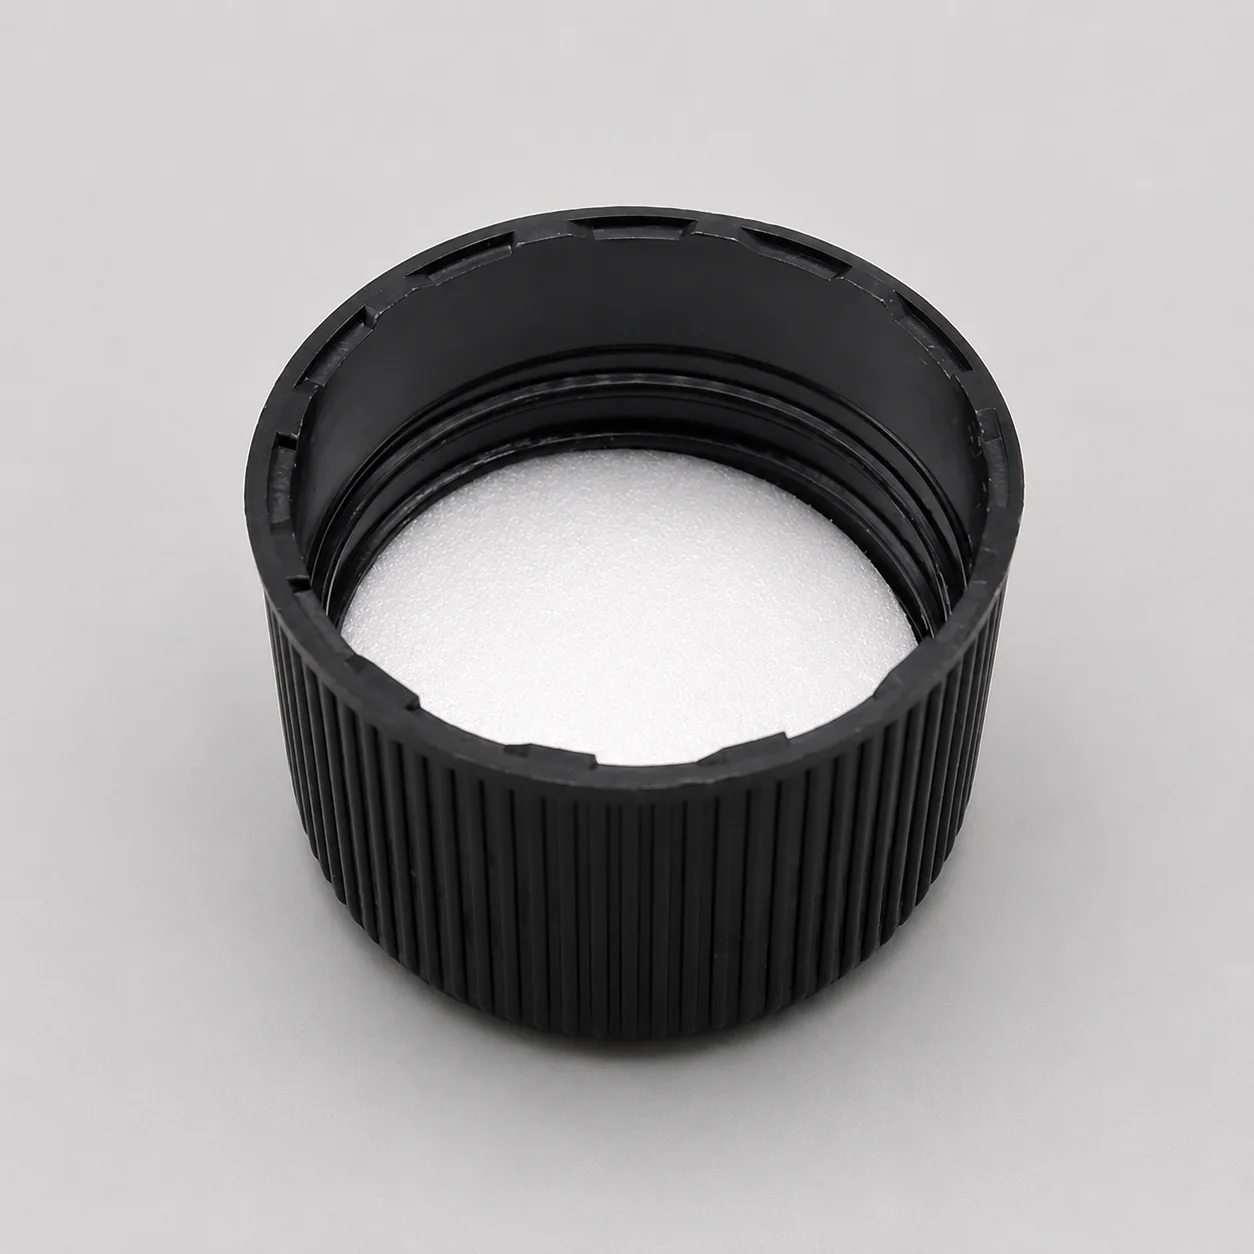
Some tamper-evident closures produce more than one opening event. Mark-10 instruments can capture first and second peaks.[4] Follow the closure supplier’s definitions instead of assuming which physical event either peak represents.
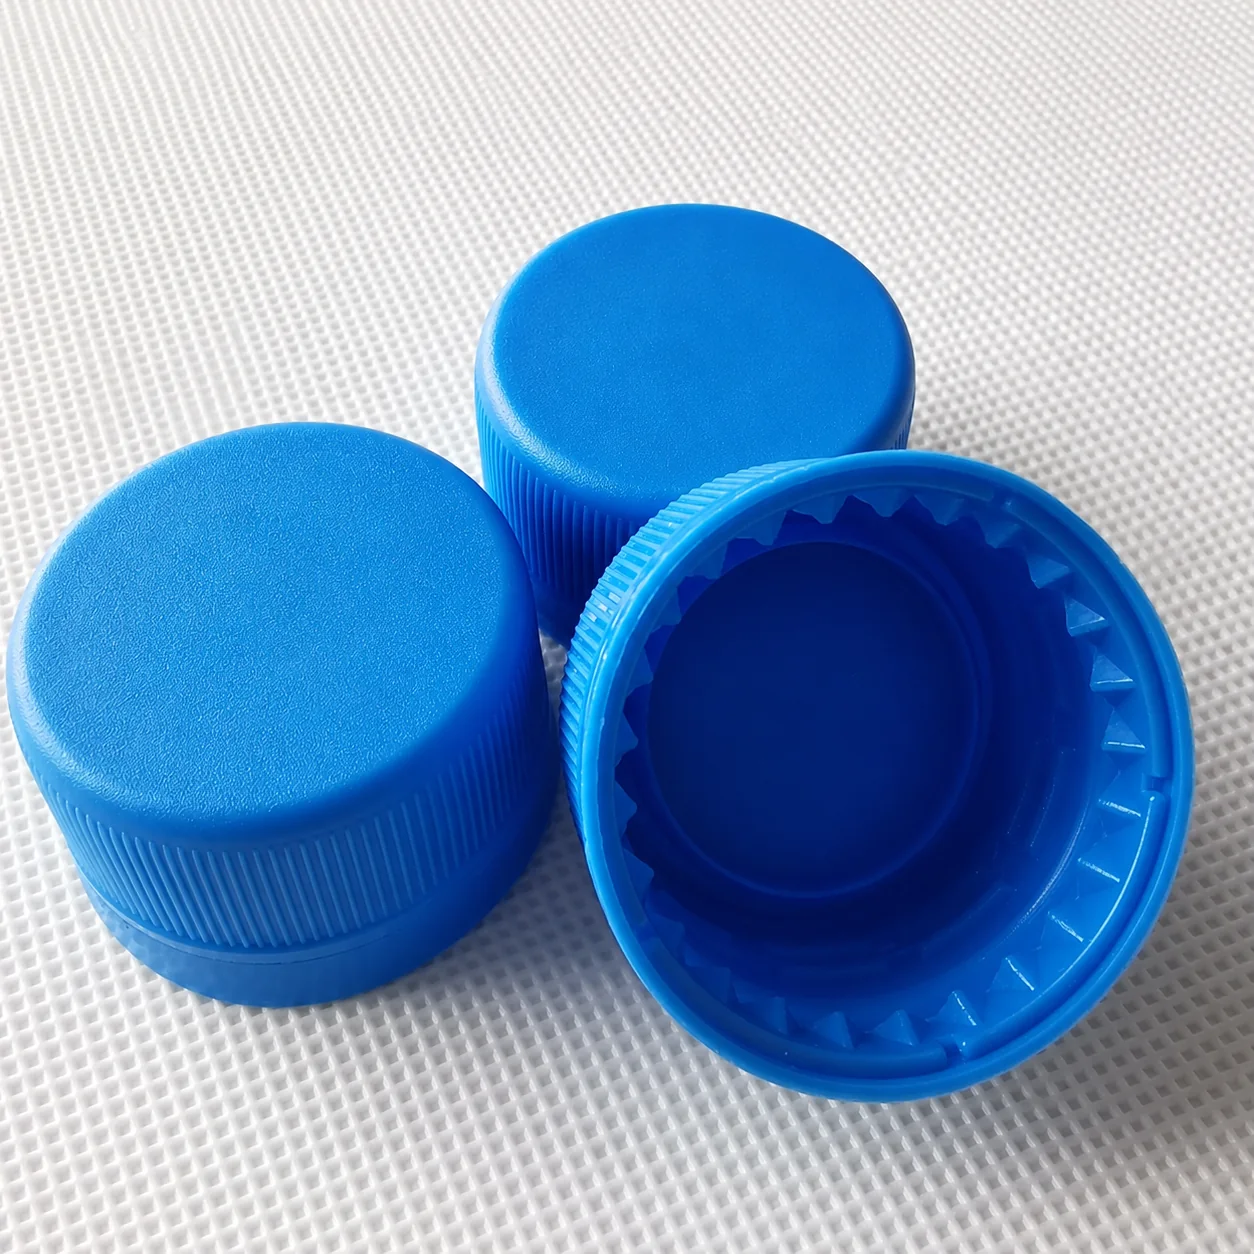
Choose a Manual or Motorized Test Method
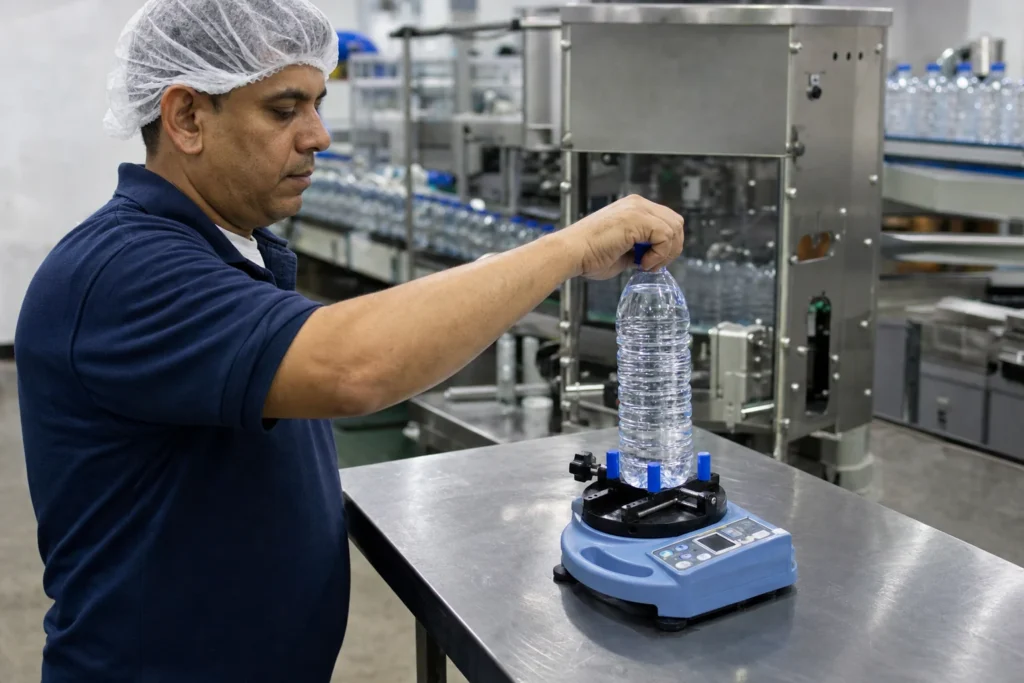
A manual bottle cap torque tester is practical for routine production checks. It is also the easiest place for operator technique to enter the result. Grip, hand speed, side load, and the point at which the operator stops can all change the reading.
A motorized bottle cap torque tester controls the opening motion, removing one important operator variable. It does not remove variation caused by the package, fixture, sensor range, peak-detection rule, or sample history. Mecmesin also describes constant-speed testing in its screw-cap guidance for wine and spirits packaging. That guidance is application-specific, not a universal test standard.[5]
| Test Method | Practical Use | Control First | Important Limitation |
|---|---|---|---|
| Manual digital tester | Routine line checks and basic removal monitoring | Operator grip, alignment, motion, and event definition | Technique can vary between operators |
| Motorized or automated tester | Development comparisons or tests requiring controlled motion | Programmed speed or torque ramp, fixture, and sensor range | The package and program still determine the result |
| Manual and motorized methods used together | Relating shop-floor checks to a controlled method | A comparison study using the actual bottle and closure | The two result sets are not automatically interchangeable |
How to Measure Bottle Cap Removal Torque
The following bottle cap removal torque test procedure keeps the measurement focused on the actual package. It can support either a manual or automated method, provided the test conditions and required event are stated before the first sample is opened.
This checklist does not replace the complete ASTM standard, the closure supplier’s method, or the torque tester instructions. Following it alone does not establish ASTM conformance.
1. Identify the bottle-and-closure combination
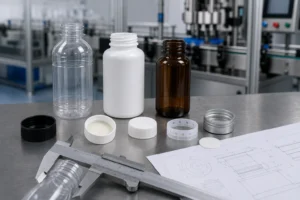
Write down the bottle code and material, neck finish, closure supplier and part number, liner or sealing design, tamper-evident feature, and component lot when available. Similar cap diameter is not enough. A different liner, finish, material, or bridge design can change the way the package opens.
2. Confirm the sample state and test time
Separate dry laboratory packages from filled production bottles. Note whether the finish is wet, oily, or contaminated; whether the bottle was hot filled and cooled; and whether it passed through induction sealing, transport, storage, or top loading.
If you test wet or product-contaminated production samples, use a separately documented factory method. Do not report that check as ASTM D7860 testing, because D7860 is intended for dry torque measurement.
Record the elapsed time from capping to opening. Liner compression, plastic relaxation, top loading, and storage history can affect later removal behavior.[6] Product on the finish or threads can also change a reading; keep contaminated and clean samples separate. Use the closure supplier’s specification or the approved package plan to set test intervals. No single waiting time applies to every package.
3. Check the tester
Confirm the range and unit, check that the reading returns to zero, and verify the instrument’s calibration or documented verification status. ASTM D3474-23 covers calibration and use of torque meters in packaging applications; it does not provide a cap acceptance limit.[3]
4. Center and secure the bottle
Align the neck with the tester axis. The fixture must stop the bottle from rotating without changing its shape. Mark-10 warns that off-center loading can produce an incorrect reading and that excessive gripping can deform thin-walled samples.[4]
Round, square, tall, soft, or offset-neck bottles may need different posts, jaws, or supports. If the container deforms before the cap moves, correct the fixture before evaluating the capping process.
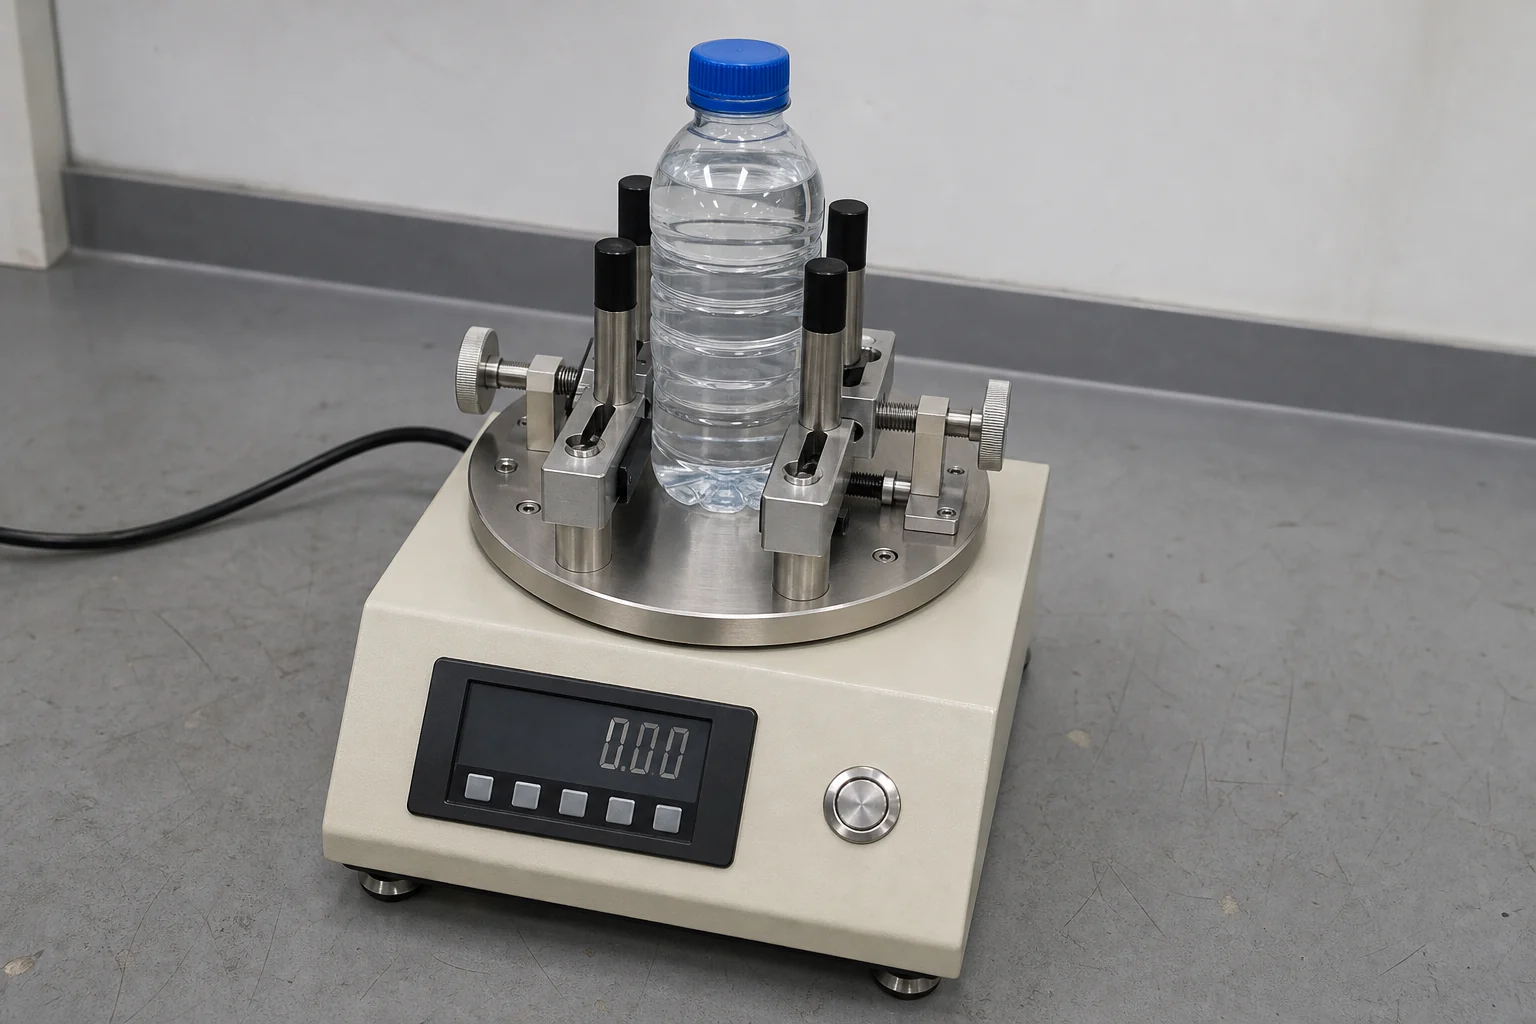
5. Zero the tester and confirm direction
Follow the tester instructions for zeroing after the bottle is secured. Closures with conventional right-hand threads normally open counterclockwise, but confirm the closure design and ensure the tester’s direction setting matches the method.
6. Apply the specified opening motion
For a manual check, turn the cap smoothly and continuously. Avoid a sudden jerk, a pause, a sideways pull, or extra downward force unless the method requires it. For an automated test, run the documented program with the stated rotational velocity or torque ramp and any required axial force.
7. Capture the required event
Read the event chosen before the test. If the specification asks for first movement, the highest number on the screen may be the wrong result. A later peak may belong to a tamper-evident bridge rather than the initial release of the closure.
8. Judge the test before using the number
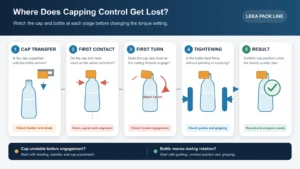
Set the reading aside if the bottle rotates, the fixture shifts, the container deforms, the operator’s hand or cap-gripping fixture slips on the closure, or the wrong event is captured. Correct the test setup and use a new matched sample. One unexplained result is not a sound reason to adjust the capper.
When a Torque Reading Is Not Valid
A torque tester can display a precise number from a poor test. The screen cannot tell you that the bottle moved or that the operator pulled sideways. The person running the check must watch the package as closely as the display.
- The bottle rotates: the fixture did not isolate cap movement from bottle movement.
- The bottle changes shape: fixture pressure or support geometry affected the package.
- The hand or cap-gripping fixture slips: the opening motion did not reach the sensor as intended.
- The fixture moves: the test axis and loading condition changed during opening.
- The wrong peak is recorded: the number does not represent the specified event.
- The operator jerks or pauses: the motion is no longer comparable with the stated method.
If any of these conditions occurs, label the result as abnormal. Keeping it in the normal data set can create a false trend and send the maintenance team toward a machine adjustment that was never needed.
Why Two Bottle Cap Torque Tests Disagree
When readings do not agree, start with the measurement system and work outward. The table below separates test problems from conditions that justify a closer look at the capper.
| Observed Problem | Check First | When to Review the Capper | Invalid Test Signs |
|---|---|---|---|
| The bottle rotates during opening | Fixture contact and bottle support | Only after stable, valid tests still show a shift | Visible bottle movement or fixture slip |
| A flexible bottle changes shape | Clamping pressure and support geometry | After deformation has been removed from the method | Panel collapse, leaning neck, or changing contact points |
| Two operators obtain different distributions | Grip, motion, alignment, and peak definition | After both operators use the same method and the difference remains | Jerking, side load, inconsistent stopping point, or different events |
| Only one closure lot becomes inconsistent | Closure lot, liner, bridges, and package match | After the component lot has been isolated and valid samples confirm a process shift | Mixed or unidentified component lots |
| Wet and dry samples produce different results | Product or liquid on the finish and threads | When comparable production-condition samples show the same pattern | Wet and dry samples combined in one data set |
| Immediate and stored samples disagree | Elapsed time, conditioning, storage, and top load | After matched timing groups show a repeatable change | Unknown or mixed sample histories |
| The first peak is stable but a later peak varies | Which event belongs to closure movement and which belongs to the tamper-evident system | When the required supplier-defined event changes under a valid method | Different peaks reported as though they were the same event |
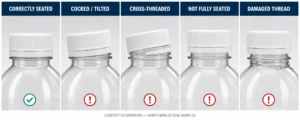
If the line produces loose, overtightened, tilted, or cross-threaded caps, continue with a structured bottle capping problem diagnosis after confirming that the torque readings are valid. Torque is one part of the investigation. Cap placement, bottle gripping, threads, liners, and sealing surfaces may point to a different cause.
What to Include in a Torque-Test Record
A useful bottle cap torque test record lets another trained person understand what happened without asking the original operator to reconstruct the test from memory. Keep the raw reading and the conditions that give it meaning.
| Record Area | Information to Capture | Why It Matters |
|---|---|---|
| Package identity | Bottle code and material, neck finish, closure code, liner or seal, tamper-evident feature, supplier lot | Prevents different component combinations from being mixed |
| Capping process | Hand or machine application, relative machine setting or recipe, line condition, date and time | Connects the result to the process without calling the setting a measured torque value |
| Sample condition | Empty or filled, product, dry or contaminated finish, hot-fill or induction-seal history | Friction and package response can change with condition |
| Timing and environment | Elapsed time after capping, conditioning, storage, transport, or top-load history when relevant | Later removal behavior depends on sample history |
| Measurement system | Tester ID, range, unit, calibration status, fixture, method, operator, or program | Supports traceability and method comparison |
| Measured event | Direction, first movement, removal peak, bridge break, or supplier-defined event | Stops different opening events from entering one result group |
| Result and observations | Raw reading, comparison with the package specification, bottle movement, grip slip, deformation, leakage, or damage | Separates valid data from an abnormal test |
A dry laboratory bottle and a wet production bottle are not equivalent samples. Keep them in separate groups. Apply the same rule to immediate and stored readings, manual and motorized methods, and different opening-event definitions.
How to Relate Valid Test Data to the Capper
A capping machine torque setting records the adjustment or recipe used by the capper; it is not, by itself, a measured application torque. A torque tester tells you how the package behaved during a stated opening method. Treating these as the same value makes troubleshooting harder.
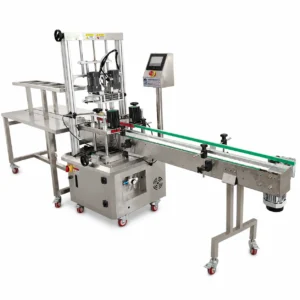
For applicable LEKA capping projects, an optional 10-position mechanical scale can be specified; it is not part of the default configuration. It provides a relative reference for adjusting the capping wheels, not a calibrated N·m measurement. Depending on the servo configuration, LEKA capping systems use load parameters to build working recipes. Those parameters can support repeatable setup, but they are not an independent closure-torque measurement. A new bottle-and-cap combination still requires sample validation.
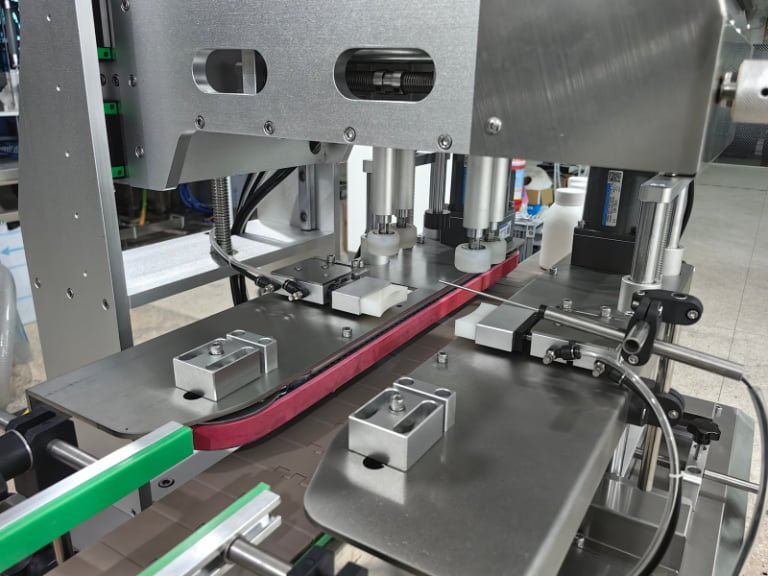
Use repeated, valid test results to build a package-specific relationship with the working settings of the automatic bottle capping machine. If a result changes after a setting change while all test conditions remain equivalent, review the capping process. If the bottle rotated or the closure lot changed, isolate that cause first.
Field note: An overseas customer reported that an automatic cap placer was leaving some caps tilted, leading to cross-threading and incomplete tightening at the capper. During a remote support session, LEKA guided the customer to correct the bottle-clamp position and infrared-sensor alignment. Stable placement resumed after the alignment changes. The confirmed correction was alignment; vibration-related sensor movement or a change in clamp tension were possible contributors, not confirmed root causes.
Torque Does Not Prove Seal Integrity
An acceptable removal-torque result alone does not prove that a package will not leak.[6] As separate practical checks, inspect the sealing surface, liner or sealing element, neck-finish match, contamination, and cap placement.
Torque is one process and package-control measurement. Use the leakage, pressure, vacuum, transport, induction-seal, or product-specific validation required for the actual package. A cocked or cross-threaded cap also needs visual and functional checks, even when the tester displays an acceptable number.
When Should a Factory Check Bottle Cap Torque?
Test frequency belongs in the factory’s quality plan. Package risk, closure-supplier requirements, production history, and the reason for testing all matter. Useful checkpoints may include:
- A new bottle, closure, liner, or neck finish
- Line start-up or product changeover
- A component-lot change when the quality plan requires it
- Capping-head adjustment, maintenance, or tooling change
- A previously stable torque trend begins to shift
- An agreed equipment trial or pre-shipment acceptance check
- A confirmed complaint involving opening force, leakage, or closure damage
Set the sample plan, test interval, method, and acceptance limit before production begins. During a line problem, first compare the new data with that approved plan rather than creating a limit around the result you just received.
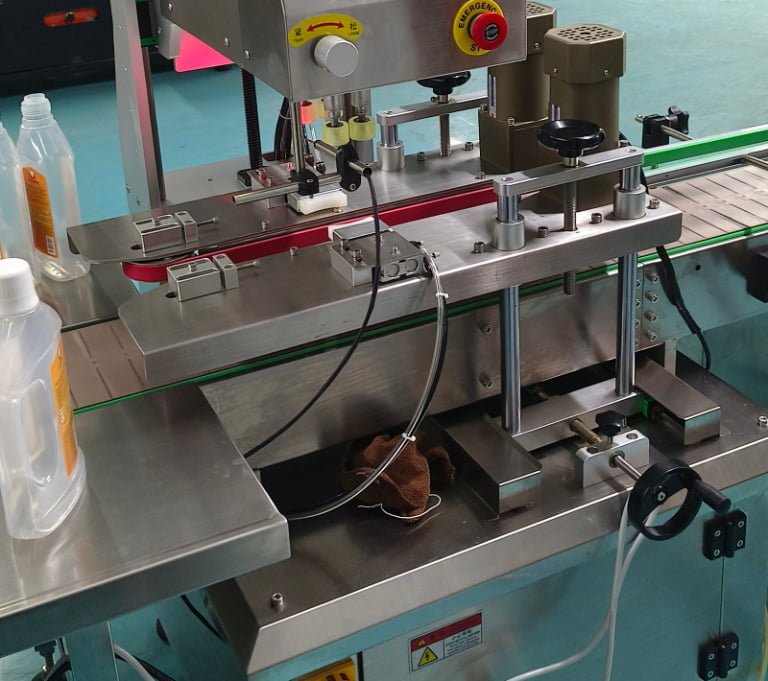
What to Send LEKA for a Capping Review
For a bottle-and-cap review, send the information that identifies the package and the problem:
- Bottle photos or drawings, dimensions, material, and neck finish
- Closure supplier, part number, cap sample, liner, and tamper-evident structure
- Product, fill condition, and any liquid that may contact the finish
- Closure-supplier application specification and removal-test method, when available
- Current symptoms, photos, videos, and existing torque records
If the review is part of a new bottle packaging line, also provide target output, automation level, factory layout, conveyor direction, voltage, and line-integration requirements.
LEKA capping projects commonly cover continuous-thread screw caps, tamper-evident band caps, lined caps, pump heads, spray heads, and flip-top caps. Final suitability depends on the actual samples and the selected cap-feeding and capping method.
When physical samples are needed, LEKA generally recommends sending at least 50 complete, matched bottle-and-cap sets, subject to freight cost, trial scope, and project requirements. This is a LEKA equipment-trial planning quantity, not a universal quality-control sampling standard.
For a sample-based capping trial, LEKA can record the capping-machine setting, test time, leakage observations, tilted caps or thread damage, and supporting photos or video. When the agreed trial scope includes a suitable torque tester, LEKA can also record the removal-torque result. Standard FAT documentation normally includes a running video and sample results. If a customer requires additional records or a different acceptance format, the scope should be agreed before testing.
LEKA does not manufacture torque-testing instruments or provide certified laboratory testing. When a project requires a tester, LEKA can help source a suitable third-party instrument in China without adding a sourcing-service fee. The instrument price, freight, taxes, duties, payment costs, and third-party warranty or service remain project-specific.
Confirm the model suitability and the type and scope of any certificate supplied by the instrument manufacturer before purchase. A supplier certificate does not automatically establish ISO/IEC 17025 calibration or metrological traceability.
For broader integration, LEKA can also review how the capper fits into a complete liquid filling line.
Frequently Asked Questions
Can a bottle cap torque tester measure application torque?
A suitable instrument can measure torque while a closure is applied manually under a stated method. Testing a production-capped bottle later does not reveal the original application torque. That check normally measures a specified opening or removal event.
How long after capping should removal torque be tested?
Use the interval required by the closure supplier, brand owner, approved method, or package-validation plan. Immediate and stored readings answer different questions, so keep their timing groups separate.
How many bottles should be tested?
Use the approved sampling plan for the package and production risk. A sample count from an unrelated closure guide should not be copied without confirming its scope. For LEKA equipment trials, LEKA’s usual project-planning recommendation is at least 50 complete, matched bottle-and-cap sets when physical samples are requested; it is not a universal torque-test sample size.
Why do two operators get different readings?
They may use different grip, speed, alignment, side load, or peak definitions. Compare the method before changing the machine. If consistent manual technique cannot be maintained, a controlled motorized method may help separate operator variation from package behavior.
Why does a tamper-evident cap show two peaks?
The first closure movement and the breaking of tamper-evident bridges may create separate events. Confirm which event the supplier specification requires and keep the results separate when both are needed.
Does correct removal torque mean the bottle will not leak?
No. Torque describes opening behavior under the test method. Seal integrity still depends on the complete package and the appropriate leakage or integrity validation.
A Practical Order for Troubleshooting Torque Results
When bottle cap torque readings conflict, check the event, sample, fixture, and opening motion before adjusting the capper. Reject readings affected by bottle movement, deformation, cap-grip or fixture slip, or the wrong peak. If valid results from like-for-like samples show a repeatable shift, review the package components and machine settings together.
For a new closure or capping project, send LEKA the actual bottle and cap information, supplier specification, product condition, target output, and existing test records. That gives the equipment review a real package to work from instead of a generic torque chart.
Submit your bottle, cap, output target, and line requirements for a complete packaging line review.
Technical contact: Slany, LEKA Pack Line Technical Sales Director. He began his machinery career in assembly and design in 2014, later led domestic sales work, and now coordinates international equipment matching, quotation follow-up, and after-sales support.
Technical References
- ASTM D2063/D2063M-24: Standard Test Methods for Measurement of Torque Retention for Packages with Continuous Thread Closures Using Non-Automated (Manual) Torque Testing Equipment
- ASTM D7860-14(2022): Standard Test Methods for Measurement of Torque Retention for Child Resistant and Non-Child Resistant Packages with Continuous Thread Closures Using Automated Torque Testing Equipment
- ASTM D3474-23: Standard Practice for Calibration and Use of Torque Meters Used in Packaging Applications
- Mark-10 Series TT01 Digital Cap Torque Tester User’s Guide
- Mecmesin Packaging Testing Solutions for the Wine and Spirits Industry
- Checkline Cap Torque Tester Technical Information