
Sauce Filling Nozzle Dripping: Causes and Practical Fixes
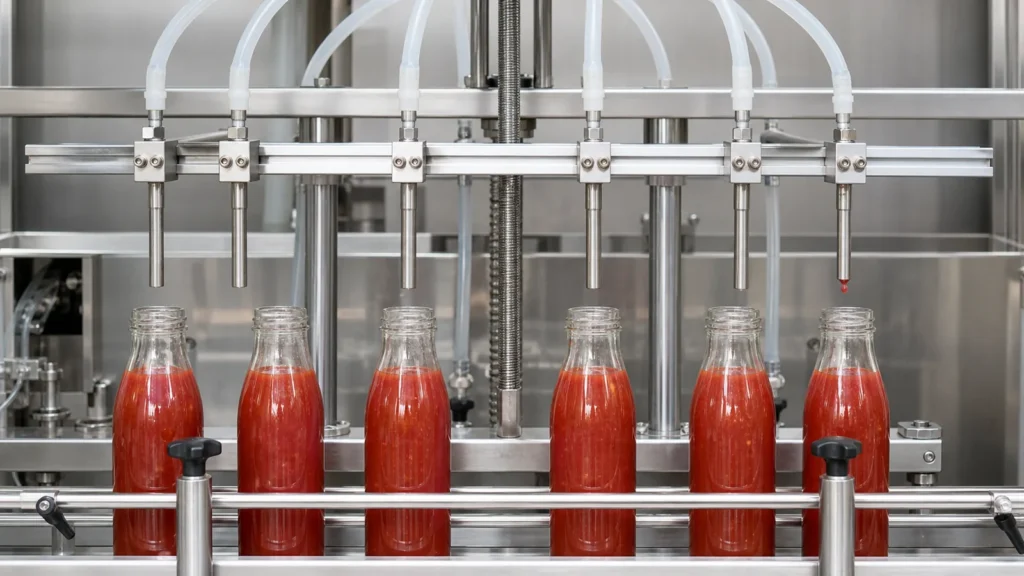
A fill can look perfect right up to the moment the valve closes. Then a bead of ketchup gathers at the nozzle, drops onto the bottle thread, and follows the container toward the capper. On another product, there is no drop at all. Instead, a thin tail stretches from the nozzle to the jar and folds across the rim.
Both problems are often called “nozzle dripping,” but they don’t necessarily have the same cause. Sometimes the trouble is at the tip. It may also be a valve that isn’t seating, pressure trapped in a hose, an O-ring disturbed during cleaning, a pepper seed on the seal, or sauce that has changed as the batch cooled.
Before you buy an “anti-drip” upgrade, watch one complete fill cycle. That short observation usually tells you where to start.
Contents
- Read the pattern before touching the settings
- Where the extra sauce is coming from
- Work through the machine in a sensible order
- Match the fix to the failure
- The sauce can move the target
- A clean bottle neck protects the rest of the line
- Put clean cut-off into the FAT
- Send a fault report a supplier can use
- A few questions buyers still ask
- A cleaner cut-off starts with a better diagnosis
Start here: One wet head points to local hardware. When every head changes together, inspect shared pressure, product supply, temperature, and timing before changing the common recipe.
Read the pattern before touching the settings
First, decide what you are actually seeing. Drops from inside the nozzle after cut-off are different from strings of sticky product. Sauce on the outside of a diving nozzle is different again. Treating all three as one fault is how a simple investigation turns into an afternoon of random adjustments.
| What you see | What it usually points you toward first | What not to assume |
|---|---|---|
| Separate drops from inside the tip | Valve closure, residual pressure, seals, suck-back, product supply | That the nozzle itself must be replaced |
| A thin tail between nozzle and bottle | Product flow behavior, tip geometry, final fill profile, suck-back | That more suck-back is always better |
| Splash on the shoulder or neck during filling | Nozzle position, bottle centering, flow rate, diving movement | That a post-fill leak caused the mess |
| Product on the outside of a raised nozzle | Nozzle immersion, withdrawal timing, fill level, drip capture | That the internal valve is leaking |
| Sauce around a clamp, gasket, hose, or valve body | Assembly, seal condition, fitting security, material compatibility | That timing changes will solve it |
Frain Industries’ filling machinery guide makes the same useful distinction between dripping, stringing, and product carried on the outside of a submerged nozzle. Downstream, the visible mess may look similar, but the product took a different route to get there.
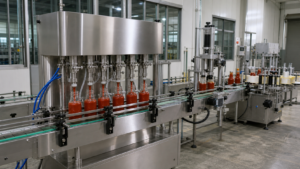
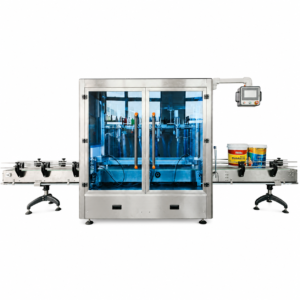
During machine selection, this symptom-first approach also helps with the wider sauce filling equipment configuration. It gives a supplier something more useful than “we need an anti-drip nozzle.”
Keep that wording in the test record. When the symptom changes after an adjustment, you can tell whether the original fault was actually removed.
Where the extra sauce is coming from
The dosing stroke can stop while sauce elsewhere in the product path is still moving. That is why the last drop is not always a nozzle problem.
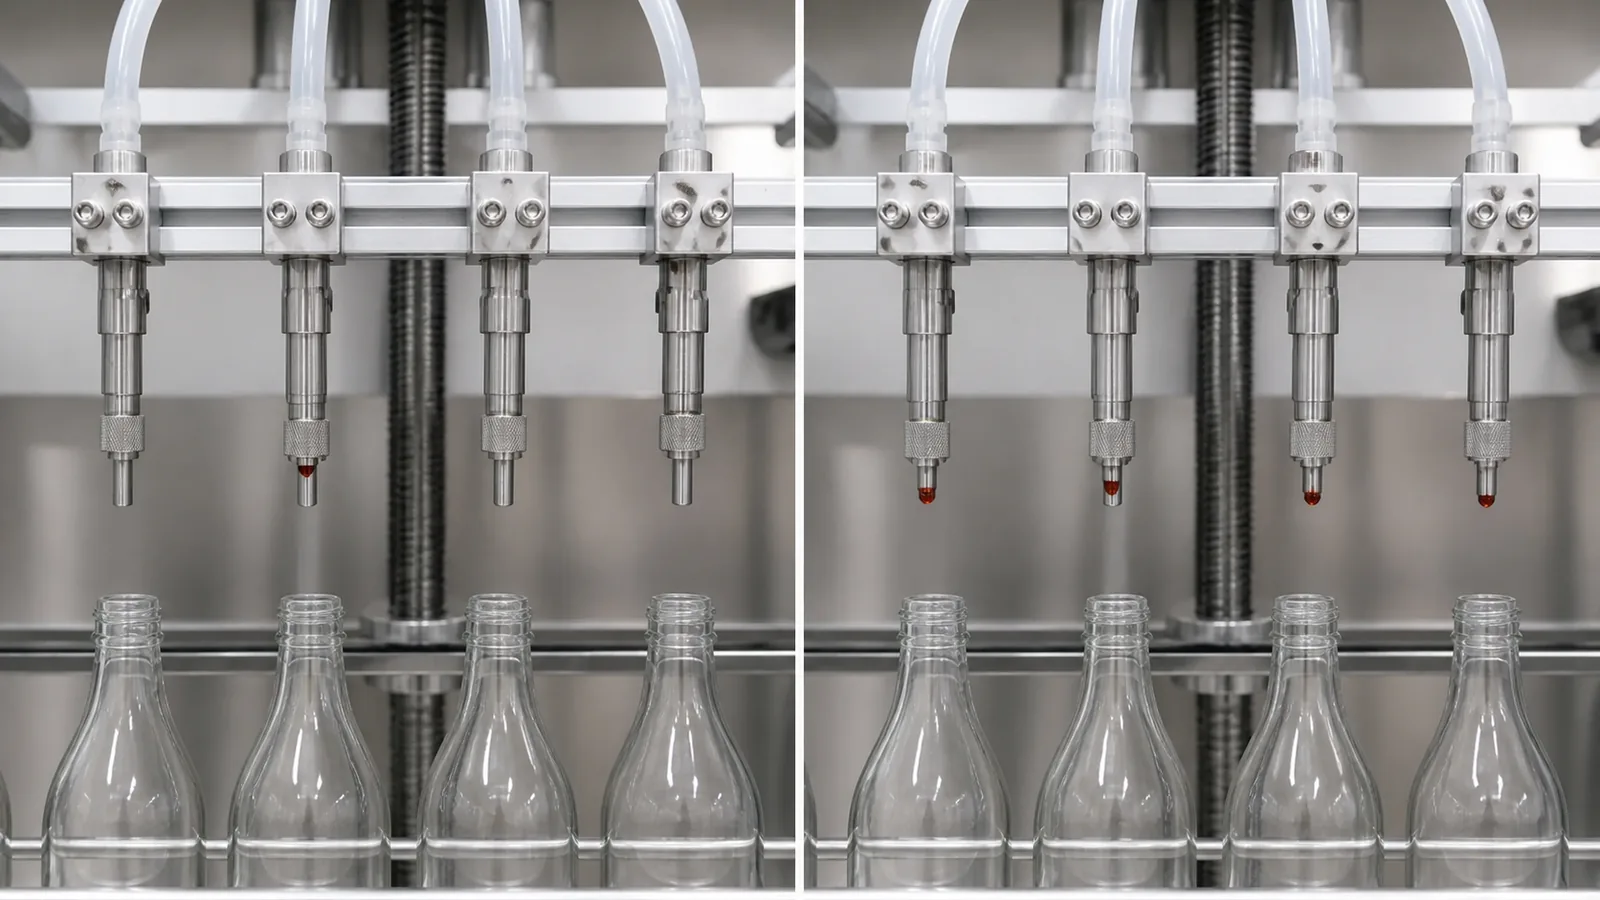
One head drips and the others stay clean
Don’t change the pressure or timing for the whole machine yet. Start locally.
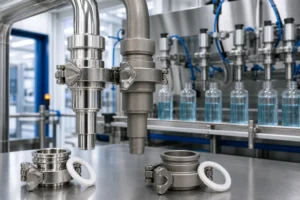
Local causes include a damaged valve seat, a twisted O-ring, a loose clamp, dried sauce, or a particle on the sealing surface. Any of them can make one head behave differently. Cleaning and reassembly are part of the diagnosis because a seal that looked fine before washdown may not be seated the same way afterward. Neostarpack’s piston filler leakage guidance specifically lists loose clamps, incorrectly installed gaskets, and worn O-rings among the items to inspect.
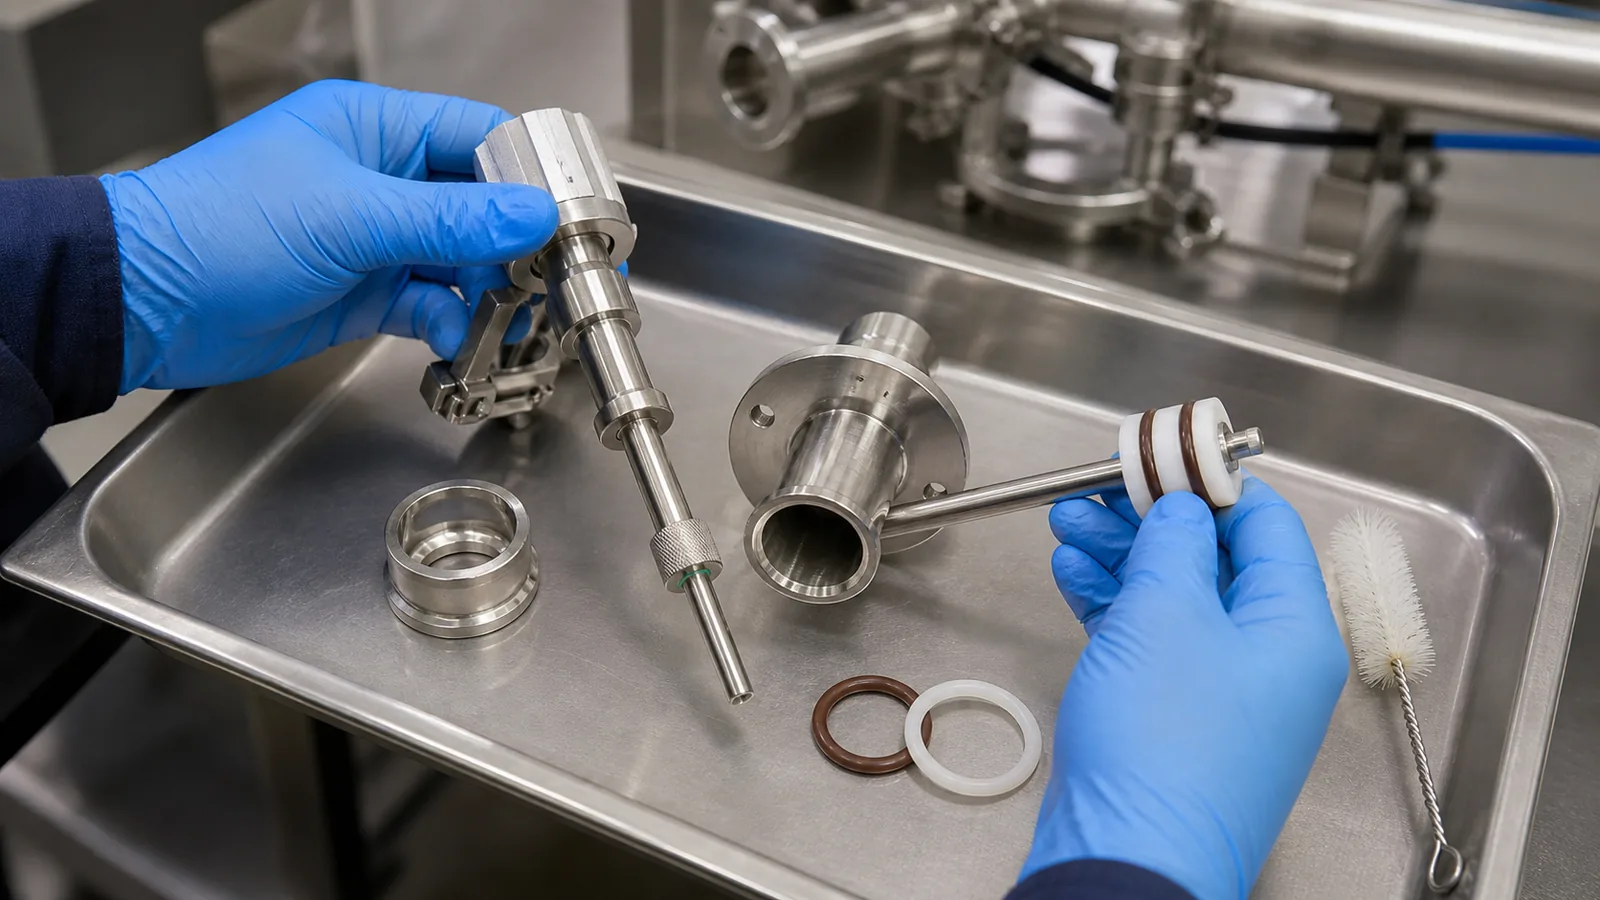
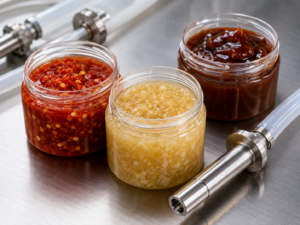
With chili sauce, salsa, or dressing, look beyond the nozzle bore. Even one seed or soft piece can interfere with the narrowest valve opening and spoil the cut-off. For more detail, the guide to filling sauces with particles explains how particle size, concentration, settling, and valve clearance affect the whole product path.
Every head starts dripping at the same time
That pattern shifts attention upstream. Shared supply pressure may have changed. Valve timing may no longer match the pump or piston movement. Product temperature, aeration, or uniformity may also differ from the batch used when the recipe was set.
Residual pressure is the pressure left in a hose or manifold after the commanded dose ends. It deserves particular attention because it can keep a small volume of sauce moving after the piston or pump has stopped. If the shut-off point and the pressure-relief sequence are poorly coordinated, that product can leave through the tip.
The product leaves a tail instead of a drop
Sticky sauces can stretch. The valve may close correctly, yet product between the sealing point and the nozzle tip still forms a thread as the bottle moves away.
Suck-back is a short reverse or pressure-relief action near the nozzle tip. It can help pull a small amount of product away from the opening, but it needs restraint. Too much can draw air into the product path or disturb the next dose. Tip shape, shut-off location, final fill speed, bottle distance, and product temperature all influence the break. This is one reason a simple choice between a piston filler and a pump filler for sauce doesn’t settle the nozzle question by itself.
The inside is dry but the outside is wet
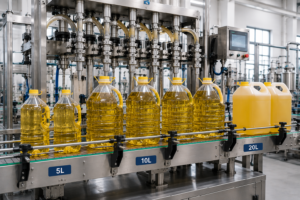
A diving nozzle may travel close to the rising liquid level to control splash or foam. If it enters the product, sauce can cling to its outer surface and return with it. The cure may be a different withdrawal profile, a lower final fill level, or a properly timed drip tray. Tightening the internal shut-off won’t remove sauce that is already on the outside.
Work through the machine in a sensible order
Troubleshooting goes faster when each check either rules something in or rules something out. Save the current recipe first. If you change pressure, valve delay, suck-back, and nozzle height together, a cleaner bottle tells you almost nothing about which change worked.
- Film the full cycle. Include bottle arrival, nozzle opening, active flow, cut-off, nozzle withdrawal, bottle departure, and any drop that follows. Slow-motion playback is useful when the movement is hard to separate by eye.
- Compare every filling head. Mark the affected head or bottle lane. Swap parts only if the equipment procedure allows it and the comparison can be done safely. The purpose is to find out whether the fault follows a component or stays with a machine position.
- Inspect the local product path. After safe pressure release and lockout, check the tip, valve seat, clamps, gaskets, O-rings, hose connections, and visible residue. Follow the manufacturer’s cleaning and maintenance instructions.
- Record the product condition. Note temperature, visible air, separation, particle distribution, and consistency. Compare the problem batch with a batch that filled cleanly. “Same sauce” is not enough if one batch reached the filler under different conditions.
- Adjust one control at a time. Review valve timing, pump or piston timing, pressure, final fill speed, and suck-back. Return to the saved baseline if the change does not improve both cut-off and the next fill.
- Test the pause and restart. A machine can look clean in continuous motion and drip after a normal stoppage. Pause it for a realistic production interruption, restart, and inspect the first containers from every head.
This sequence also protects fill performance. A change that removes the visible drop but introduces air, changes fill weight, or makes the first bottle after a pause unacceptable is not a complete fix.
Match the fix to the failure
“Anti-drip nozzle” is a useful description only when the supplier can explain what closes, where it closes, and how it behaves with your product.
| Possible response | Best fit | Questions to settle in testing |
|---|---|---|
| Positive shut-off nozzle | Product continues through an open tip after dosing stops | Can the valve seat cleanly with the expected particles? Is it easy to inspect and clean? |
| Controlled suck-back | A small residual drop or string can be pulled away from the tip | Does it introduce air or affect the next fill? Is the setting stable across the product temperature range? |
| Wider, particle-friendly path | Seeds, herbs, fibers, pulp, or soft pieces interfere with flow or closure | What is the narrowest opening? Can the largest production particles pass without lodging on the seat? |
| Revised diving profile | Splash occurs during filling, or the nozzle returns wet | Can the nozzle stay above the product at the end of the fill? Is withdrawal synchronized with flow reduction? |
| Timed drip tray | External wetting cannot be eliminated while no bottle is below the head | Is it accessible for cleaning? Is it capturing an unavoidable drop or hiding a repairable leak? |
Drip trays can keep bottles and conveyors cleaner, but they do not repair a damaged seal or a valve that never closes fully.
The sauce can move the target
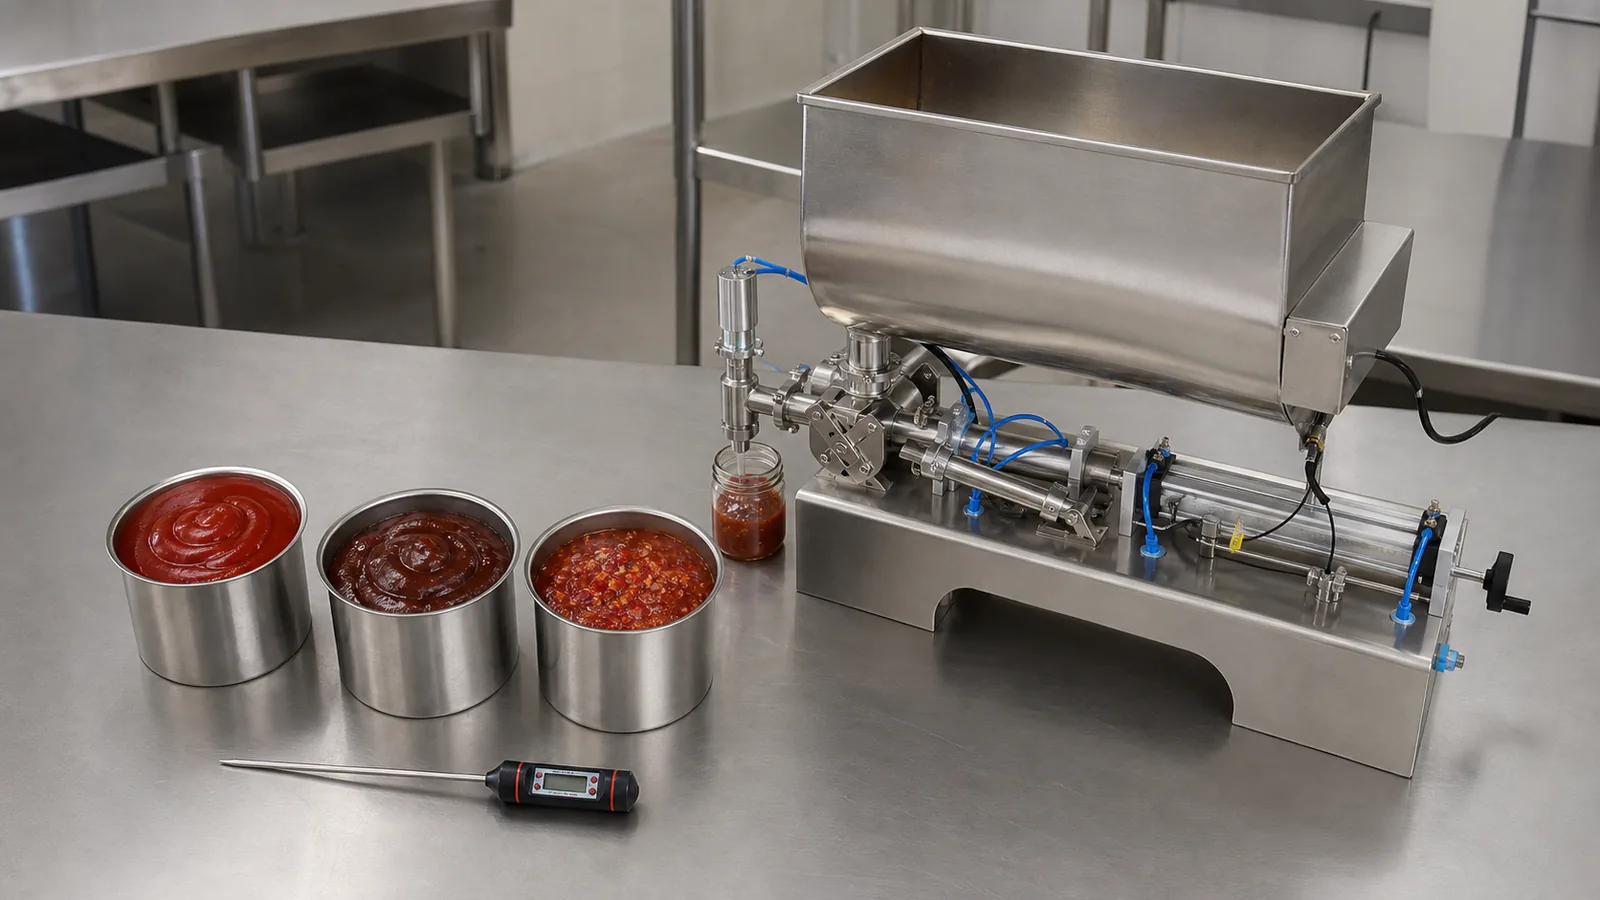
Machine recipes are often blamed for changes that began in the product.
Smooth ketchup and BBQ sauce may leave a tail as the bottle moves away. Often, the cleaner break comes from the relationship between tip geometry, shut-off, final flow, and suck-back rather than from a larger nozzle alone.
Chili sauce with seeds or flakes adds another failure mode: a particle can sit on the valve seat. Test the largest realistic particles at a representative concentration, not a strained sample that is easier for the machine.
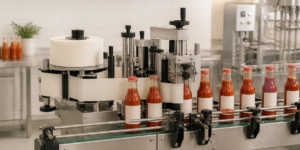
Hot-filled sauce can change its flow behavior as it cools. Record the temperature when filling is clean and again when the problem appears. Do not borrow a filling temperature from another factory. Your safe and workable range has to match your own recipe, process, container, closure, and food-safety plan. For the connected questions of filling, capping, and line handling, see the hot sauce bottling guide.
Emulsified dressings and mayonnaise can also respond badly to aggressive transfer or excessive suck-back. When air appears in the product path, a dry nozzle tip is not enough. Regardless, the next fill still has to remain acceptable.
A clean bottle neck protects the rest of the line
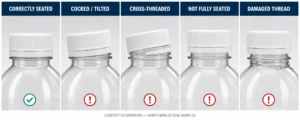
Sauce left on a bottle neck does not stay at the filler. It can reach closure threads, a cap liner, conveyor guides, sensors, the label area, and the packing station. This creates more cleaning and a harder handoff to capping.
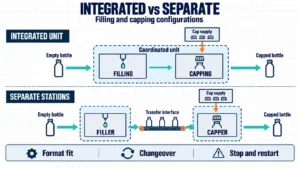
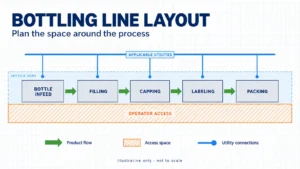
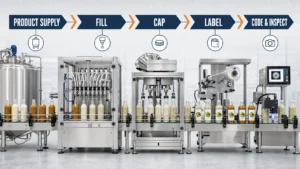
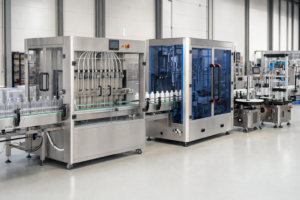
Judge the filler and capper together. Each container should leave the fill station with its neck and sealing area in the condition required by the closure process. The broader sauce packaging machine guide shows why bottle handling, filling, capping, labeling, coding, and conveying need to be planned as one workflow.
Cleanability belongs in the specification too. For food operations in the United States, 21 CFR 117.40 addresses equipment design, maintenance, cleanability, and food-contact surfaces. Other markets have their own requirements, so the machine and sanitation plan should be checked against the rules that apply to the factory.
Put clean cut-off into the FAT
A water run cannot prove how a thick, sticky, hot, or particle-containing sauce will break at the nozzle. Factory acceptance testing should use the real product or an agreed sample that represents the difficult parts of production.
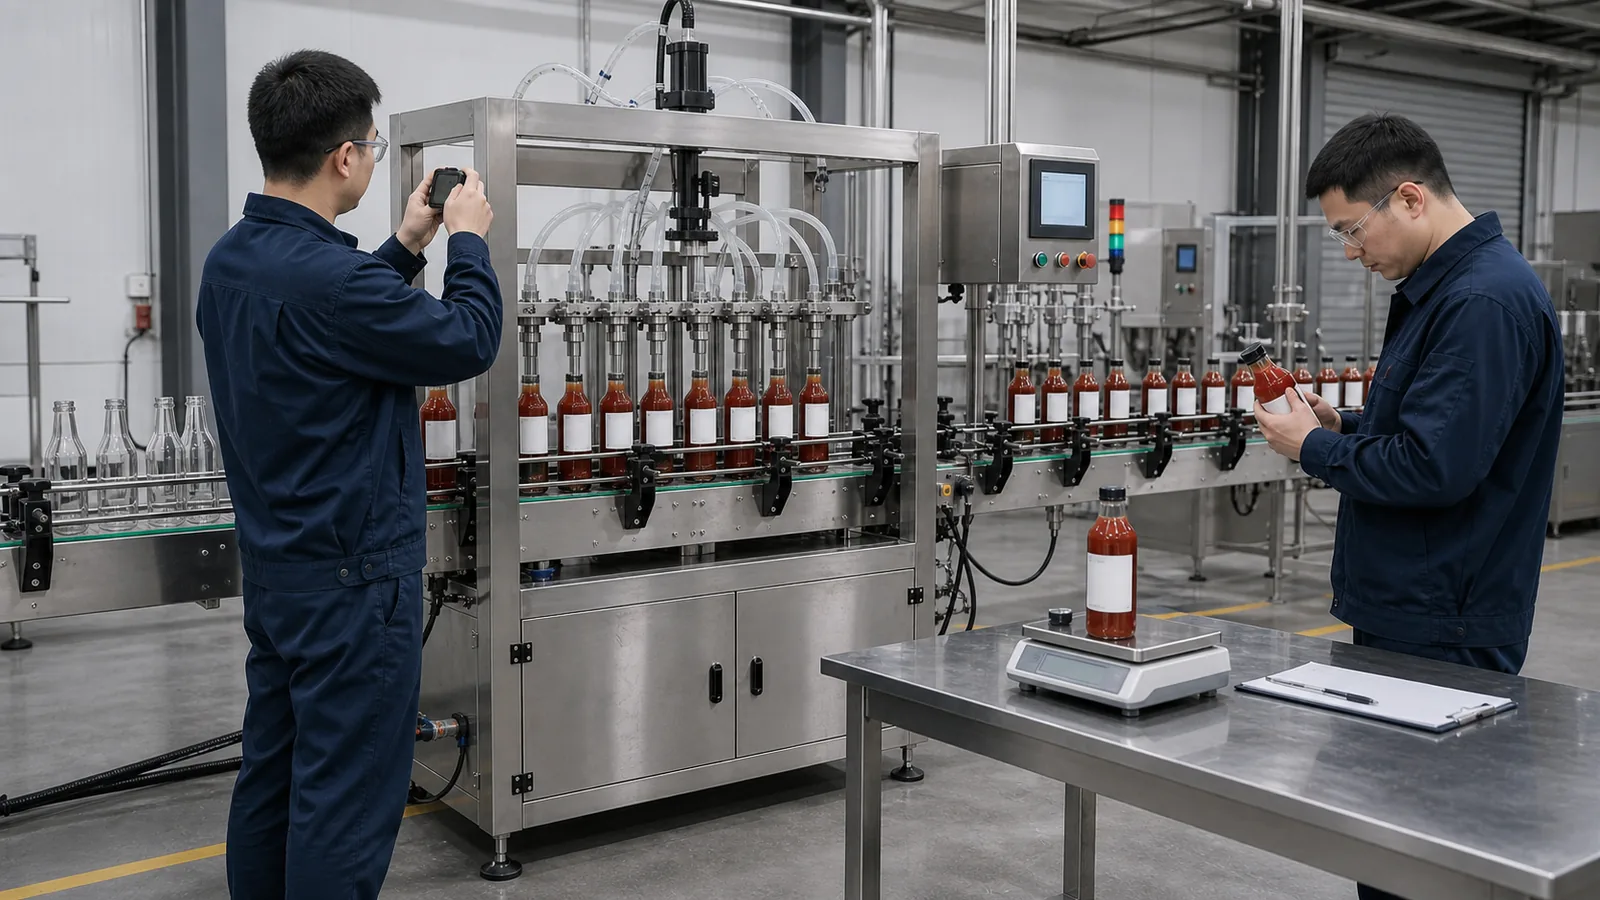
Write the acceptance condition before the test starts. “Anti-drip” is too vague. Useful acceptance language identifies the sauce, container, speed, pause, restart, inspection point, and acceptable result.
At minimum, the test should cover:
- the normal product condition and the realistic limits that change flow;
- the actual bottle or jar, including the smallest neck used in the project;
- the largest expected particles and a representative concentration;
- every filling head at the agreed operating rate;
- bottle necks, threads, shoulders, and outside surfaces after filling;
- a normal production pause followed by a restart;
- fill repeatability before and after the cut-off adjustment;
- cleaning, reassembly, and a repeat test with the final setup.
Keep the approved recipe, nozzle and seal details, change parts, and inspection points with the project documents. That makes the result repeatable after maintenance instead of leaving it with the person who happened to attend the test.
Send us a short slow-motion video, product temperature, particle size, and bottle-neck dimensions for an initial nozzle-path review.
Send a fault report a supplier can use
“The nozzle leaks” leaves too much unanswered. Pair a short video with a small set of measurements instead.
Send the sauce name, fill-volume range, bottle-neck dimensions, target output, normal product temperature, and any measured viscosity data you already have. For products with pieces, include particle dimensions, concentration, hardness, and settling behavior. Add the current pump, valve, nozzle, and cleaning method if the machine already exists.
Most importantly, say whether one head or every head is affected, when the symptom appears, and what changed just before it began. If the problem follows cleaning, a new batch, a speed increase, or a long pause, that context narrows the investigation.
A few questions buyers still ask
Why does the nozzle drip after the piston stops?
Residual pressure or product trapped between the valve and tip can keep moving after the piston stops. A poor valve seat, damaged seal, or timing error can create the same visible drop.
Will more suck-back stop sauce stringing?
Sometimes. Use only enough suck-back to break the string without drawing air or disturbing the next fill. If it does not help, inspect the valve, tip, product condition, and final fill speed.
Does a diving nozzle prevent dripping?
No. A diving nozzle mainly controls splash and foam. If it enters the sauce, the outside can return wet even when the internal valve closes correctly, so assess external wetting and internal dripping separately.
Can particles make an anti-drip valve leak?
Yes. A seed, fiber, herb, or soft piece can hold the sealing surfaces apart. Test the largest expected particles and confirm the narrowest opening in the complete product path.
A cleaner cut-off starts with a better diagnosis
Don’t diagnose from the drop alone. Watch when it appears, find out whether it comes from inside or outside the nozzle, and compare one head with the rest. Then move through the local hardware, shared supply, product condition, timing, and bottle position in that order.
For a new filler or an existing-line correction, LEKA Pack Line can review the sauce, particles, filling temperature, bottle and cap, output target, cleaning method, and a video of the symptom. What matters is not an “anti-drip” label. It is a nozzle and product path that can be tested against a clear acceptance condition before shipment.