

Bottle Spinning During Capping: How We Trace the Cause
A cap leaves the chute, lands on the bottle and looks fine for a moment. Then the first tightening wheel touches it. The bottle turns, the cap leans to one side, and a crooked cap comes out at the other end.
It is easy to call this a torque problem. That can send the team in the wrong direction.
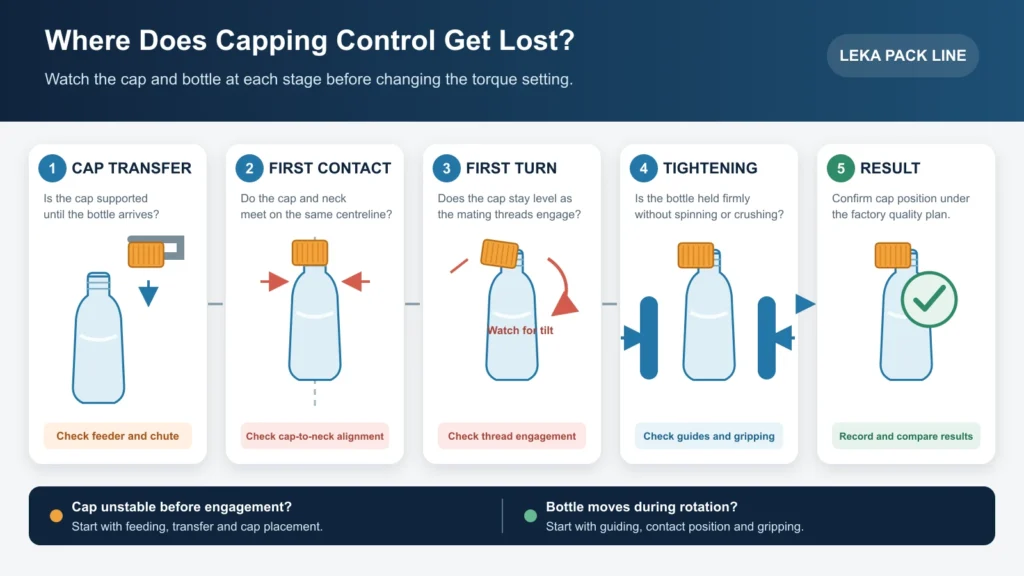
When we review bottle spinning during capping, the first thing we want to know is not the torque setting. We want to see the moment the cap or bottle starts moving incorrectly. Once that moment is visible, the list of possible causes becomes much shorter.
Start here: Watch the cap before contact, at first contact and through the first rotation. If it is already unstable before the threads meet, inspect cap feeding and placement. If it stays level until the bottle begins to move, inspect bottle guiding and gripping.
A Crooked Cap Usually Starts Earlier Than It Looks
The bottle at the discharge only shows the final symptom. It does not show where the problem began.
A cap may leave the chute at the wrong angle. The bottle may arrive slightly off-centre. The cap may sit level but wobble as the threads first engage. Or the bottle may rotate with the cap because the gripping contact is not stable.
Those failures can all produce crooked caps, but they do not have the same fix. Raising the torque setting cannot correct a cap that has already engaged the threads incorrectly. It may add damage to the cap, liner or bottle thread.
For wider problems such as leakage, loose caps, damaged threads or varying torque, use our bottle capping problems guide. Here, we will stay with cap placement and bottle control.
Watch First Contact and the First Turn
A short, clear video is more useful than a long description of the finished defect. Film through the approved guard from the last cap-transfer point until the first rotations are complete. Keep the cap and bottle body in the same frame.
| When the Problem First Appears | Where to Look | What the Video Should Show |
|---|---|---|
| Before the cap reaches the bottle | Feeder orientation, chute support or pickup position | Several caps approaching the transfer point |
| As the cap touches the neck | Bottle position, placement height and cap-to-neck centreline | First contact from the side and, if possible, the front |
| During the first rotation | Thread engagement, cap support and early bottle movement | The cap edge and bottle neck moving together |
| During final tightening | Gripper belts, guides, bottle contact area and wheel condition | The cap and bottle body in one frame |
| Only after a changeover | Installed change parts, guides, height and saved settings | The current setup and the affected bottle-cap format |
Do not remove guards or reach into moving equipment for a better view. Mechanical adjustments should be made only after the machine is de-energised and the site’s lockout/tagout procedure has been followed. The equipment manual and local safety rules take priority.[1]
Cap Placement: Is the Closure Still Under Control?
The cap and bottle arrive from different paths. The feeder has to orient the cap. The chute or transfer device has to support it. At the same time, the conveyor and guides have to bring the bottle neck to the right place.
On an automatic spindle line, those jobs may be handled by separate parts of the machine. Accutek, for example, describes a feeder and chute that place the closure before the spindle tightener receives the bottle.[2] That is why a smooth-running tightener cannot compensate for an unstable cap upstream.

Checking cap chute alignment
Look at the last point where the chute supports the cap. Does each closure leave in the same position? Does the bottle arrive directly underneath it? Is the cap still supported when the neck makes contact?
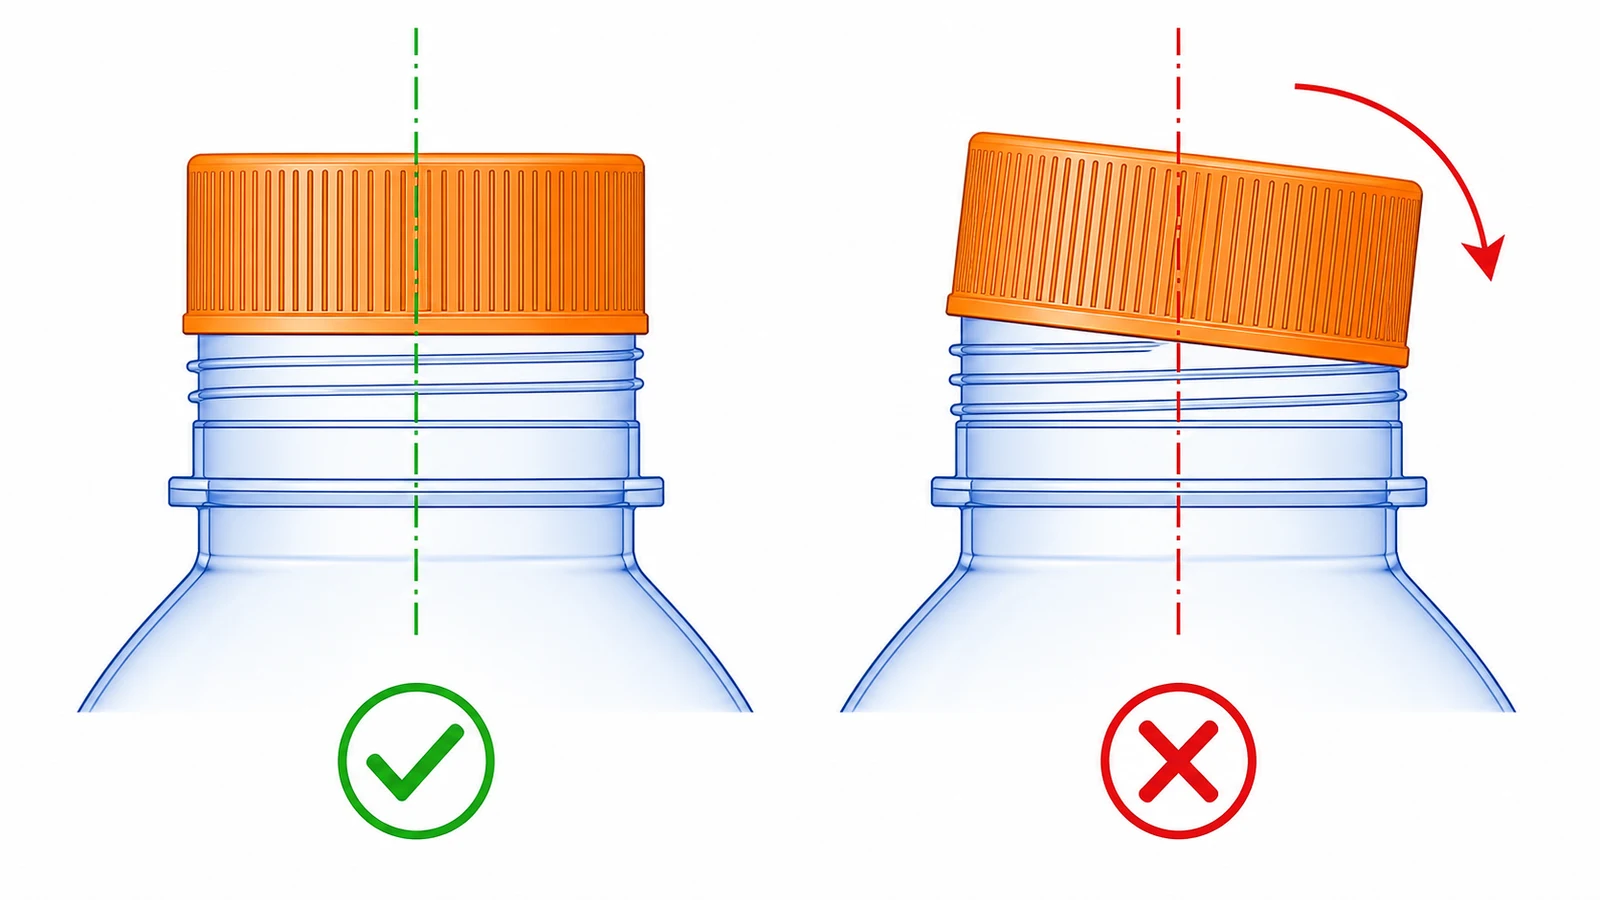
On some in-line pick-off arrangements, a temporary presentation angle is intentional. Guides or a stabiliser then bring the cap under control. The useful question is whether the cap is aligned and stable when the mating threads start to engage.
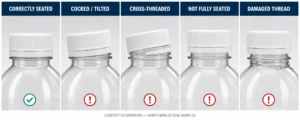
A tilted or cocked cap can begin engaging on one side first. If the threads do not engage as intended, the cap may become cross-threaded. Poor bottle alignment, inconsistent cap delivery, machine adjustment and damaged components are all documented contributors.[4]
The outside of the cap matters too
Cap height, skirt profile, knurl and moulded features affect how the closure moves through a sorter, chute or pickup tool. Krones describes feed systems selected around cap type, diameter and geometry.[3]
Inside the closure, the thread, liner and tamper-evident band affect engagement, seating and sealing. A cap that travels through the feeder without a jam has not yet proved that it is compatible with the bottle finish. That decision still needs supplier specifications and production-representative samples.
For the torque terms that apply after correct engagement, see our bottle capping torque guide.
Bottle Gripping: Stable Does Not Mean Squeezed
If the bottle rotates with the cap, the relative rotation between the closure and neck becomes smaller or inconsistent. One bottle may finish correctly while the next does not. Sideways movement can also pull the neck away from the cap path.
The answer is not simply more pressure. A lightweight bottle can flex or crush long before the operator feels that the belts are too tight.

When checking capping machine gripper belts, look at four things:
- Contact height: are both belts touching a stable part of the bottle?
- Spacing: is the bottle held consistently without visible distortion?
- Condition: are the belt surfaces worn, polished, wet or contaminated with product?
- Movement: does the bottle drag, accelerate or rock as it enters the tightening wheels?
The Apex spindle-capper manual recommends contacting a sturdy area of the bottle and warns that excessive belt pressure can crush the container. Liquid Packaging Solutions also links belt height, width and pressure with bottle instability and inconsistent capping results.[1][5]
Material names are not enough to choose the contact point. Two PET bottles can behave differently because of wall thickness, shape, fill condition and temperature. Apply the same caution to HDPE and glass packages: include the actual filled bottle in the setup trial.
If It Started After a Changeover, Start There
A line that runs one bottle well and struggles with the next is giving you a useful clue. Compare the current setup with the last approved setup for that format before changing several controls.
Check the installed cap-handling parts, guide positions, head height, belt contact and saved machine settings. Then change one item at a time. Record the original position so the test can be reversed.
Matched samples also matter. Keep a few good and failed bottles and caps, labelled by component supplier lot. Visible damage on the finish, cap thread, liner or tamper-evident band may point away from the machine—or show that the machine is damaging the component during handling.
This focused check should not replace a full compatibility review for a new package. Use the bottle-cap compatibility checklist when the bottle-cap combination itself has not been confirmed.
Spindle, Chuck and Pick-and-Place Are Different Questions
These terms are often mixed together, which makes equipment discussions harder than they need to be.
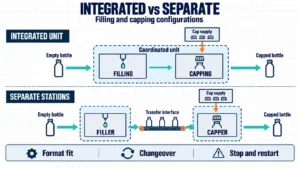
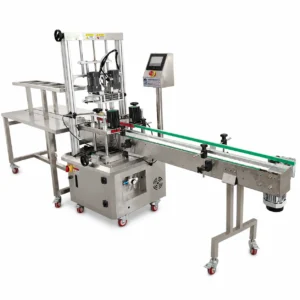
A spindle or roller capper commonly receives a cap that is already sitting on the bottle. Side-contact wheels rotate the cap while belts control the container. A chuck capper grips the closure and applies rotation from above.
Pick-and-place describes one way to transfer a cap. It is not another name for every chuck capper. Acasi shows a chuck system that uses pick-and-place, while Cormack’s chuck guidance focuses on bottle restraint, closure grip and centreline alignment.[6][7]
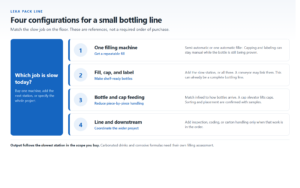
Neither design is automatically better for every project. Cap geometry, bottle control, output, changeover needs and sample trials all affect the choice. LEKA’s four-wheel roller arrangement can suit many common threaded caps, but it should not be treated as universal. See our bottle capping machine configurations for a broader equipment overview.
What Helps Us Review the Problem
When you contact us about cap placement or bottle gripping, send the smallest set of information that shows the event clearly:
- a slow-motion video from cap transfer through the first rotation;
- the current change parts, machine position and settings;
- matched good and failed samples, labelled by component lot; and
- the bottle, cap, product condition and target output.

An inspection system can identify a missing cap, a cap that is not straight or a tamper-evident-ring problem. That is useful for rejection, but the detection alone does not identify the root cause.[8]
Questions We Hear About Bottle Spinning and Crooked Caps
Should I increase the gripper-belt pressure first?
Not before checking where the belts touch and how the bottle behaves. More pressure may stop one bottle from slipping but deform another. Make one approved adjustment at a time.
Why does the cap look straight and then tilt on the first turn?
The cap may be losing support as the threads engage, the bottle may be moving, or the threads may not be mating as intended. A close side view usually separates these possibilities better than the finished bottle does.
Where should the belts touch a shaped or lightweight bottle?
Use a repeatable, sufficiently rigid area that controls the bottle without unacceptable deformation. The correct point depends on the actual filled package, not only its material name.
Can a torque change fix a spinning bottle?
A torque change alone cannot correct missing bottle restraint. Stabilise the bottle and confirm correct cap engagement before reviewing the setting against the closure supplier’s specification.
Show the Moment It Goes Wrong
A crooked cap at the end of the conveyor is evidence, but it is only half the story. The useful part is the second when the cap tilts or the bottle begins to turn.
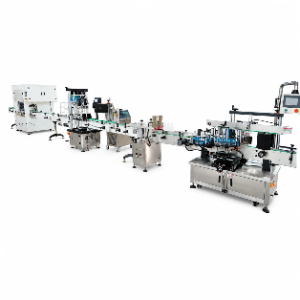
Send LEKA a guarded slow-motion video, matched bottle and cap samples, the current capping arrangement and your target output. With that information, we can discuss the cap-placement and bottle-control requirements for a suitable bottle packaging line configuration. Contact LEKA Pack Line to start the conversation.
Technical References
- Apex Filling Systems — Spindle Capper Operation Manual, Version 1.5. Manufacturer operation manual covering cap completion, gripper belts, stabilisation, adjustments and safety.
- Accutek Packaging Machinery — Spindle Cappers. Manufacturer description separating cap orientation and chute placement from spindle tightening and bottle gripping.
- Krones — Cap Feed Systems. Manufacturer information on cap orientation, format geometry and optional inspection.
- Liquid Packaging Solutions — Best Practices: Preventing Cross-Threaded Caps. Manufacturer guidance on container alignment, cap delivery and adjustment-related causes.
- Liquid Packaging Solutions — Troubleshooting Loose Caps on a Spindle Capping Machine. Manufacturer guidance on spindle-wheel and gripper-belt position, pressure and condition.
- Acasi Machinery — Chuck Bottle Capper Model PC1. Manufacturer example showing a chuck capping head, pick-and-place cap transfer and anti-rotation handling.
- Cormack Packaging — Checking and Servicing Capping Chucks. Closure-system guidance on bottle restraint, chuck grip, centreline and chuck condition.
- Krones — Checkmat Inspection Systems for Fillers and Cappers. Manufacturer information on cap-position and tamper-evident-ring detection and rejection.