
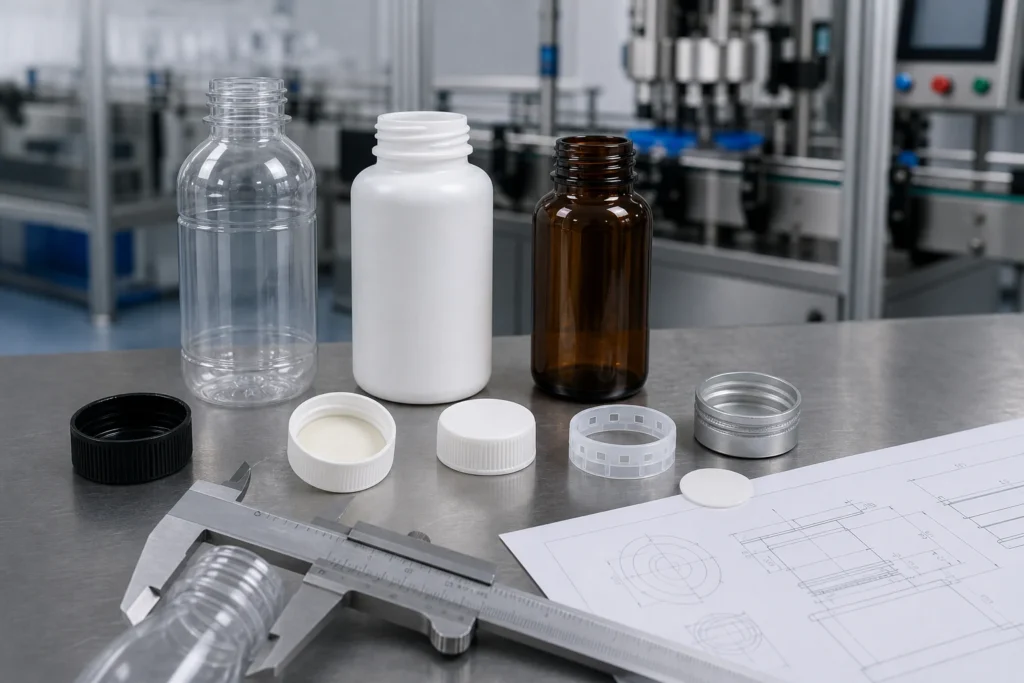
Bottle and Cap Compatibility Checklist Before Capping Machine Testing
How can a cap screw on by hand, yet leak, sit crooked, or fail on an automatic capping machine?
The short answer is that “it fits” can mean very little. Bottle cap compatibility depends on the complete package. The bottle neck, cap threads, liner, tamper band, product, bottle strength, and machine handling must work together.
By the end of this guide, you will know what to check before a capping trial. You will also know which drawings, specifications, and samples to send to a machine supplier.
Quick answer: Confirm the exact bottle neck finish and closure part number first. Then check the seal, tamper feature, product conditions, bottle and cap condition, and machine handling. Use supplier drawings before the trial, and test real production samples on the machine. A matching diameter or a good hand fit is not enough.
Start with Five Simple Bottle Cap Compatibility Checks
The International Society of Beverage Technologists, or ISBT, says its closure tests are meant to assess the complete package system. It also says the supplier and bottler or brand owner must agree on the specifications.[1] That document covers plastic flat-top closures on PET bottles, but the basic lesson is useful for many capping projects: check the package as a system.
| Check | Simple Question | Best Evidence |
|---|---|---|
| 1. Mechanical fit | Do the bottle and cap threads match? | Controlled drawings, full finish code, part numbers, and tolerances |
| 2. Seal system | Does the liner or molded seal meet the correct bottle surface? | Seal design, liner specification, and tamper-band details |
| 3. Product and process | Can the package handle the product and filling conditions? | Product details, temperature, pressure or vacuum, and later processing |
| 4. Physical condition | Will the bottle and cap keep their shape? | Representative samples, lot records, and deformation data when needed |
| 5. Machine handling | Can the cap be fed, placed, tightened, and checked again and again? | Actual samples, target output, and agreed trial criteria |
A package can pass one check and still fail the next. Correct threads cannot fix the wrong liner. A good liner cannot make a weak bottle stable. A cap that works by hand may still jam in a feeder.
Prepare the Right Information First
For the first discussion, start with these six items. Detailed test reports can come later.
- Exact package identity: bottle and cap suppliers, part numbers, drawings, revisions, and full neck-finish code.
- Product and process: what you fill, the fill temperature, later sealing or heat treatment, and storage conditions.
- Seal details: liner construction or linerless seal, plus any tamper-evident feature.
- Real samples: matched bottles and caps from known production lots.
- Line requirements: target output, bottle range, cap range, changeovers, and factory layout.
- Acceptance plan: the checks that will decide whether the trial passes.
This information lets the machine trial answer the right question: can the known package run reliably? Without it, the trial may only reveal that one or more parts were never fully identified.
1. Check the Exact Neck Finish, Not Just the Diameter
Start with the full neck-finish code from the bottle drawing and the exact closure part number. “The cap is about 28 mm” is not specific enough.
A screw finish includes more than outside diameter. Thread shape, lead, number of starts, finish height, bore, sealing surface, and other dimensions can affect the fit. ASTM D2911/D2911M-16(2023) covers screw-thread and finish dimensions for plastic bottles within its stated scope.[2] It is not a standard for every glass, plastic, metal, or custom container.
There are also many finish families. CETIE publishes separate data sheets for glass and PET packaging, including screw, snap-on, crown, lug, pump, and spray finishes.[11] Ask for the exact sheet and revision that apply to your package.
For example, 28-400 and 28-410 share the same nominal diameter, but they are different finish series.[9] Treat them as separate unless the bottle and closure suppliers approve the exact combination.
Ask the suppliers for four things
- The bottle supplier, part number, material, and drawing revision
- The full neck-finish designation and dimensional drawing
- The closure supplier, part number, material, thread, and seal design
- Written approval or an application specification for that bottle-and-cap pair
If the neck is custom or newly tooled, drawings may not tell the whole story. Mark it for a physical sample review.
2. Check the Seal, Liner, and Tamper Band
The threads hold the cap in place, but the seal may be made somewhere else. It may come from a flat liner, an induction foil, a molded plug, or another linerless feature.
ISBT lists several liner and tamper-evident systems in its packaging guidance.[3] So the words “threaded cap” are not a complete specification.
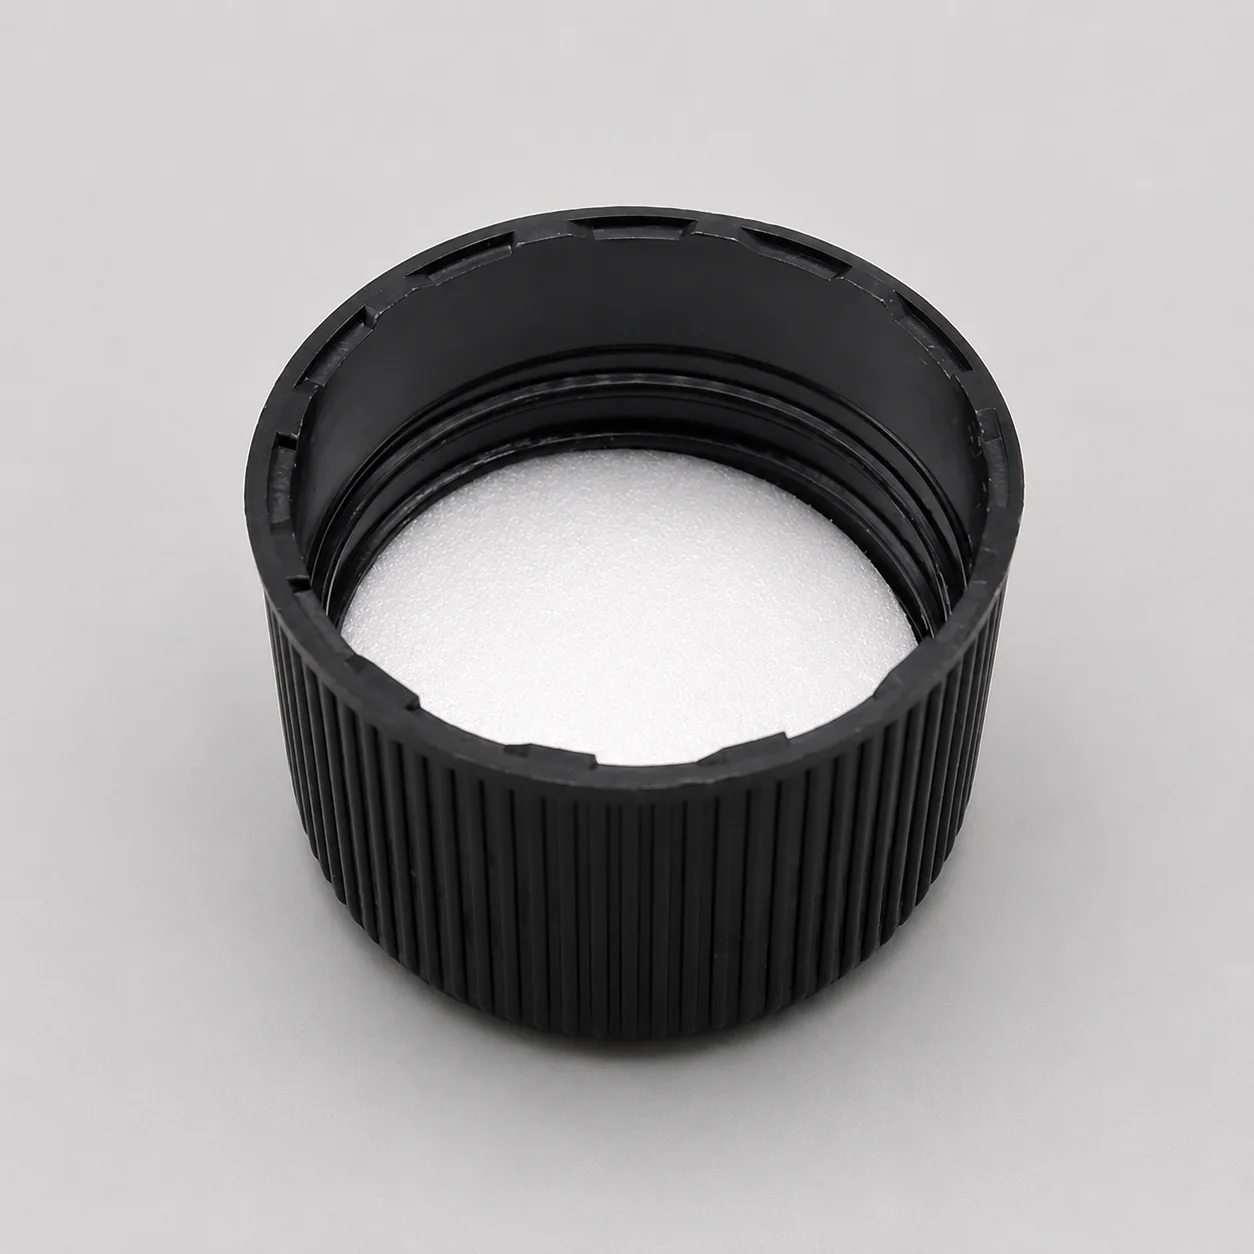
| Seal Type | What to Check | What to Ask For |
|---|---|---|
| Inserted liner | The liner meets the intended sealing surface and compresses correctly | Liner construction, cap specification, and bottle sealing-land condition |
| Linerless plug or molded seal | The molded feature meets the correct bore or land without interference | Closure and finish drawings, bore dimensions, and an approved combination |
| Induction liner | The heat-seal layer suits the container material and the product | Liner specification, bottle material, cap pressure, and a sealing trial |
| Tamper-evident band | The band passes the threads and engages the retaining feature | Band, bridge, and bottle-bead details, plus applied samples |
The Plastics Industry Association publishes a test method for application, removal, and stripping torque on threaded closures for plastic bottles.[4] These are different measurements, not global limits. The useful lesson is that one torque reading cannot prove the whole seal system.
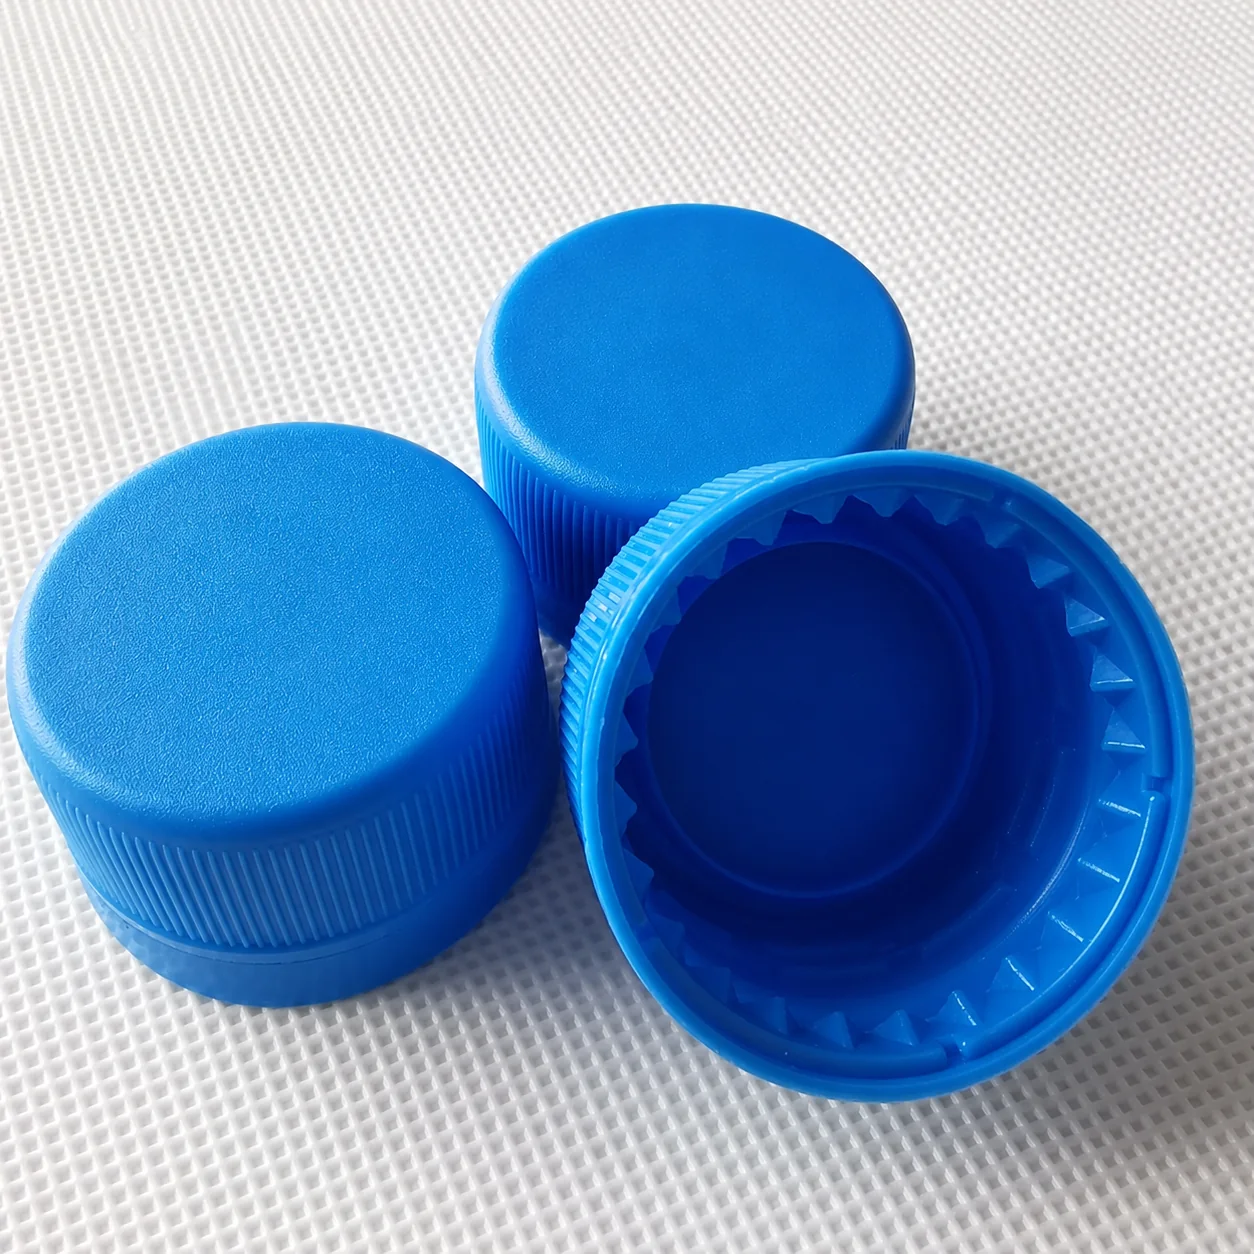
Induction liners need a separate check
Enercon explains that the liner’s sealing layer must be compatible with the container material. The product may also need extra barrier protection.[5] An incompatible liner can look normal before a simple peel check exposes a weak bond.
Use the liner and closure suppliers’ advice for the actual bottle material and product. More sealer power cannot correct the wrong materials.
3. Add the Real Product and Process Conditions
An empty bottle on a workbench is only a starting point. Production may add heat, cooling, vacuum, pressure, product on the bottle rim, induction sealing, or rough distribution.
| Question | Why It Matters | What to Provide |
|---|---|---|
| What product touches the bottle, liner, or cap? | The product can affect materials and seal performance | Product description and supplier compatibility information |
| Is the product filled hot or cold? | Temperature can change bottle shape and sealing behavior | Fill temperature range and cooling steps |
| Will the pack hold pressure or vacuum? | The closure may need pressure retention or venting | Expected pressure, vacuum, carbonation, or off-gassing conditions |
| What happens after capping? | Induction sealing, pasteurization, or retort may change the package | The full process flow and supplier requirements |
| How will the pack be stored and shipped? | Time, heat, vibration, and orientation can reveal later failures | Storage, transport, and package-test conditions |
Selig’s induction-sealing guide asks buyers to consider the container material, product, fill condition, and line speed before a trial.[6] That advice is specific to induction sealing. For other seal types, follow the relevant component supplier’s guidance.
4. Inspect the Bottle and Cap Condition
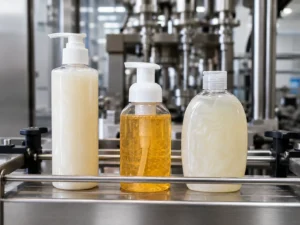
A material name does not tell you how a package will behave. Two PET bottles can have different wall thickness, shape, and stiffness. The same is true for HDPE and other plastics.
The Plastics Industry Association describes vertical compression testing as a way to check how a plastic bottle resists deformation during filling, capping, stacking, and storage.[7] The page offers no single acceptable value for every bottle.
Look at the bottle
- Is it round, square, oval, handled, tall, or offset at the neck?
- Where can the conveyor and bottle belts touch it safely?
- Does the body or neck move when it is guided or held?
- Are the threads and sealing surface clean, round, and undamaged?
Look at the cap
- Check its diameter, height, skirt, knurl, top shape, liner, and tamper band.
- See whether caps nest, stick together, tangle, or change shape in storage.
- Keep the supplier, part number, and production lot with the samples.
Plastic caps can become oval after manufacture or during transport. ISBT discusses this problem and its effect on packaging equipment.[8] Use the supplier’s limit for the actual cap. The public ISBT summary gives no universal number.
5. Check Whether the Package Can Run Automatically
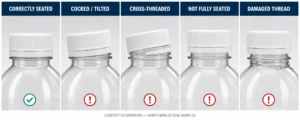
A person can straighten a cap and try again. An automatic feeder cannot make that judgment. It must handle every acceptable cap at the required line speed.
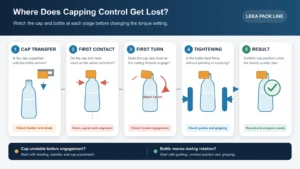
Watch the complete capping sequence:
- Feeding: do the caps separate without nesting or jamming?
- Orientation: can the feeder tell the top from the bottom?
- Placement: does each cap reach the bottle neck straight?
- Bottle control: can the bottle be held without spinning, tipping, or deforming?
- Tightening: does the capping method suit the cap shape and seal design?
- Inspection: can the team check seating, tamper evidence, torque, and leakage?
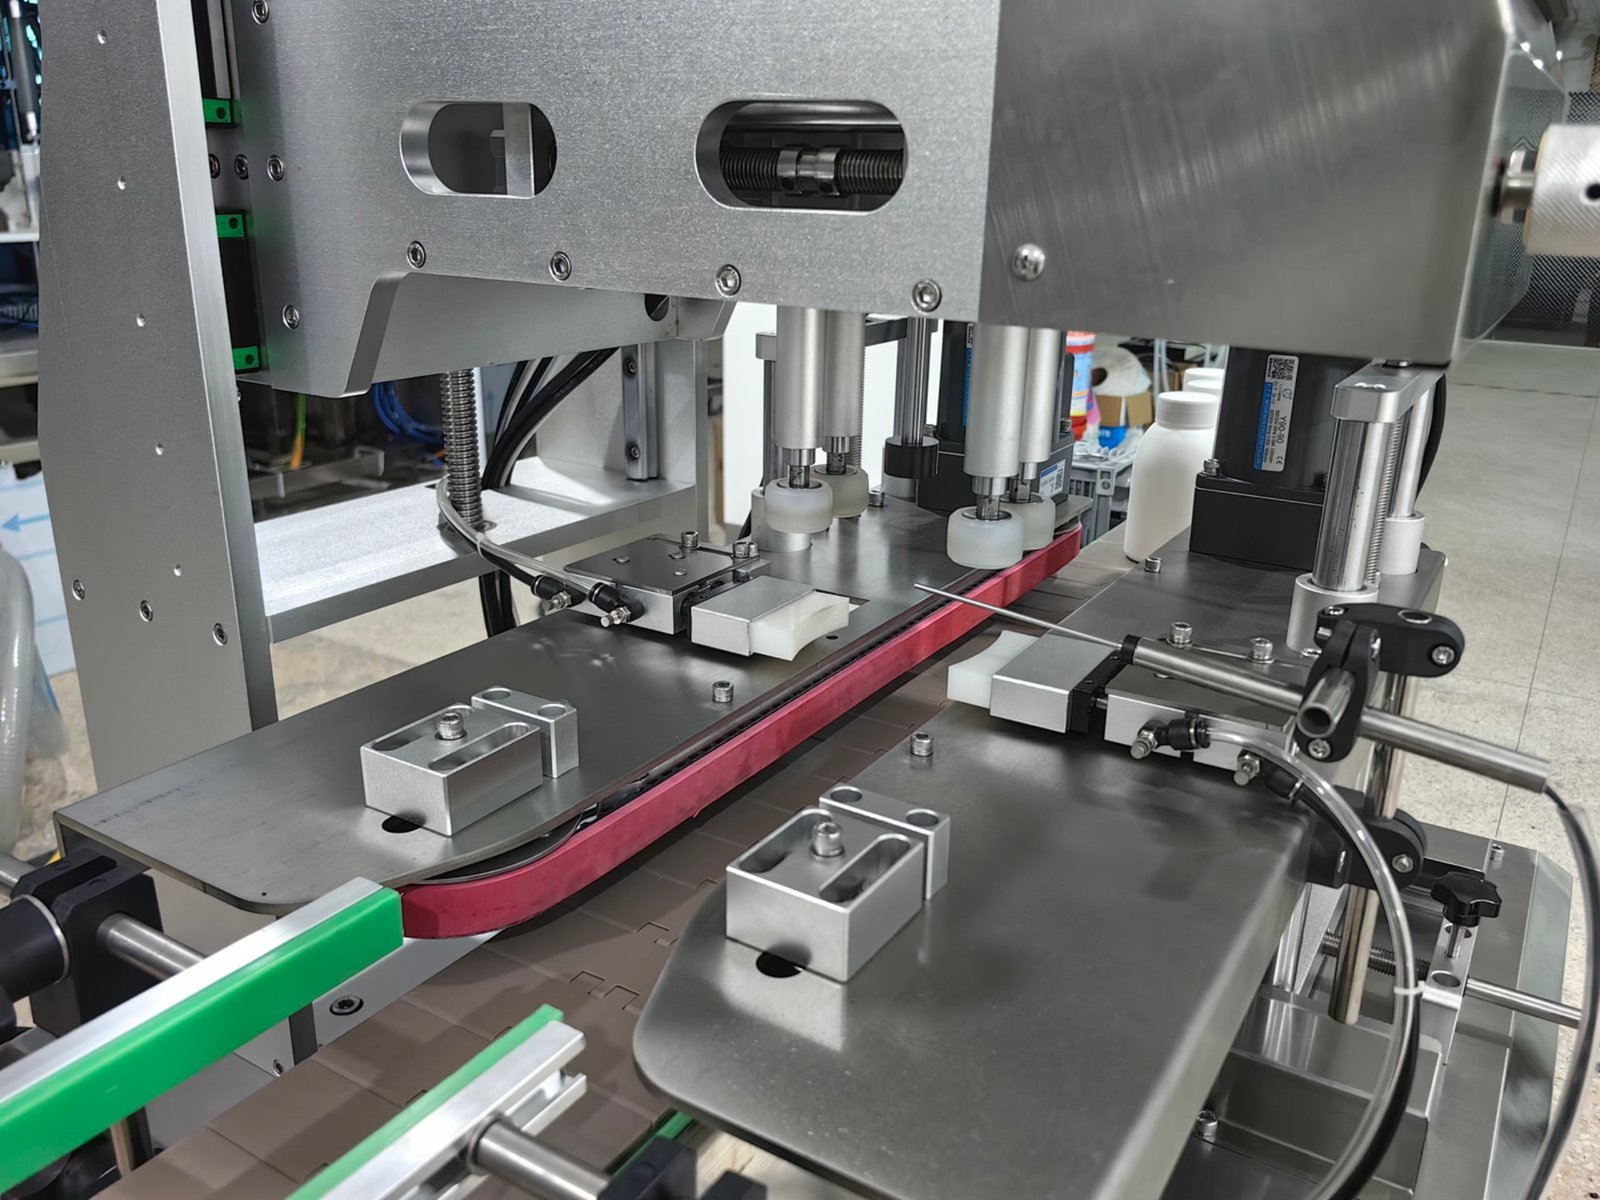
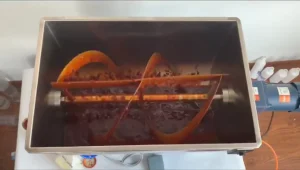
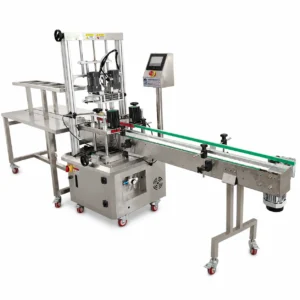
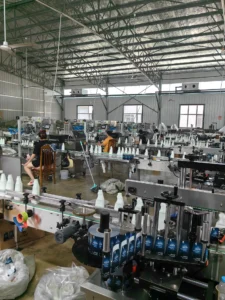
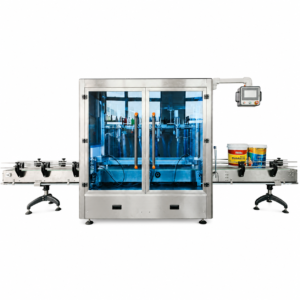
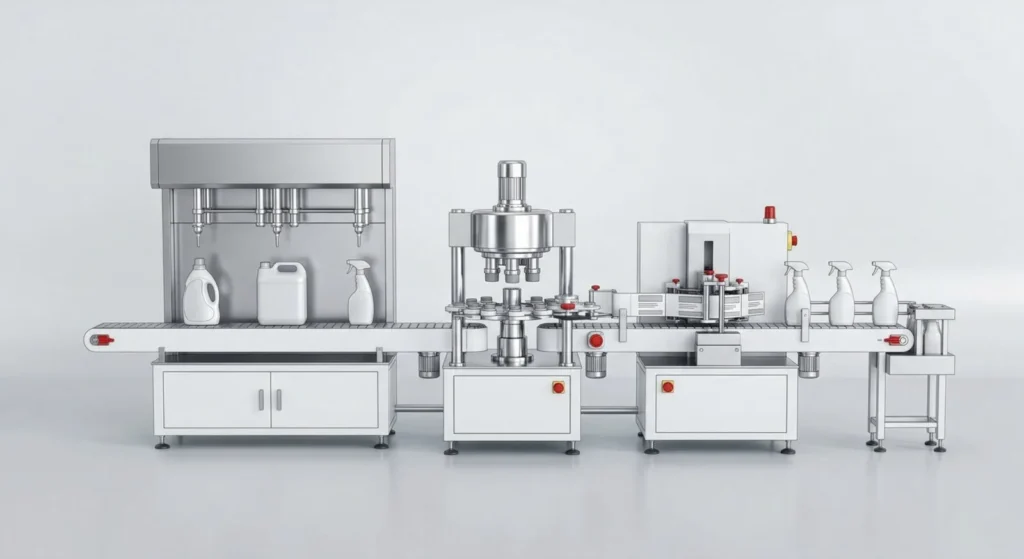
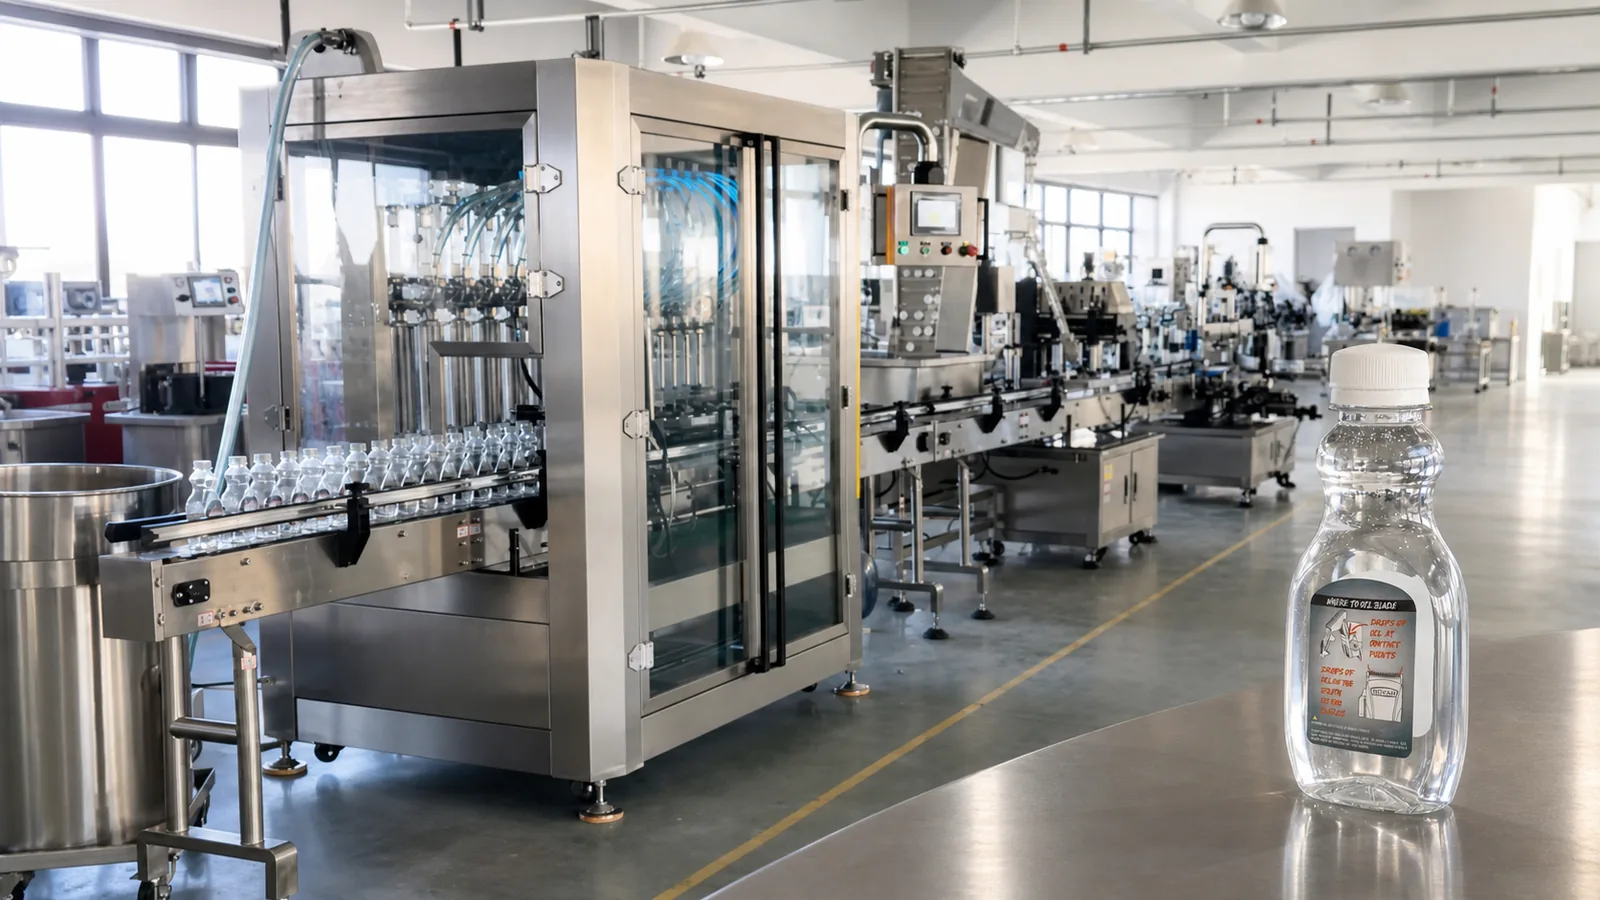
LEKA’s four-wheel roller capping method can suit many common threaded caps, but not every threaded closure. Send physical samples for unusual bottles, irregular caps, and new neck finishes.
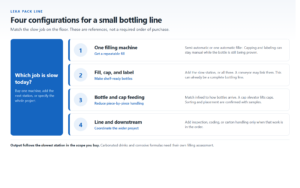
If you are comparing machine types, output, or configurations, see the LEKA capping machine selection page.
What to Send Before a Capping-Machine Trial
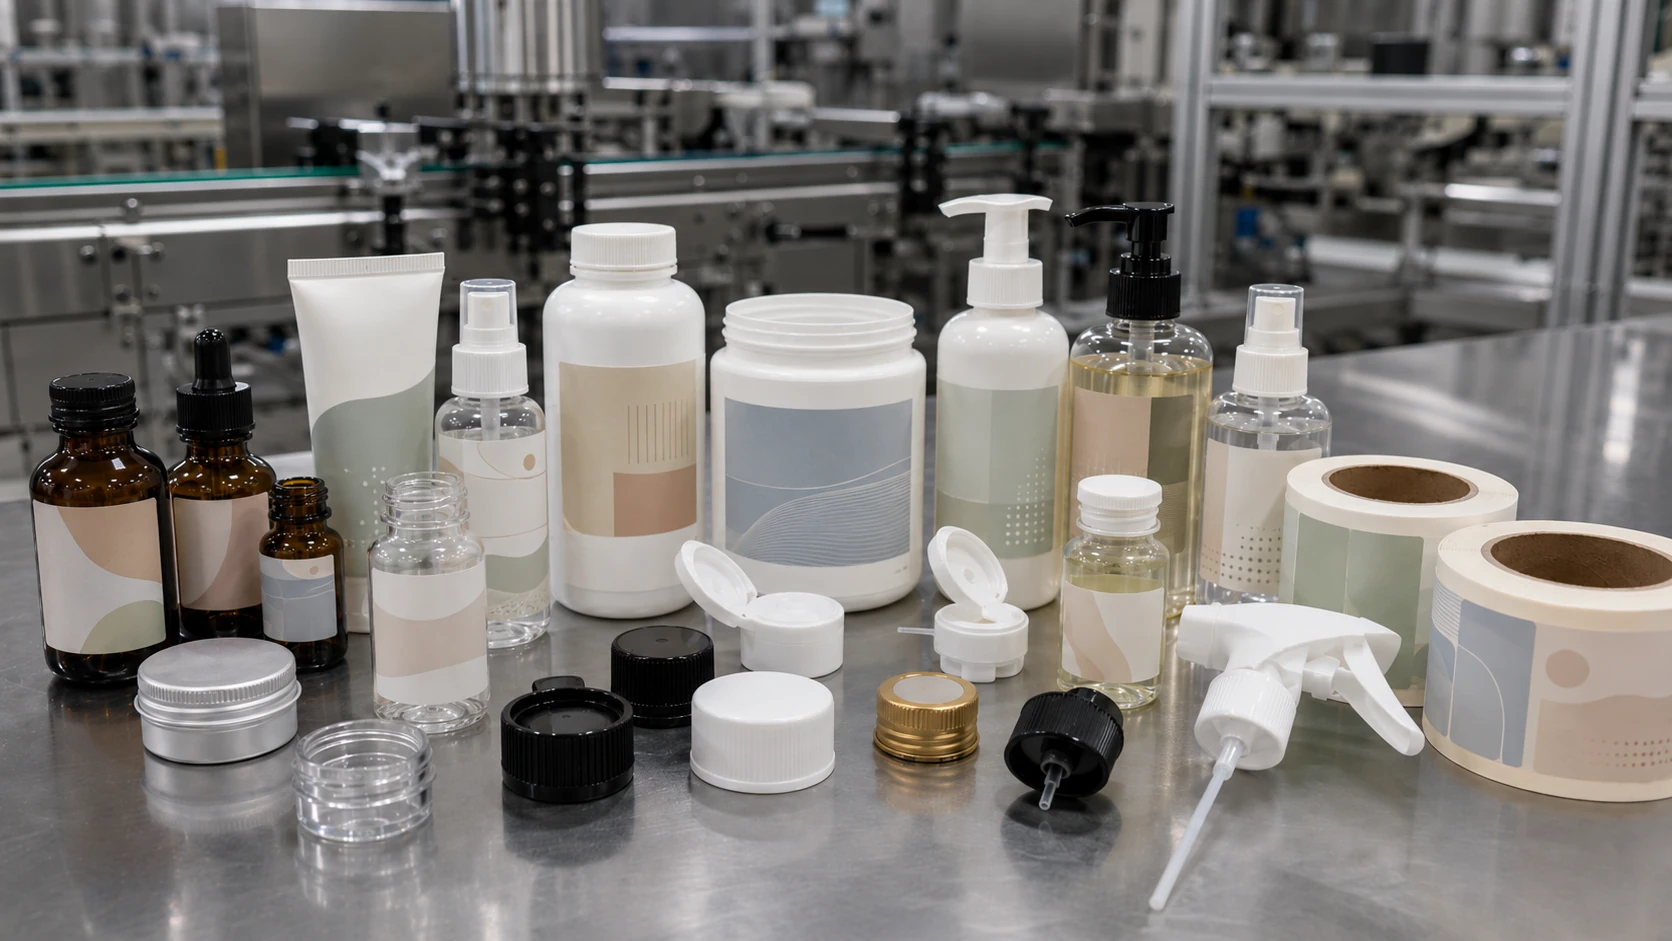
Photos help with the first discussion, but the trial still needs drawings and real samples.
| What to Send | Useful Details | What It Helps Check |
|---|---|---|
| Bottle and neck information | Supplier, part number, material, volume, drawing, finish code, and clear photos | The exact container and neck geometry |
| Cap and seal information | Supplier, part number, drawing, liner or molded seal, tamper band, and inside photos | The exact closure and sealing method |
| Product and process | Product, fill temperature, pressure or vacuum, later sealing, and heat treatment | The real conditions after capping |
| Matched samples | Production-representative bottles and caps with lot identification | Feeding, placement, gripping, tightening, and inspection |
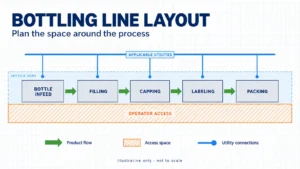
| Line requirements | Target output, format range, changeovers, nearby equipment, utilities, and layout | The machine and line configuration |
| Acceptance plan | Approved torque, seating, tamper, leak, and other test methods | How the trial will pass or fail |
Keep the samples traceable
- Label each bottle-and-cap pair. Do not mix loose caps from different suppliers or lots.
- Send empty and filled bottles if they behave differently on the conveyor.
- Record the bottle and fill temperature when heat can change the package.
- Note storage and transport history if caps may be oval or distorted.[8]
- Record the test environment when temperature or humidity may affect the result. ASTM D4332 describes packaging-test atmospheres rather than setting one condition for every project.[12]
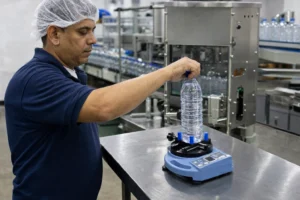
- For torque tests, record the waiting time and environment. ASTM D2063/D2063M-24 measures removal torque on matching continuous-thread packages under set conditions over time.[13]
- Record the torque tester, calibration status, fixture, and alignment. ASTM D3474 covers packaging torque meters.[14] Mark-10 also warns that too much gripping force can deform a thin bottle and that off-axis loading can affect the reading.[15]
There is no sample count that proves every package. Agree on the quantity, lot coverage, and trial length for the actual project.
Use a Staged Validation Process
Do the simple checks before the production-speed trial. This saves time and makes failures easier to understand.
- Identify the parts. Confirm suppliers, part numbers, drawings, finish code, and liner details.
- Define the real process. Record the product, temperature, sealing steps, storage, and distribution conditions.
- Inspect the samples. Make sure they match the documents and are not damaged or distorted.
- Run a slow screening trial. Watch thread engagement, cap placement, bottle control, and visible seal contact.
- Run the agreed machine trial. Check feeding, orientation, placement, tightening, and the finished package.
- Test and record the result. Use the approved torque, leak, tamper, and package-integrity methods. Record the accepted combination and machine setup.
Torque is only one part of the result. Read the bottle capping torque guide for application and removal torque. Use the separate guide on how to measure bottle cap torque for a controlled test method.
A package may also need a leak or integrity test. ASTM D5094/D5094M-24 covers qualitative gross-leak testing for threaded and lug-style closures within its stated scope.[10] Treat leakage as a separate check even when the torque result is acceptable.
Shortcuts That Often Cause Trouble
- “Both parts are 28 mm.” Diameter does not describe the complete thread and seal.
- “It works by hand.” A hand test does not check feeding, placement, output, or repeatability.
- “The torque is correct.” Torque alone does not prove thread engagement or seal integrity.
- “All PET bottles behave the same.” Shape, wall thickness, and stiffness can be different.
- “One sample passed.” One good sample does not represent every lot or production condition.
If an existing line has loose, tight, tilted, or cross-threaded caps, use the bottle capping problem diagnosis guide.
Frequently Asked Questions
How Do I Confirm Bottle Cap Compatibility?
Check the exact bottle finish and cap part number with both suppliers. Review the drawings, seal design, and tamper feature. Then test identified samples under the real process conditions.
Are 28-400 and 28-410 caps interchangeable?
No. They are different finish series. Ask the bottle and cap suppliers to approve the exact parts.
Does a matching neck-finish code guarantee a leak-free bottle?
No. It confirms only part of the mechanical fit. The seal, liner, bottle surface, product, capping process, storage, and transport still need checking.
Can one induction liner work with every plastic bottle?
No. The liner’s heat-seal layer must suit the container material. The product may also need a different barrier structure.
Why does bottle stiffness matter?
The bottle must stay stable while it is guided, held, and capped. If it changes shape, cap placement and tightening can also change.
Can one machine handle every threaded cap?
No. Caps differ in size, height, shape, material, liner, tamper band, and feeding behavior. Confirm the planned range with samples.
How many bottle and cap samples should I send?
There is no universal quantity. Base it on the package variation, trial length, required checks, and number of production lots.
When should compatibility be checked again?
Check again after a meaningful change to the bottle, cap, liner, supplier, material, finish, product, process, or machine setup.
Send the Package, Not Just a Cap Size
Before choosing a capping-machine configuration, send LEKA the bottle and cap drawings, matched samples, liner details, and tamper details. Include the product, fill conditions, target output, and factory layout.
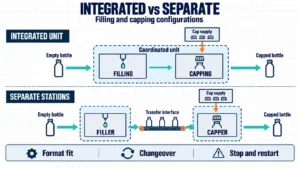
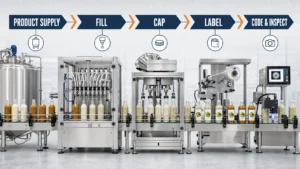
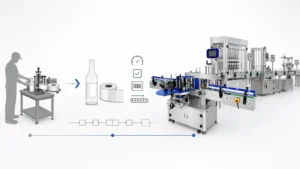
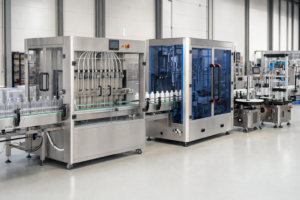
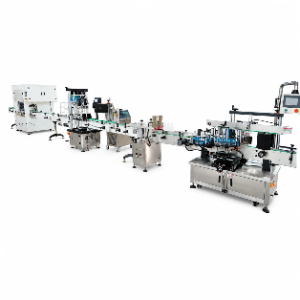
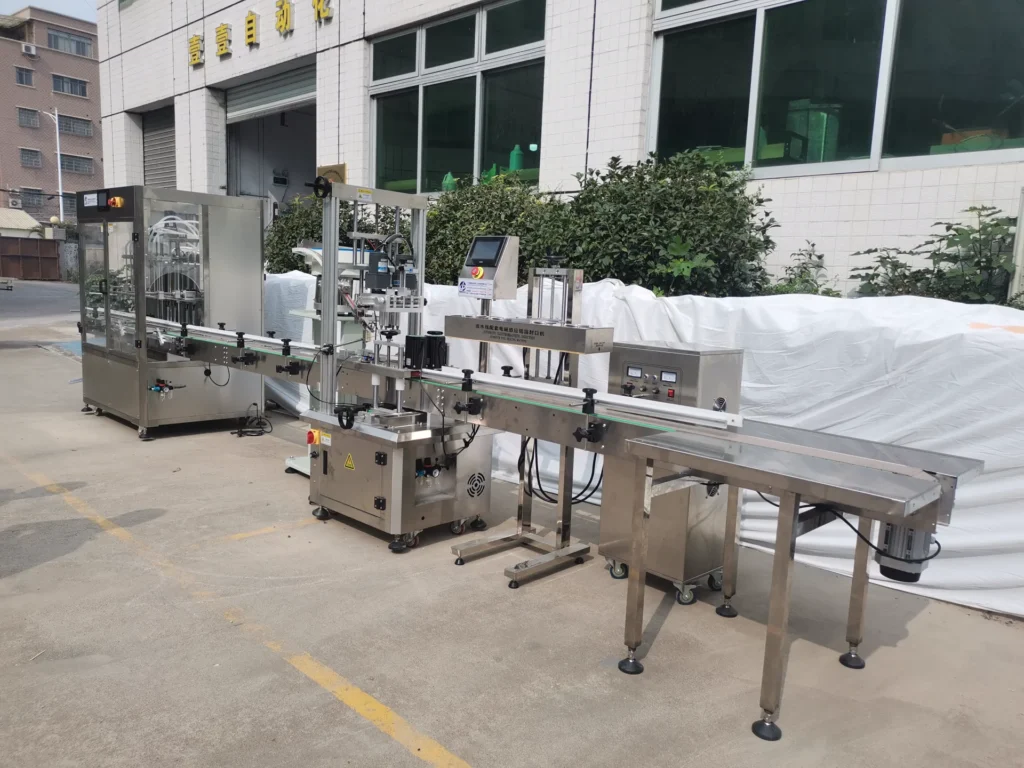
LEKA can review the capping station as a standalone project or as part of a complete bottle packaging line. Physical samples are still needed for special bottles and unusual caps.
Send your bottle, cap, and production requirements for a sample-based capping review.
Technical References
- ISBT PTC-00019: Plastic Bottle Closure Qualification Test Manual
- ASTM D2911/D2911M-16(2023): Standard Specification for Dimensions and Tolerances for Plastic Bottles
- ISBT Packaging Guidelines: Liners, Tamper Evidence and Closure Types
- Plastics Industry Association: Method of Test for Closure Torque
- Enercon: How Liner and Bottle Compatibility Affects Induction Seal Integrity
- Selig Group: PHT Guide for Induction Sealing
- Plastics Industry Association: Vertical Compression Test
- ISBT PTC-00022: Plastic Closure Ovality Guideline
- The Cary Company: Guide to Neck Finishes
- ASTM D5094/D5094M-24: Standard Test Methods for Gross Leakage of Liquids from Containers with Threaded or Lug-Style Closures
- CETIE GME: Finish Data Sheets for Glass and PET Packaging
- ASTM D4332-22: Standard Practice for Conditioning Containers, Packages, or Packaging Components for Testing
- ASTM D2063/D2063M-24: Measurement of Torque Retention for Packages with Continuous Thread Closures
- ASTM D3474-23: Calibration and Use of Torque Meters Used in Packaging Applications
- Mark-10 Series TT01 Digital Cap Torque Testers User’s Guide