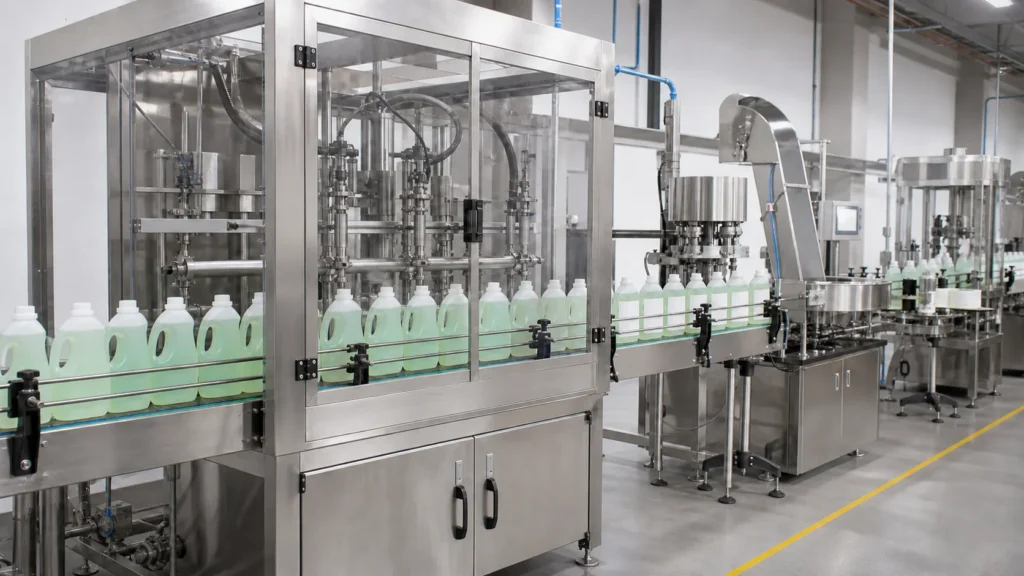
Dishwashing Liquid Filling Machine: How to Choose the Right Line
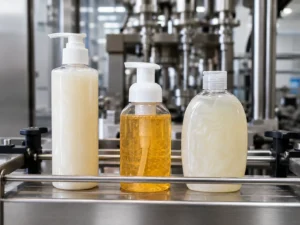
Two dish soaps can look almost identical on a store shelf and behave quite differently at the filler. One settles quickly after entering the bottle. Another climbs the neck with foam or draws a string as the nozzle closes. That is why a dishwashing liquid filling machine should be selected from the real formula, bottle, cap, fill range, and accepted line output—not from the product name alone.
This guide is for household-cleaning-product manufacturers, contract fillers, purchasing teams, production managers, and engineers planning a new line or replacing a troublesome filling step. It covers bottled hand dishwashing liquid, often called dish soap in the United States and washing-up liquid in the United Kingdom. It does not cover powder, tablets, or detergent formulated for an automatic dishwasher. If your project fills larger 1–5 L laundry bottles, review our 1–5 L laundry detergent filling guide for foam-control, container, capping, and line-planning checks.
Quick answer: Servo piston and servo-controlled pump fillers are practical starting points for many dishwashing-liquid projects. The final choice still depends on how the product foams and cuts off, the bottle neck, the closure, cleaning expectations, and the connected-line target. Test those conditions with representative samples before approving the machine structure.
Key Takeaways
- Prepare product photos, container dimensions, and the required output, usually specified in bottles per hour (BPH).
- Foam control is a product-path problem. Nozzle position matters, but so do feed stability, air entry, fill speed, and cut-off.
- A cap feeder that cannot orient the closure reliably can limit the line before the filler reaches its planned rate.
- Compare stable output from the connected line, not the fastest isolated cycle shown in a catalog.
- Write FAT checks around observable results: fill result, foam, bottle-neck cleanliness, closure, label, restart behavior, and sustained running.
Table of Contents
- Which filling machine fits your product?
- Foam, viscosity, and the last drop
- A better way to control foam and dripping
- How bottles and caps affect the line
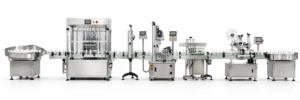
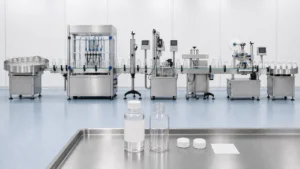
- What belongs in a complete line?
- How to size output and automation
- Six buying mistakes to avoid
- RFQ and FAT checklist
- Frequently asked questions
Which Dishwashing Liquid Filling Machine Fits Your Product?
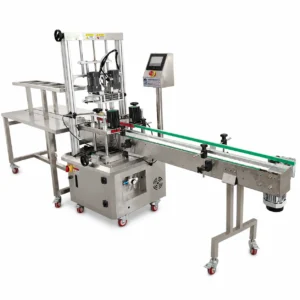
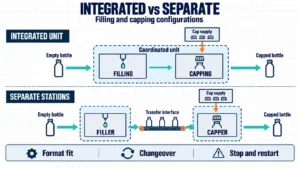
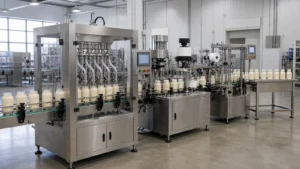
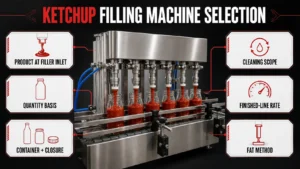
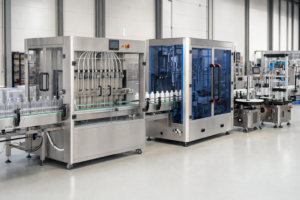
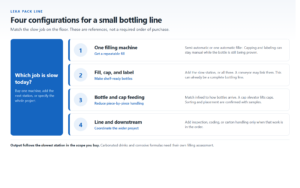
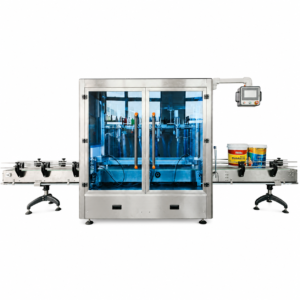
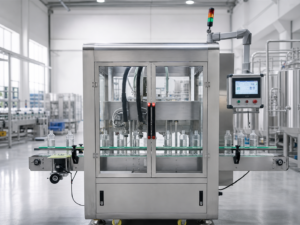
For many projects, the practical shortlist begins with a servo piston filler and a servo-controlled pump filler. Neither wins by default. The decision is made by the product path you need, the fill-volume range, the way the product stops at the nozzle, the cleaning method, and what happens when the machine is connected to the capper and labeler.
Start with realistic options, not one universal answer
| Project condition | Filling route to evaluate | Questions to settle in a test |
|---|---|---|
| Thicker, reasonably uniform dishwashing liquid | Servo piston filling | Can the product enter and leave the dosing path cleanly? Does the valve/nozzle cut off without leaving a string? Is the selected fill range practical? |
| A formula or factory layout better served by a pump-fed path | Servo-controlled pump filling | Which pump and seals suit the product? Is flow stable across the planned range? Can operators clean and inspect the product path? |
| A thinner or unusual formula | An alternative metering method after a product trial | Does it control foam, dose repeatably, and stop cleanly with the actual bottle neck? |
| Several products or package sizes on one line | A configured piston or pump system with recipes and change parts as required | Which SKUs are included? What must be adjusted or changed? What output remains achievable after those conditions are applied? |
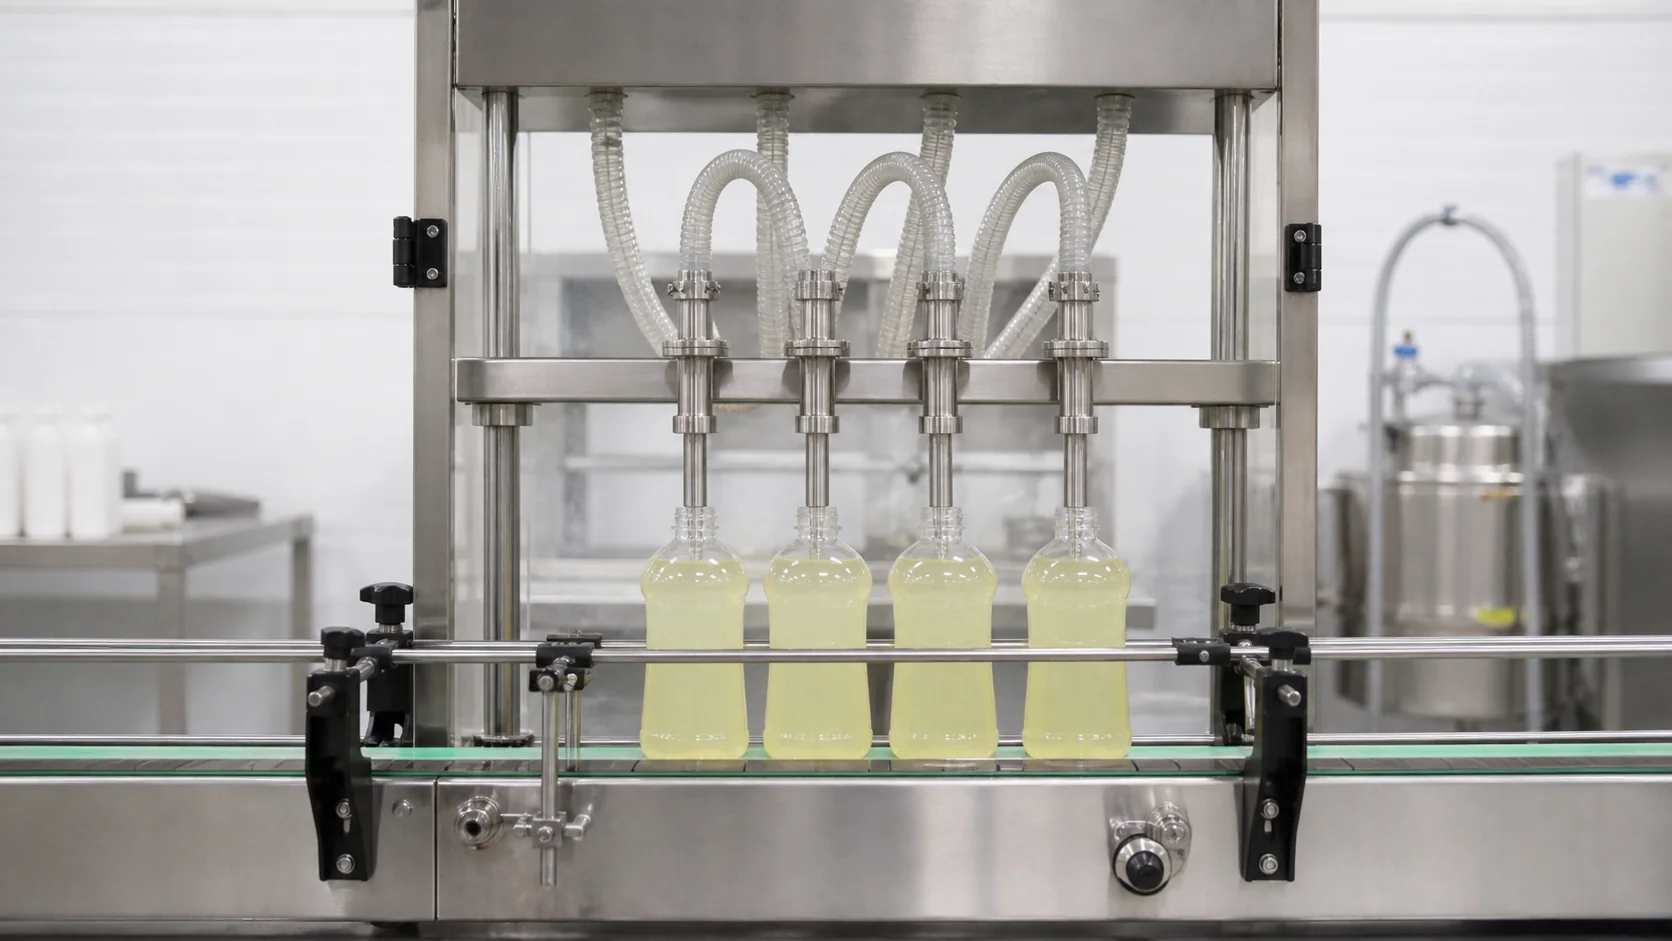
Be wary of a recommendation built around a single viscosity number. Dishwashing-liquid formulations differ, and foam behavior is not fixed by the label on the bottle. A 2025 Journal of Oleo Science study examined how nonionic surfactant additions changed foam formation in dishwashing-detergent systems. It is formulation research, not a filling-machine test, but it supports an important procurement point: products sold under the same category can behave differently at an air-liquid interface. (PubMed record and DOI)
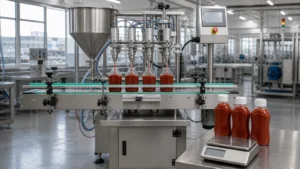
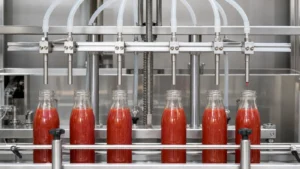
The filler also has to be treated as a product path rather than a named dosing device. Product supply, tank or hopper, pump or cylinder, hose, valve, and nozzle affect one another. A small restriction upstream can produce a different result at the nozzle; a clean nozzle cannot compensate for an unstable feed.
LEKA can review piston, pump, and application-specific options for household cleaners. A chemical filling machine project still has to account for the formula, container, closure, and line requirements. Use those inputs to frame the project, then confirm the dish-soap configuration with samples.
Foam, Viscosity, and the Last Drop at the Nozzle
Most filling problems in this application appear in plain sight: foam reaches the shoulder too early, the product takes longer than expected to settle, or a thin string lands on the neck after the nozzle closes. Those symptoms may come from different parts of the process, so one setting rarely fixes all of them.
Foam can build when the product drops too far, enters too quickly, encounters turbulence, or carries air from the feed side. The formulation itself matters as well. Research on dishwashing detergents links foam formation to surfactant-system behavior, which is another reason to test the saleable formula rather than clean water. (Asano et al., 2025)
Viscosity needs the same care. Instead of asking for one room-temperature value and treating it as the whole specification, ask what the product will be like when it reaches the filler. If production temperature, holding time, or batch variation changes its flow, include those conditions in the test plan.
| What you see | Where to look first | What to record |
|---|---|---|
| Foam rises rapidly during the fill | Drop height, initial flow, nozzle movement, air in the product supply | Foam height, settling behavior, bottle position, and the point in the fill when foam accelerates |
| Fill time changes between runs | Product condition, feed level or pressure, restrictions, recipe settings | Product condition, start/end time, machine settings, and which heads or SKUs changed |
| A string or drop remains after cut-off | Nozzle/valve closure, suck-back if fitted, residue, seals, timing | Whether one head or all heads are affected and whether the fault appears after a pause |
| Bottle necks become wet | Nozzle alignment, cut-off, bottle centering, splash, delayed drops | Neck condition over a run, not only on the first acceptable bottle |
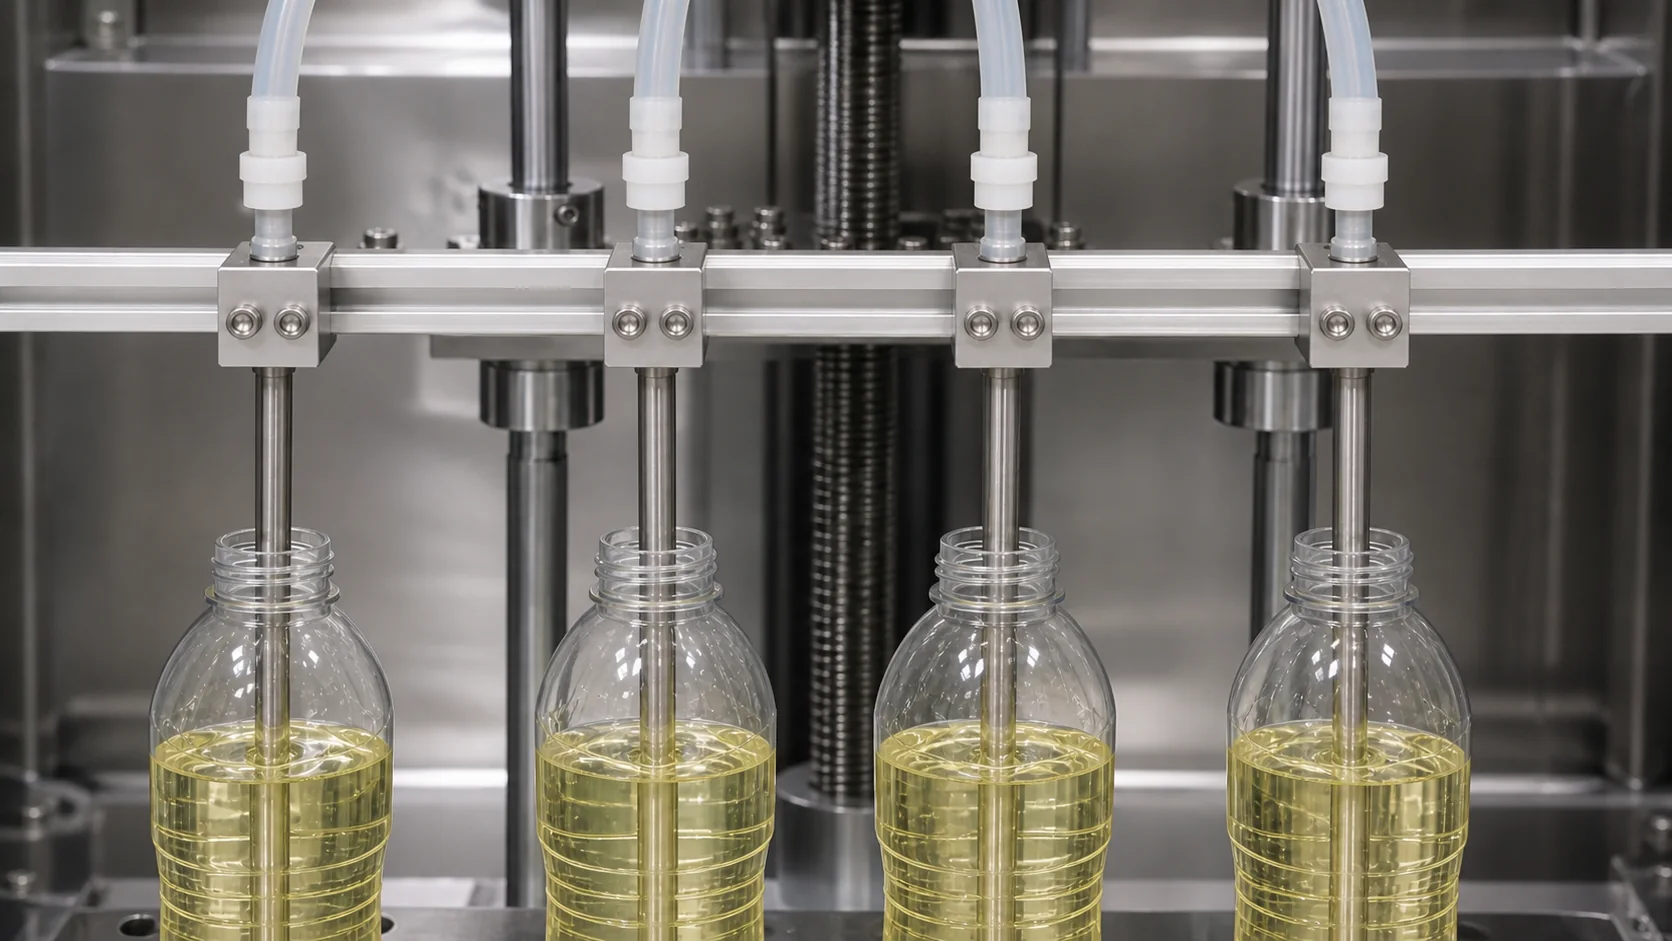
This distinction saves time. If one head drips, inspect the local product path before rewriting the whole recipe. If every head changes together, look upstream and at shared settings. The machine trial should make that diagnosis possible.
A Better Way to Control Foam and Dripping
The usual hardware list—diving nozzle, slow fill, anti-drip valve—is useful but incomplete. A better specification connects each observed problem to a control and then defines what the buyer will watch during the test.
| Observed problem | Control to evaluate | Evidence to collect at FAT |
|---|---|---|
| Product splashes at the start | Reduce the initial flow, move the nozzle closer, or use bottom-up/diving motion where the package permits it | Video from the side and a clear view of the bottle mouth during fill start |
| Foam climbs near the end | Use a staged profile with a slower final portion; review nozzle position and product feed | Foam level at stop and after the agreed settling condition |
| Product strings after the valve closes | Adjust cut-off timing; evaluate anti-drip closure or suck-back where suitable | Neck and conveyor condition over an agreed run, including a pause and restart |
| Heads do not behave alike | Balance the feed path and inspect local valves, seals, restrictions, and settings | Results identified by filling head rather than pooled into one average |
Bottom-up filling is not automatically the right answer. A diving nozzle adds movement, requires room in the bottle neck, and has to match bottle centering. Suck-back is also conditional: too little may leave a string, while the wrong setting can pull air or product back in a way that changes the next cycle. The point of a trial is to set the profile around the product, not to prove that a feature exists.
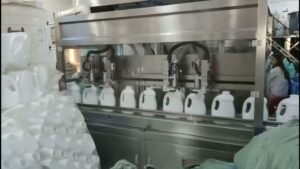
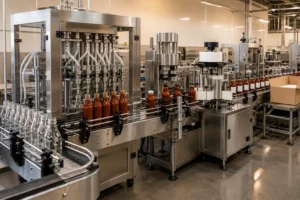
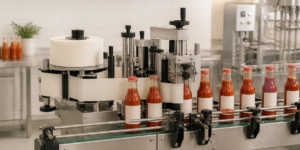
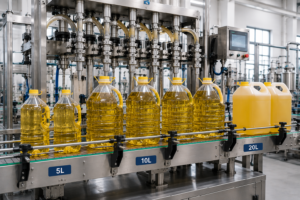
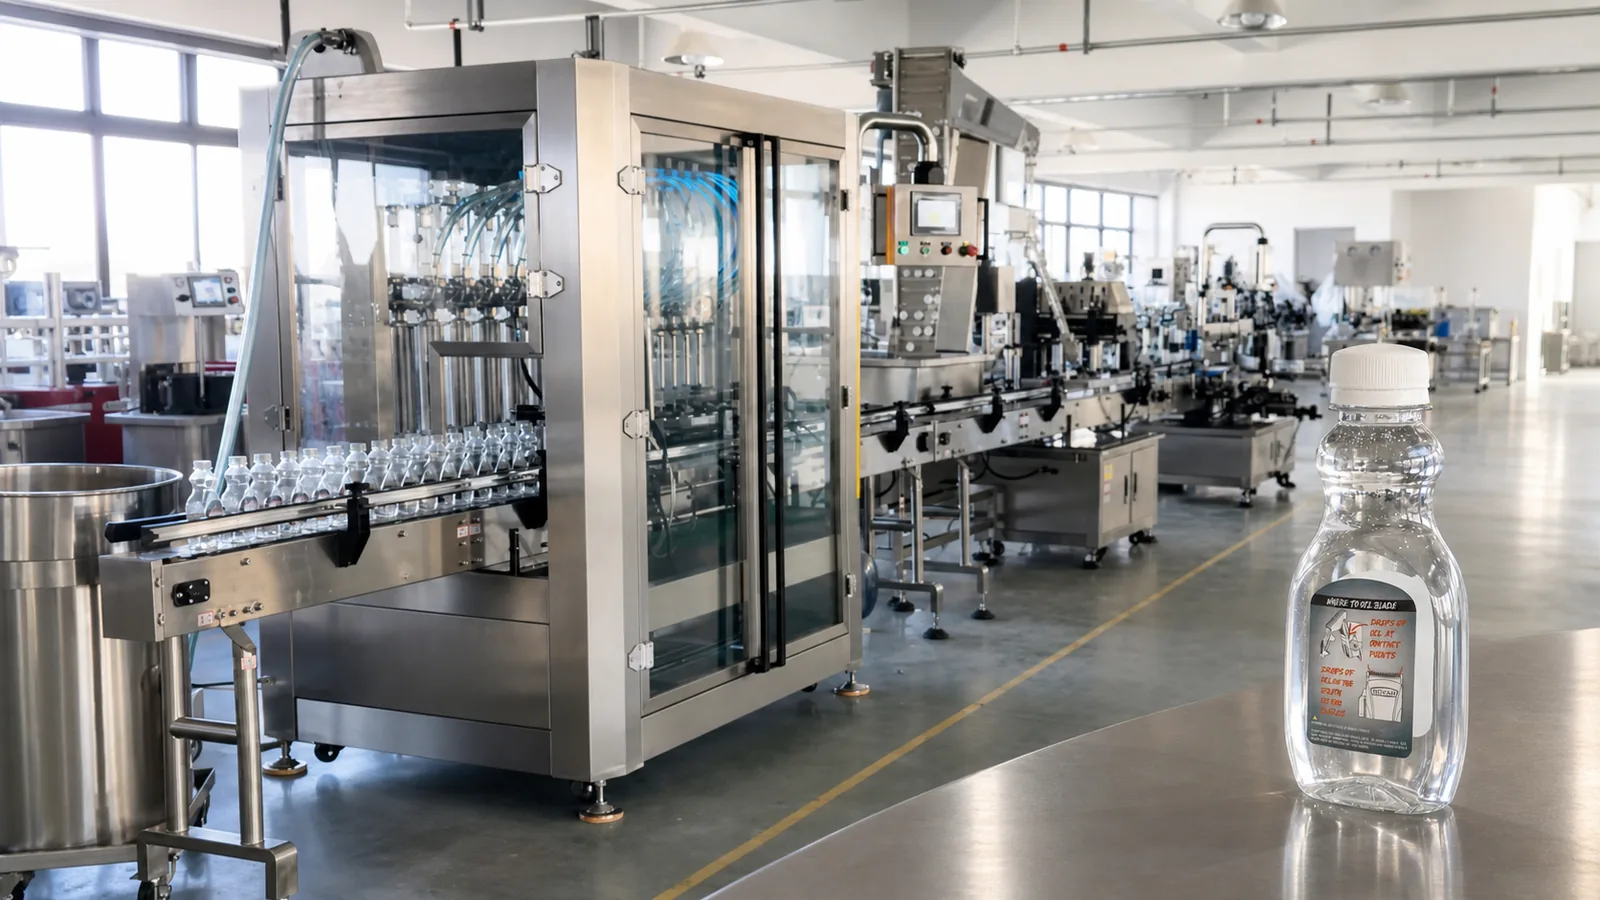
LEKA's detergent filling line options shows piston, pump, and anti-foam filling as options selected by formula behavior. It also makes sample confirmation part of the process. For a visible connected-line reference, see the detergent filling, capping, labeling, and carton-taping video. Its published page does not claim a measured running speed; your quotation should be just as explicit about what has and has not been tested.
The Bottle and Cap Can Set the Pace
A clean fill is only useful if the open bottle travels steadily to the closing station. Lightweight squeeze bottles may need close guide control. A narrow neck limits nozzle clearance. A tall bottle with a small base can lean when guides or belts are set for another format. None of those problems is solved by increasing the filling speed.
Check the bottle where the machine touches it
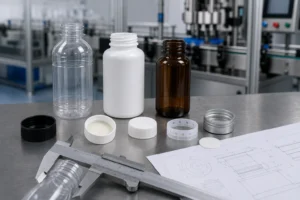
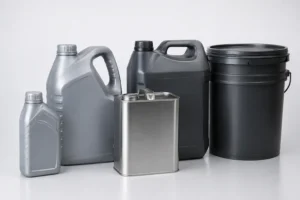
Provide a drawing, but send samples as well. The line builder needs to see the base, side-wall rigidity, neck opening, shoulder, handle if present, and label panels. Mark the planned fill line. If the bottle is easily squeezed by side belts or guides, that belongs in the trial.
A flip-top closure is its own handling problem
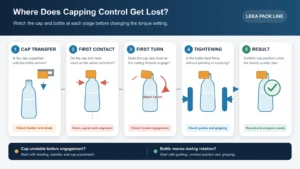
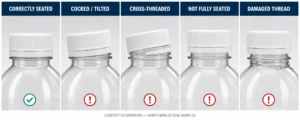
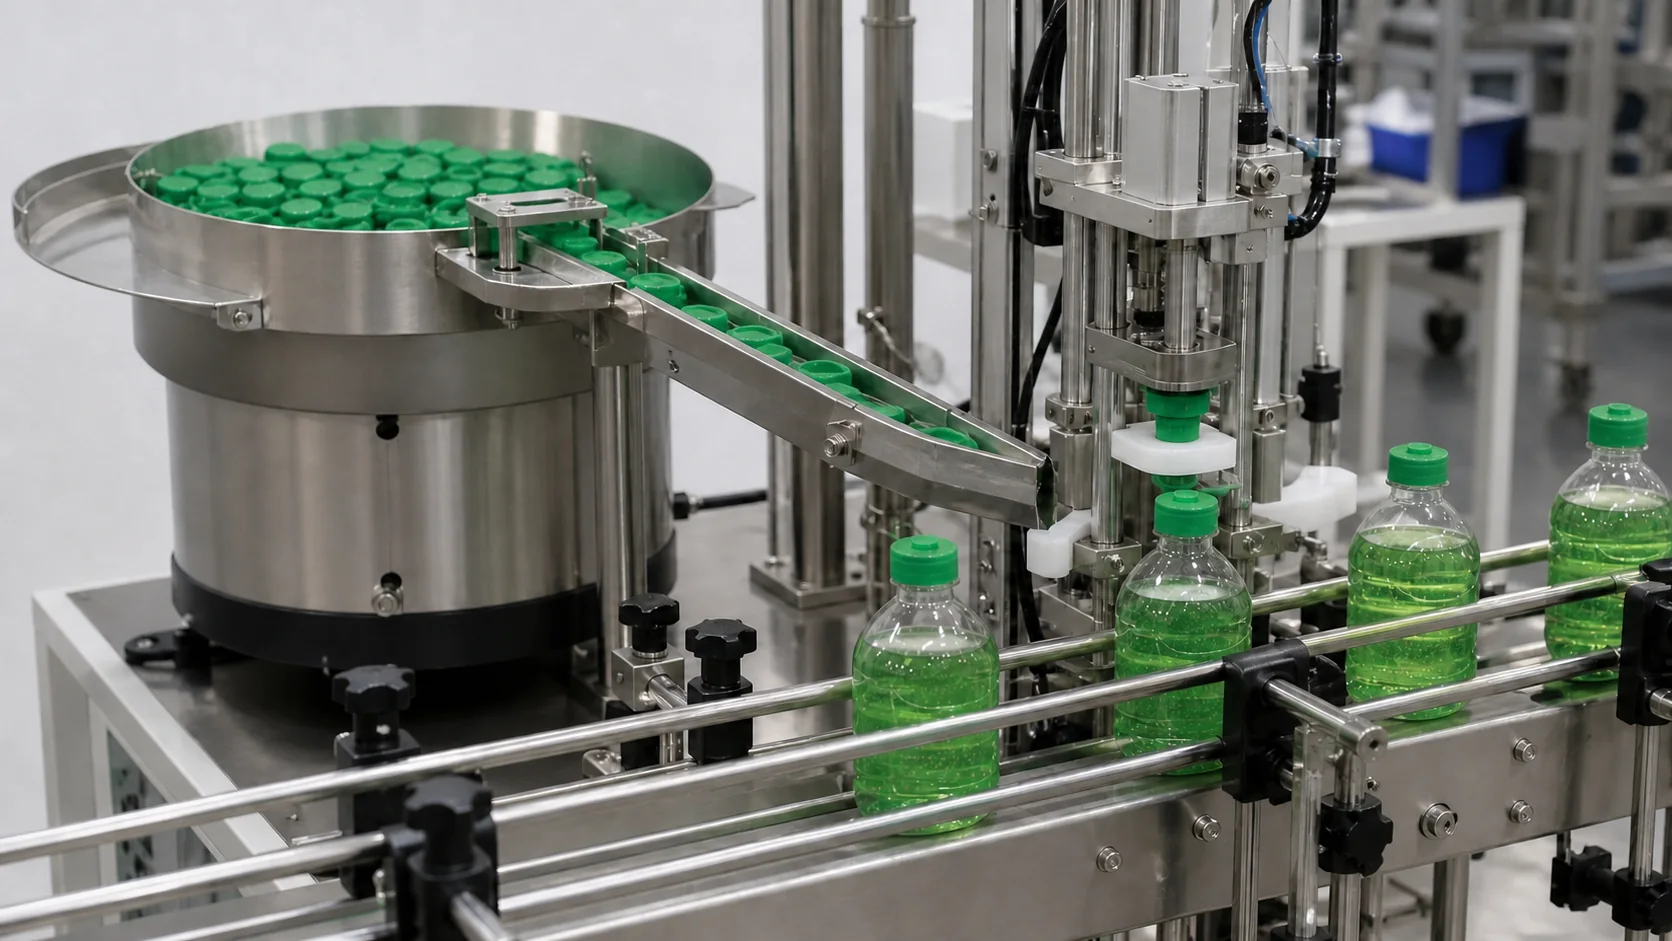
Do not reduce the cap specification to a diameter. A flip-top closure has an orientation, hinge, profile, and closed condition that can affect sorting and placement. Standard screw caps also vary in thread start, height, stiffness, and how they arrive at the feeder.
Separate the steps in the proposal:
- Sort and orient the closure.
- Deliver it without jams or damage.
- Place it squarely on the bottle.
- Engage and tighten or otherwise close it.
- Check the agreed closure result.
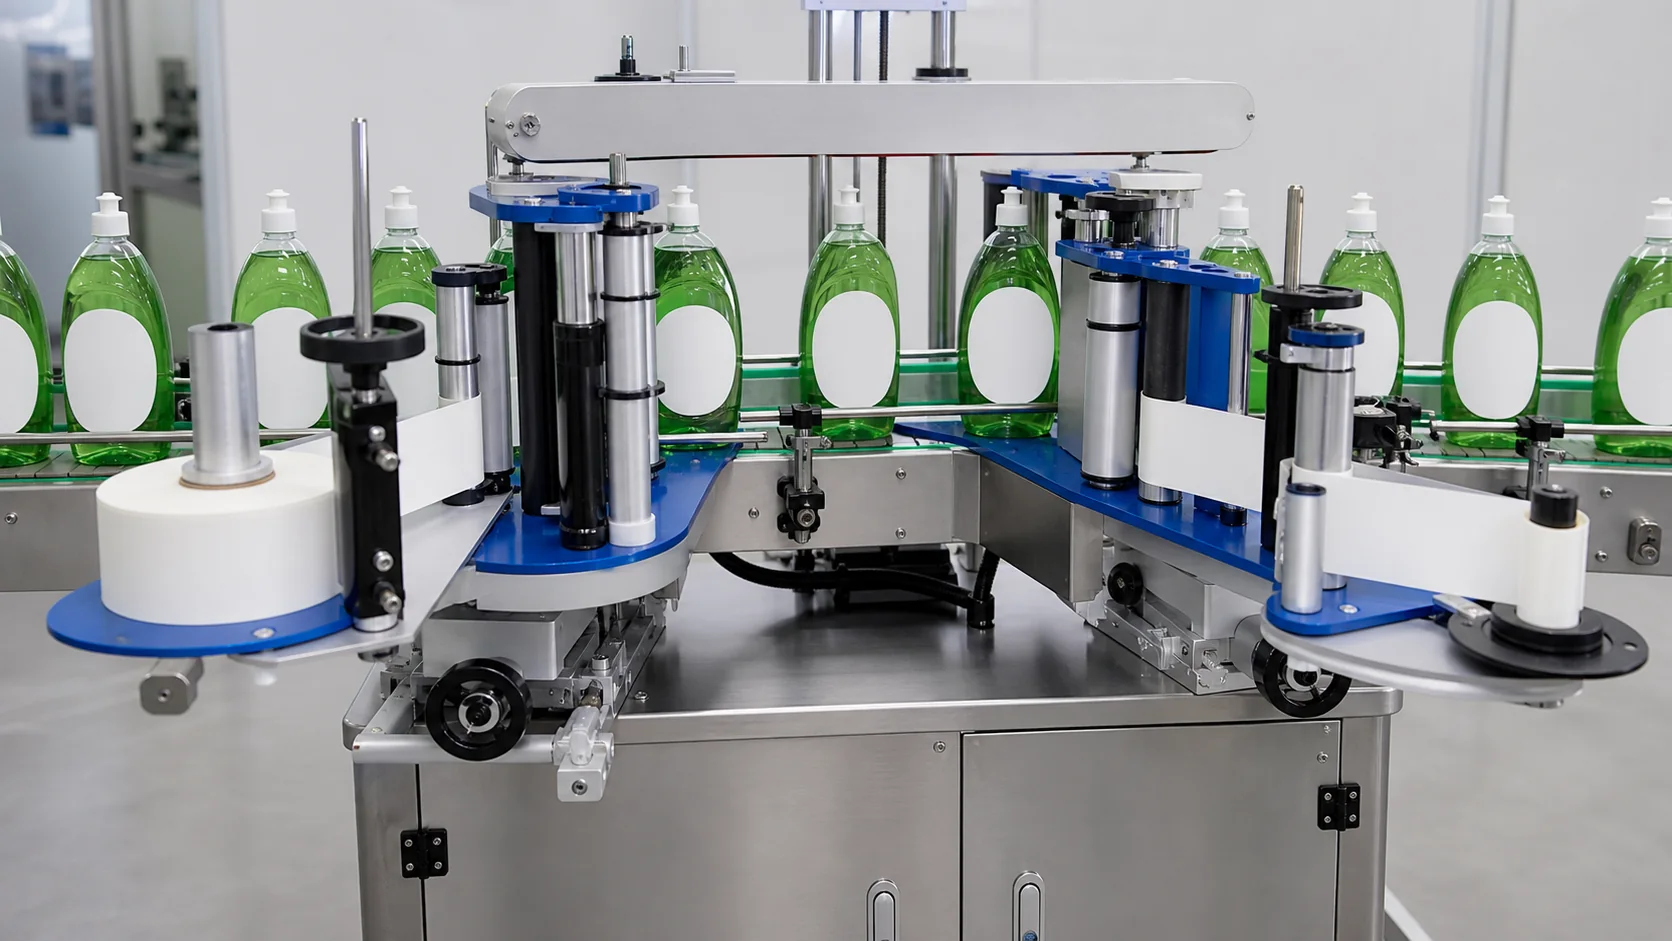
Induction sealing belongs in the line only when the bottle, liner, and closure system require it and have been checked together. Labeling follows the same rule: the front/back panels, label material, bottle surface, and artwork position determine the setup. The household chemical line planning guide provides a broader checklist for these package and layout decisions.
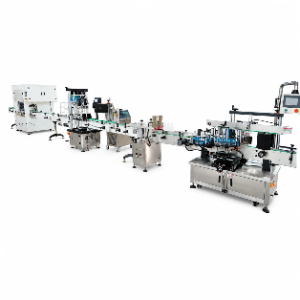
What Belongs in a Complete Dishwashing Liquid Filling Line?
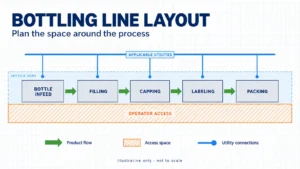
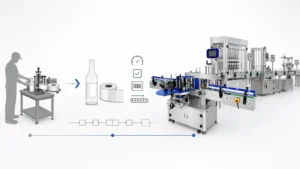
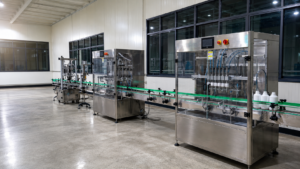
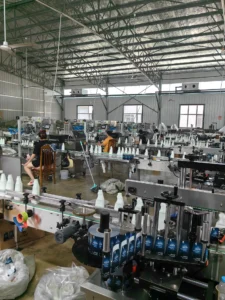
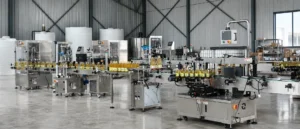
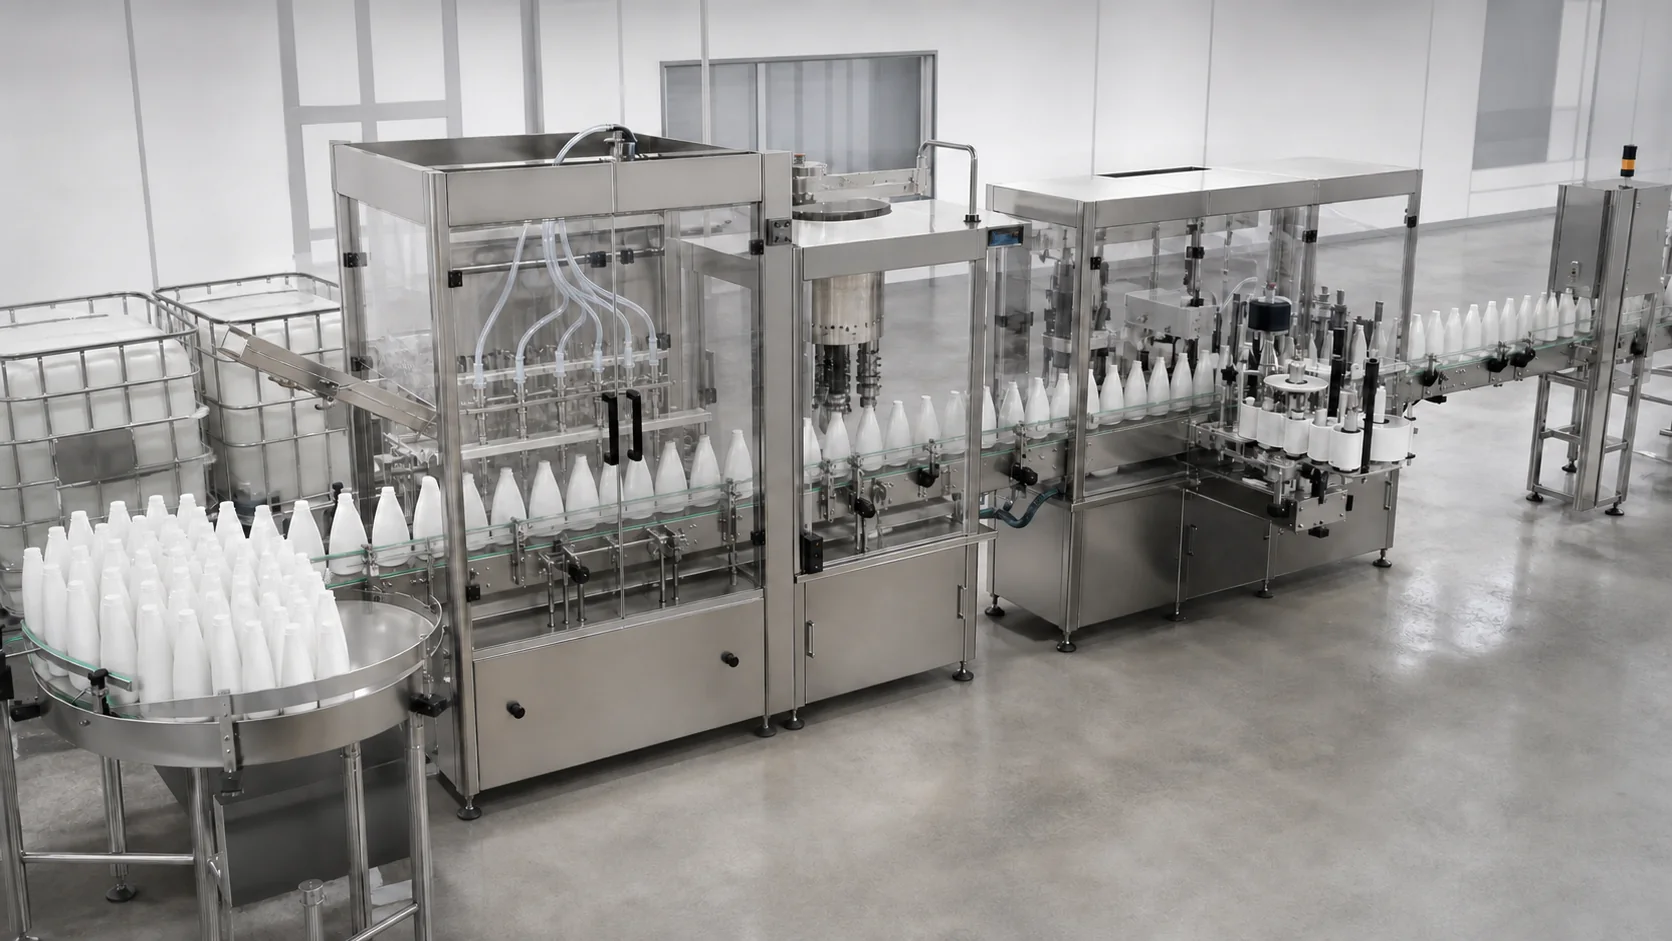
A complete line is a sequence of agreed operations, not a promise to include every machine in a catalog. For one factory, operators may place bottles and caps manually. Another project may need automatic bottle feeding, cap sorting, inspection, coding, and downstream packing. Write the boundary down.
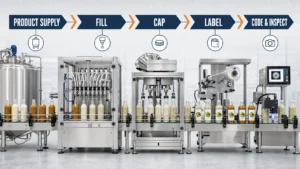
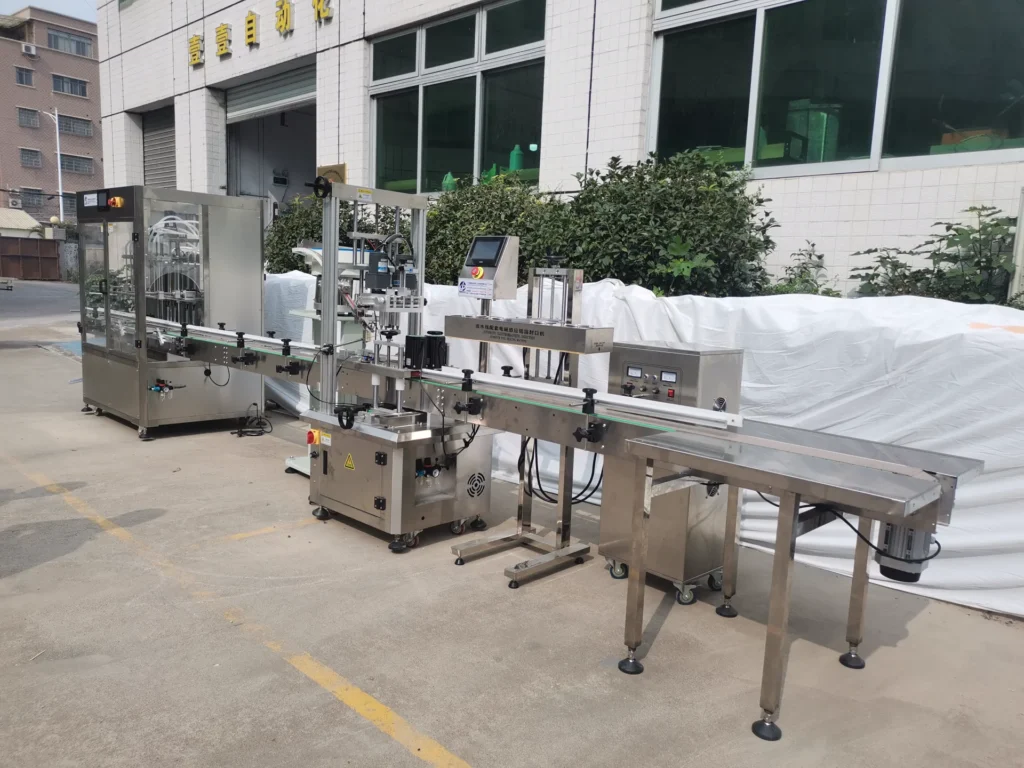
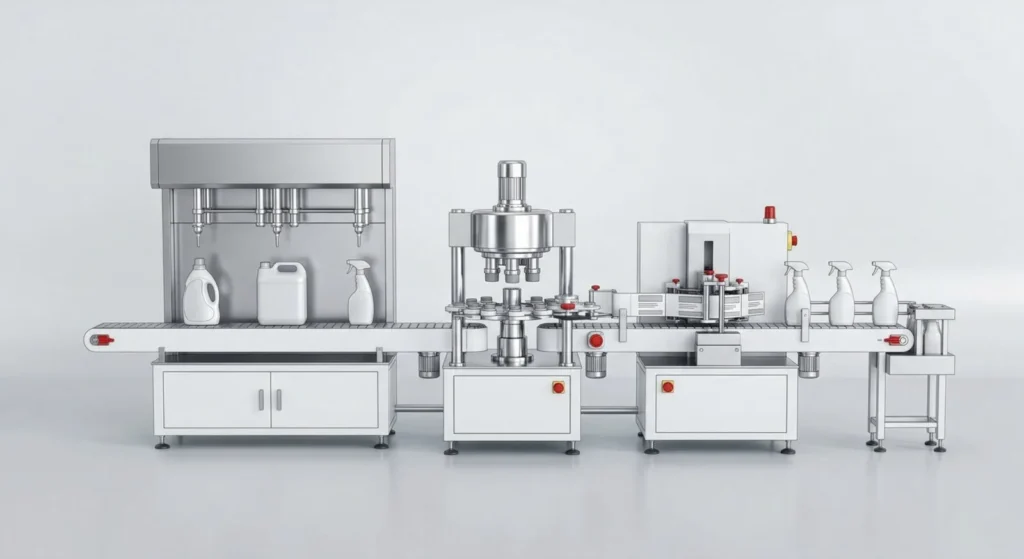
Typical process: product supply → bottle infeed → filling → cap feeding and placement → capping → sealing if required → labeling → coding and inspection → packing.
| Line stage | Typical configuration | Decision input |
|---|---|---|
| Product supply and filling | Configured servo filler with the selected product path and nozzle control | Formula behavior, fill range, foam, cut-off, cleaning, output |
| Cap handling | Manual supply, cap feeder, or project-specific placement system | Cap sample, orientation, bulk supply method, changeover |
| Capping | Configured inline capper | Bottle stability, closure geometry, agreed closing result |
| Sealing | Available on request when required by the package | Bottle, closure, liner, seal specification |
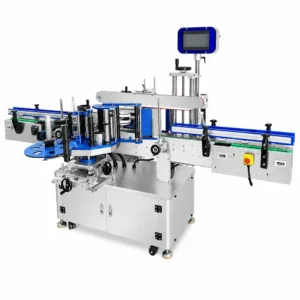
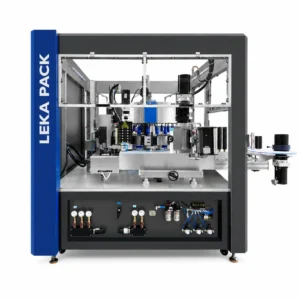
| Labeling and coding | Front/back, wrap, or project-selected labeler plus coder | Container panels, label, artwork location, code content |
| Inspection and packing | Project-selected checks, rejection, collection, carton, or film equipment | Acceptance criteria, pack format, operators, available space |
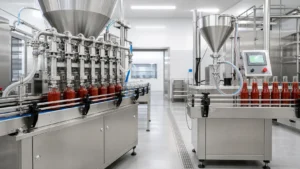
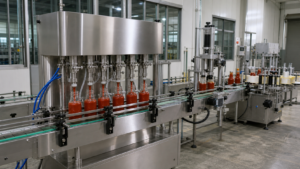
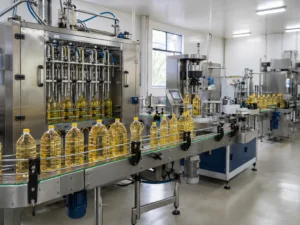
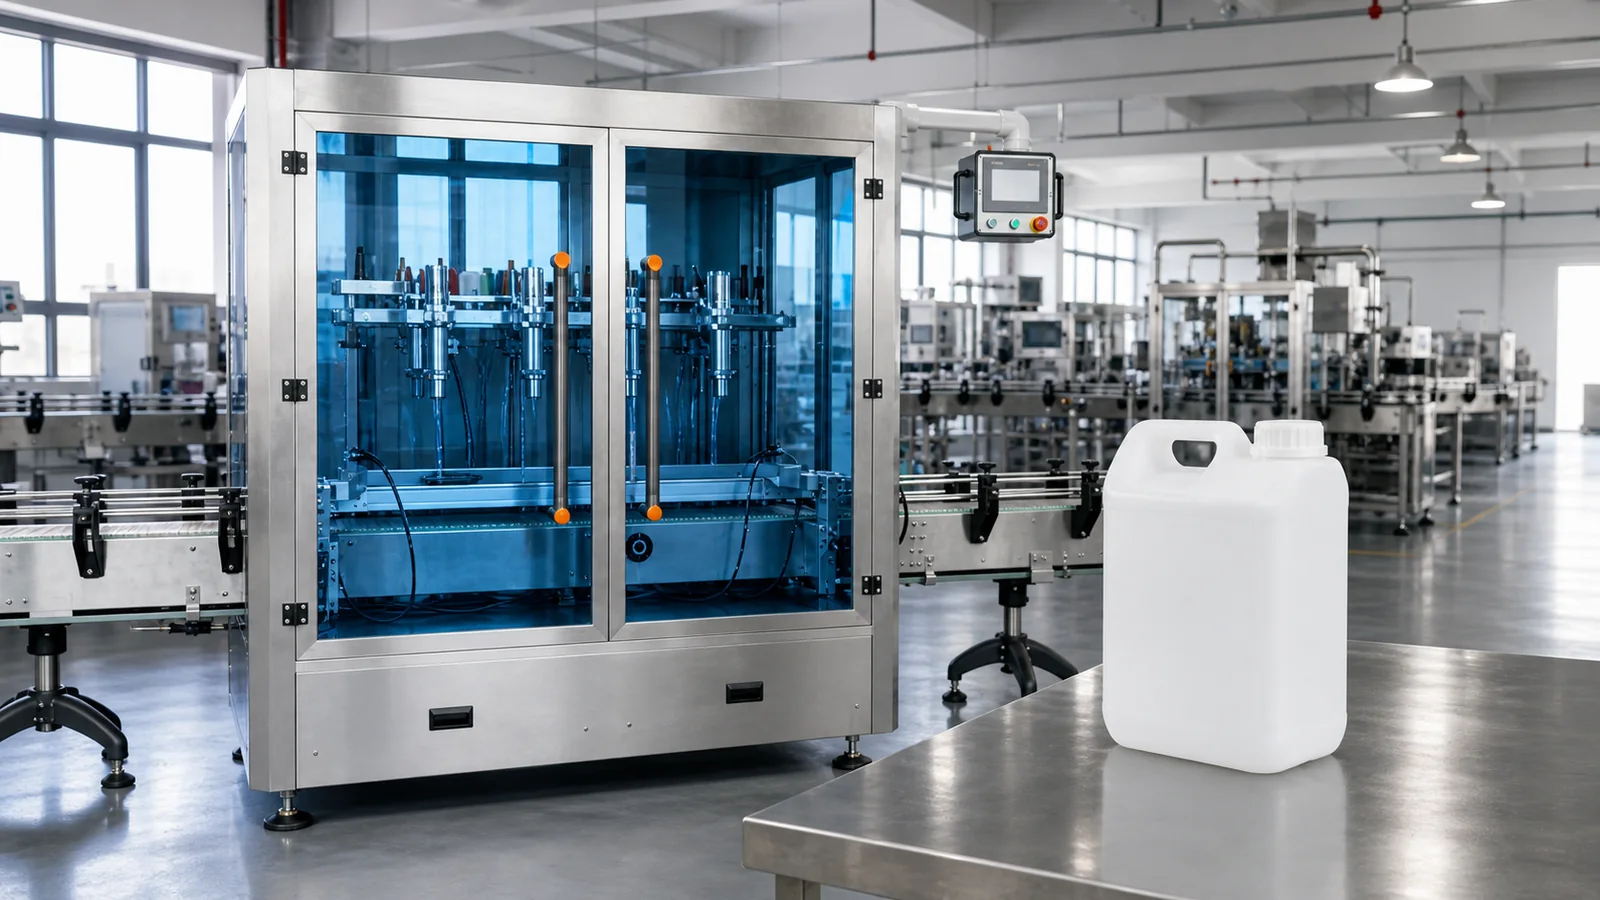
LEKA's current detergent application page connects a multi-head servo filling machine with a servo four-wheel capper and double-side labeler; a foil sealer is shown as optional. Those are available equipment directions, not a pre-approved bill of materials for every dish-soap bottle. The home care and cleaning product line solutions page shows how modules can be combined around the product and factory layout.
Size Output from the Slowest Real Process
A filler can complete its stroke quickly and still belong to a slow line. Foam may need a gentler final fill. A cap feeder may pause on an awkward closure. Labels may need more bottle control than the filler. Downstream packing may simply be unable to take bottles at the proposed rate.
Ask for stable connected-line output under stated conditions. The conditions should name the product, fill volume, bottle, cap, label, operator steps, and any settling or inspection requirement. If the supplier quotes different outputs for different SKUs, that is useful information, not a defect in the proposal.
| Input for line sizing | What to provide |
|---|---|
| Fill range | Minimum, maximum, and priority volume; identify the hardest SKU |
| Output target | Accepted bottles per minute or hour for each priority SKU |
| SKU mix | Products, bottles, caps, labels, and expected production sequence |
| Labor boundary | Which steps may remain manual and where operators will stand |
| Changeover | Expected frequency, allowed downtime, tools, recipes, and change parts |
| Factory interface | Layout, line direction, access, voltage/frequency, compressed air, and other utilities |
Semi-automatic equipment can be the sensible choice for lower-volume work, frequent manual handling, or a staged investment. Automatic equipment earns its place when bottle flow, cap handling, and downstream operations are ready to be integrated. Automation should remove a defined production constraint; it is not a quality label by itself.
Six Buying Mistakes That Create Expensive Rework
- Selecting from the words “dish soap.” Two formulas may need different fill profiles or product paths. Send the real product or a mutually approved substitute.
- Comparing only the largest catalog number. An isolated filler rate says little about cap feeding, foam settling, labeling, packing, and routine stops. Compare the agreed connected condition.
- Leaving cap feeding until late in the project. An unusual flip-top or dispensing closure can decide the automation scope. Put physical cap samples into the design review.
- Testing with water because it is convenient. Water cannot reproduce the foam, flow, or cut-off of the saleable formula. If the actual product cannot be shipped, document why the substitute is technically representative.
- Assuming every SKU is a recipe change. Some bottle or cap changes require guides, tooling, a different feeder setup, or manual work. List them in the quotation.
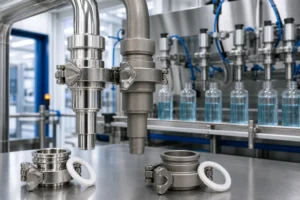
- Treating “stainless steel” as a compatibility certificate. Review every wetted component against the formula and cleaning chemicals. Material grade alone does not settle seals, hoses, gaskets, coatings, or exposure conditions.
There is a seventh mistake worth watching: buying a line without agreeing how it will be accepted. A vague FAT produces a vague argument. The next section turns the project inputs into checks both sides can see.
Send a Better RFQ and Write a Testable FAT
A useful RFQ does not need to be long, but it must describe the work. Start with the hardest planned product-package combination, then add the remaining SKUs and where they differ.
RFQ information to send
- product name, formula family, and observed flow/foam behavior;
- product sample and the conditions expected at the filler;
- safety data sheet when relevant to hazard communication and material review;
- minimum, maximum, and priority fill volumes;
- bottle drawings, photos, and physical samples;
- cap drawings, samples, orientation, and bulk supply method;
- label dimensions, material, artwork position, and coding requirement;
- accepted output for the priority SKUs;
- cleaning and changeover expectations;
- factory layout, utilities, destination country, and required documentation.
For covered hazardous workplace chemicals in the United States, OSHA's Hazard Communication Standard uses labels and safety data sheets to communicate hazard information, and the SDS has a specified 16-section format. An SDS is therefore a useful input when applicable, but it does not by itself prove that every wetted component is compatible. That still needs a project-specific material review. (OSHA Hazard Communication)
Turn the FAT into observations, not slogans
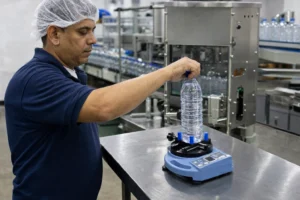
- Confirm that the agreed product or approved substitute is used.
- Record the bottle, cap, label, fill volume, machine recipe, and test condition.
- Check the fill result with the agreed measurement method.
- Observe foam at stop and after the agreed settling condition.
- Inspect bottle necks and the conveyor over an agreed run.
- Test cap placement and the agreed closure result.
- Check label position and code readability.
- Include a realistic pause and restart; examine the first bottles after the pause.
- Run the connected line for an agreed duration or quantity and record stops.
- Review alarms, interlocks, guards, manuals, change parts, and the spare/wear-parts list.
Machine guarding deserves its own line in the review. OSHA 29 CFR 1910.212 requires guarding methods to protect operators and other employees from hazards such as points of operation, ingoing nip points, and rotating parts. Use that official requirement as a safety-review prompt, not as proof that a specific machine is compliant in every destination market. (OSHA 1910.212)
Frequently Asked Questions
What is the best filling machine for dishwashing liquid?
A servo piston or servo-controlled pump filler is a practical starting point for many products, but there is no universal best machine. The formula, fill volume, bottle neck, foam behavior, cleaning plan, and required connected-line output should be reviewed and tested before the final structure is approved.
How can a dish soap filling machine reduce foam?
The line can reduce avoidable foam by controlling drop height, initial and final flow, nozzle position, product feed, and air entry. Bottom-up or diving motion may help when the bottle allows it. The settings should be proven with the real formula because surfactant systems do not all foam in the same way.
Can one line fill several bottle sizes and fill volumes?
Often yes, within an engineered range. Each bottle, cap, label, guide setting, recipe, and change part still needs to be identified. Ask the supplier to list which SKUs are included, how operators change between them, and the stable output expected for each priority format.
Can flip-top caps be fed and tightened automatically?
They often can, but the answer depends on the cap's orientation, hinge, profile, stiffness, bulk supply, and the bottle's stability. Sorting, delivery, placement, and tightening are separate steps. Send physical cap and bottle samples so the proposed feeder and capper can be tested together.
What should be tested before the filling line ships?
Test the agreed product, bottles, caps, labels, fill method, foam behavior, neck cleanliness, closure result, coding, alarms, guards, pause/restart response, and connected-line output. Record the conditions and open issues in a written FAT report so retesting has a clear scope.
Choose the Line from the Product Outward
The right dishwashing liquid filling machine is not the one with the longest feature list. It is the line that can handle the agreed product and package cleanly, close and label the bottle reliably, and hold the accepted connected output under stated conditions.
Start with the sample. Confirm the product path and fill profile, then work through the bottle, closure, labeling, factory layout, and FAT. If you send LEKA the product, bottle, cap, fill range, output target, and layout, the first conversation can focus on a workable line rather than a generic machine quotation.
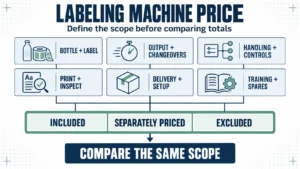
Before comparing proposals, use the detergent filling line cost guide to separate filler scope, connected-line modules and EXW items.
Sources and Reference Notes
- Asano H, Nomura M, Kaneko Y, Oya M, Aramaki K. Study of Foam in Dishwashing Detergents: Effect of Nonionic Surfactant Addition on Foam Formation. Journal of Oleo Science. 2025;74(4):377-384. DOI: 10.5650/jos.ess24197.
- U.S. Occupational Safety and Health Administration. Hazard Communication. Accessed August 19, 2026.
- U.S. Occupational Safety and Health Administration. 29 CFR 1910.212, General Requirements for All Machines. Accessed August 19, 2026.