How Small and Medium Factories Choose the Right Filling Machine and Filling Line
Written and reviewed by the LEKA Pack Line Engineering Team. Last reviewed: September 29, 2026.
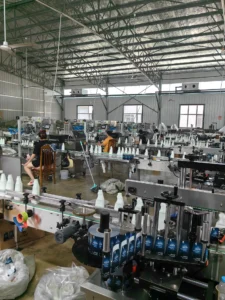
Small scale bottling equipment starts with the liquid, the bottle, and the hand step that slows the day. Many small factories start with one semi-automatic filling machine while the product and bottle are still being proven. Capping and labeling can stay manual at that stage. Choose the filler from thickness, foam, particles, and corrosion before choosing the number of filling heads.
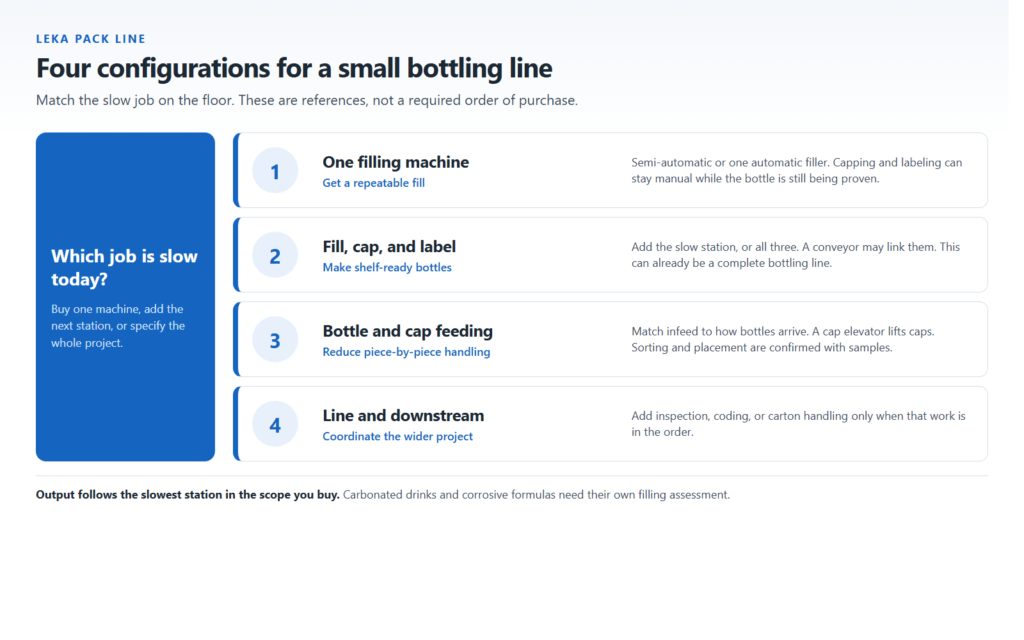
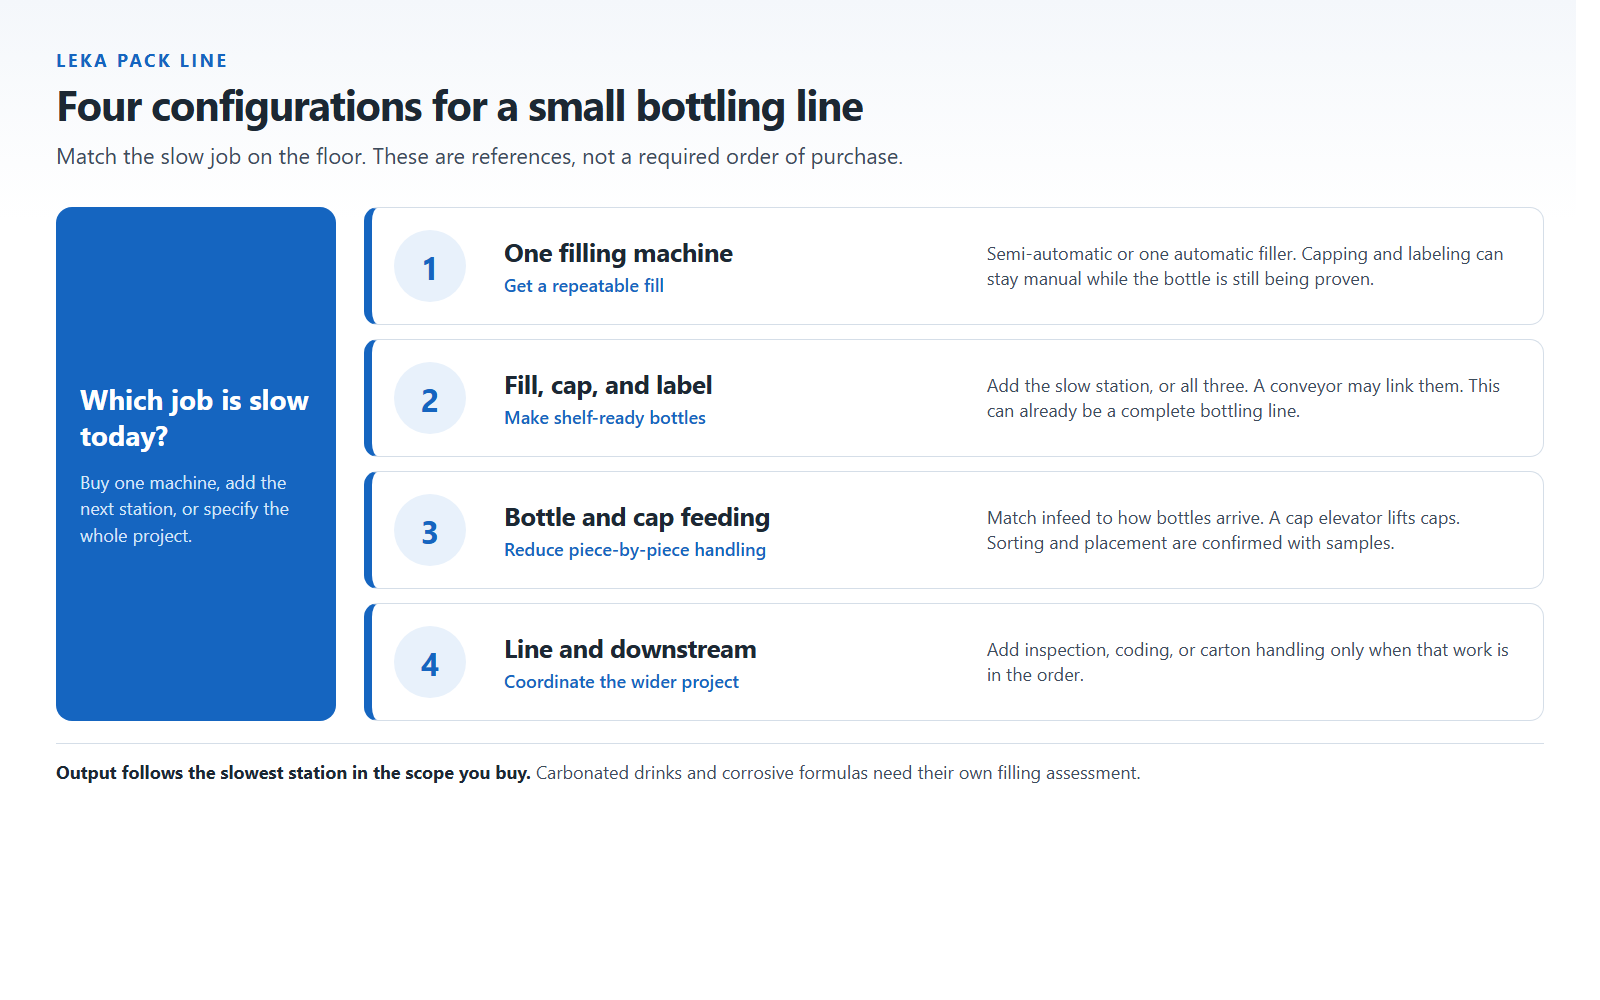
The four configurations below are references. A factory can specify a full project at once, add one capper, or stop at filling until the bottle is stable. They are not a required sequence of purchases.
Key takeaways
- Start from viscosity, foaming, particles, and corrosion.
- Thin, non-carbonated liquids often suit gravity or overflow filling. Thick products often suit piston or pump filling. The fit is confirmed with particle size, viscosity, and the product path.
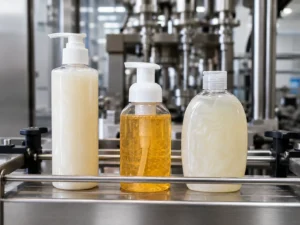
- Foaming liquids such as shampoo, body wash, and detergent need a method that can handle foam. Overflow is one option for thin foaming products. A diving nozzle is another option to evaluate.
- Carbonated drinks require a separate filling assessment, typically involving counter-pressure filling, with temperature and pressure controlled to retain carbonation.
- Corrosive liquids need every wetted part and seal selected from the exact formula, concentration, temperature, and cleaning conditions. For sodium hypochlorite bleach, do not assume 316L stainless steel is suitable.
- Pick the configuration that removes the current bottleneck. Filling, capping, and labeling can already be a complete bottling line.
- Sustained output is the slowest station in the scope you buy.
- For a first reply, send the product, photos of the bottle and cap, and the target output.
Start with your product, not the machine model
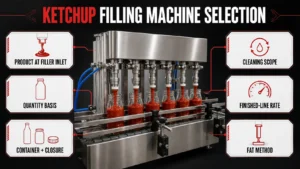
Four product traits decide most of the filling choice: how thick the liquid is, whether it foams, whether it contains particles, and whether it is corrosive.
A thick sauce on a machine built for thin liquids, an aggressive chemical on the wrong seals, or pieces forced through a path that cannot pass them lead to inconsistent fills, extra adjustments, faster wear, and downtime.
The four questions that decide the filler
- Viscosity. Thin, free-flowing liquids and thick, slow-moving products need different filling methods.
- Foaming. Shampoo, body wash, and detergent trap air when agitated. Foam causes overflow, wet necks, and inaccurate fills when the nozzle and the method ignore it. Carbonated drinks are a separate case: they need their own filling assessment, typically counter-pressure filling, with temperature and pressure controlled to retain carbonation.
- Particles. Sauces, dressings, and some cosmetics carry pieces or pulp. Particle size and the product path decide which filler can pass them.
- Corrosion. Bleach, acids, alkalis, and some cleaners attack standard parts. Wetted parts and seals are selected from the exact formula, concentration, temperature, and cleaning conditions. For sodium hypochlorite bleach, do not assume 316L stainless steel is suitable.
Why one product can fit more than one method
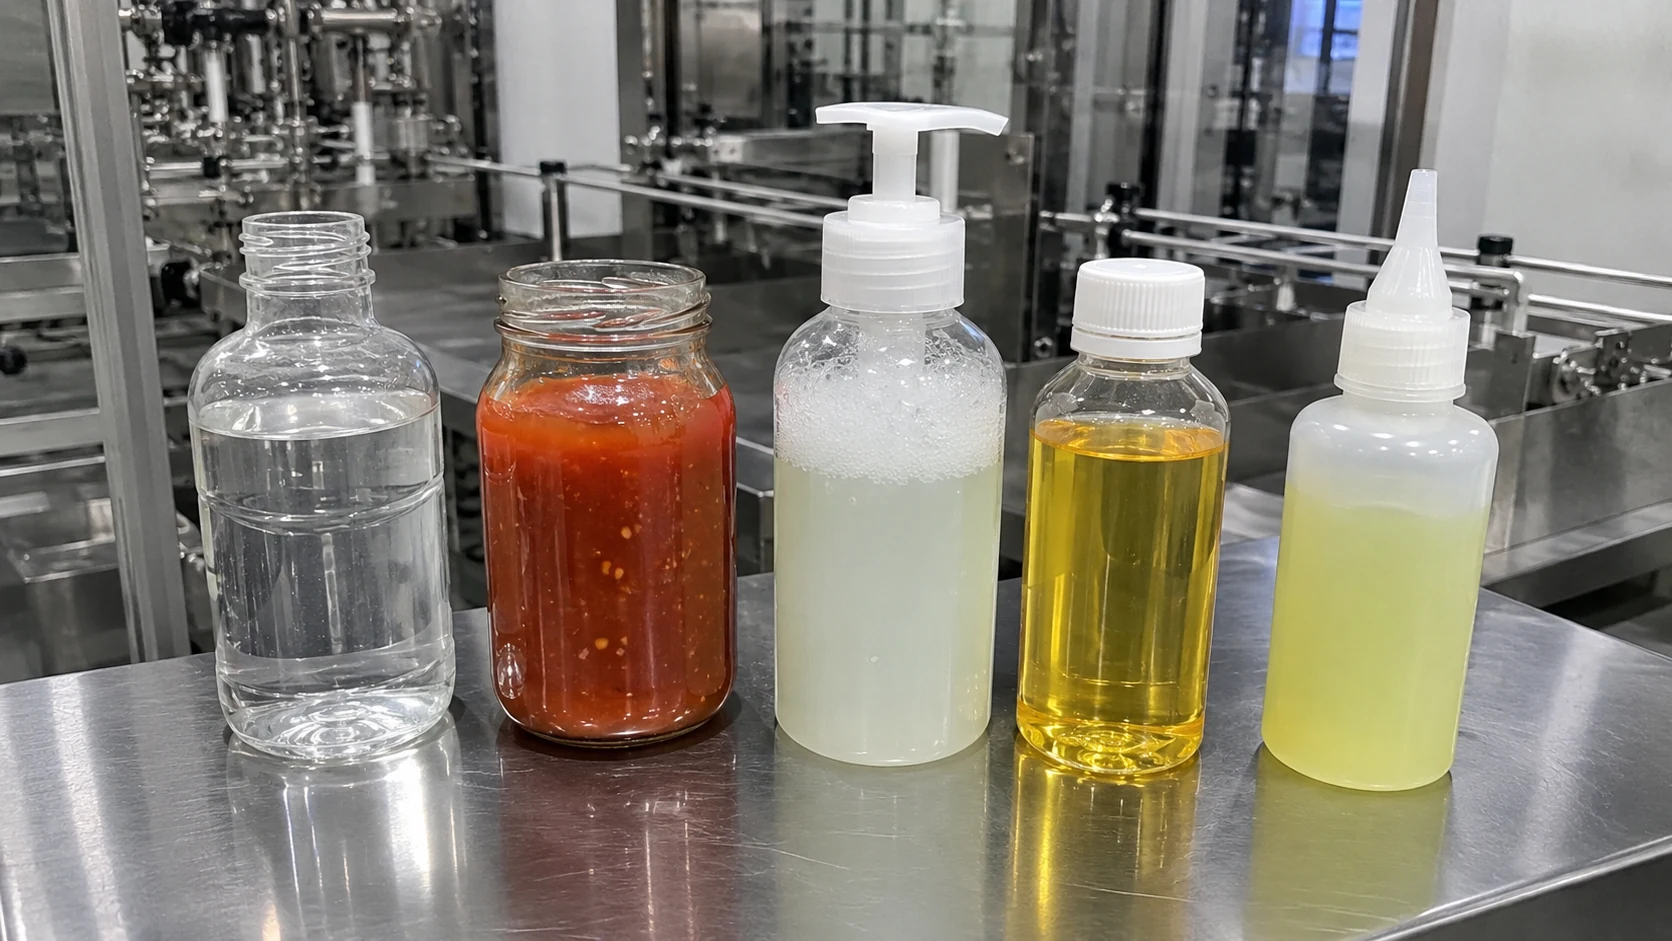
A medium-viscosity cream might run on either a piston or a pump filler. A thin oil might suit gravity, while a clear premium bottle might favour an overflow fill for a level look. Thin foaming cleaners are often evaluated on overflow filling. Thicker foaming products are often evaluated with a pump and a diving nozzle. The bottle, the output, the budget, and the stations you want in this project decide the rest. For the wider workflow, see the bottle filling machine guide.
Four configuration references
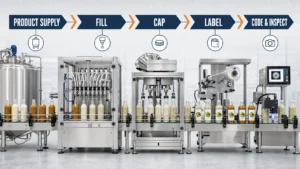
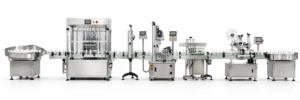
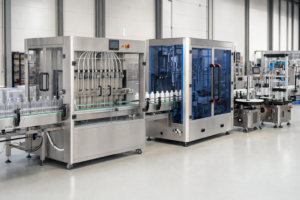
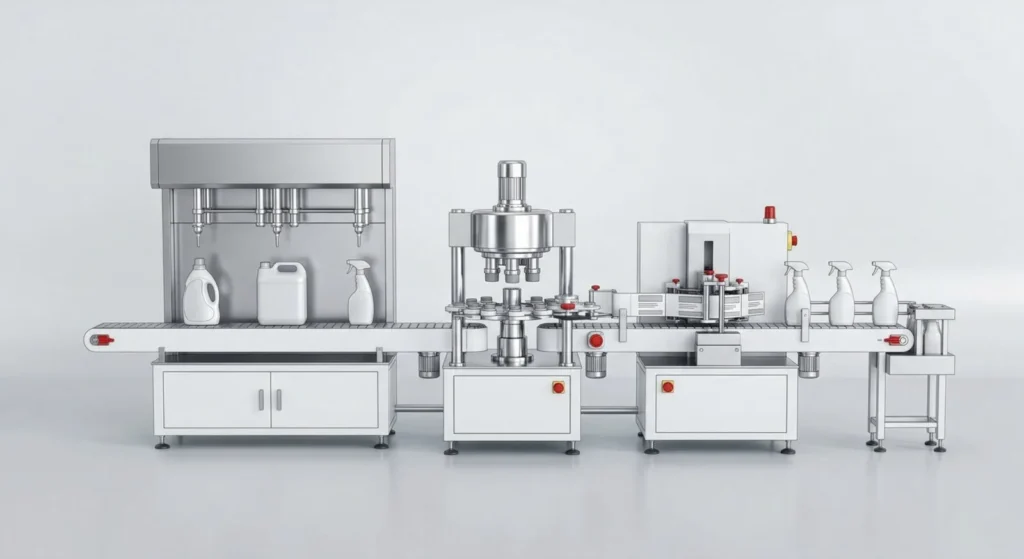
Use the row that matches the problem on the floor today. A conveyor can already link a filler, a capper, and a labeler. That link belongs with those stations. Level 4 is the wider project: coordinating the line and adding downstream work such as inspection, coding position, and carton handling when the order includes them.
| Level | Configuration | The problem it addresses |
|---|---|---|
| Level 1. One filling machine | A semi-automatic filler, or an automatic single filler | Get a repeatable fill while the product and bottle are still being proven |
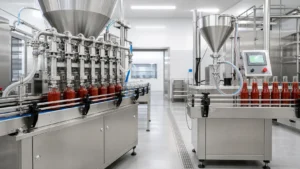
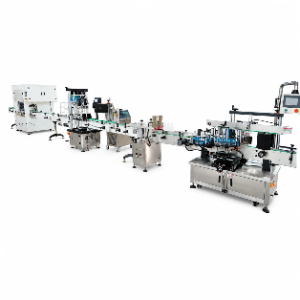
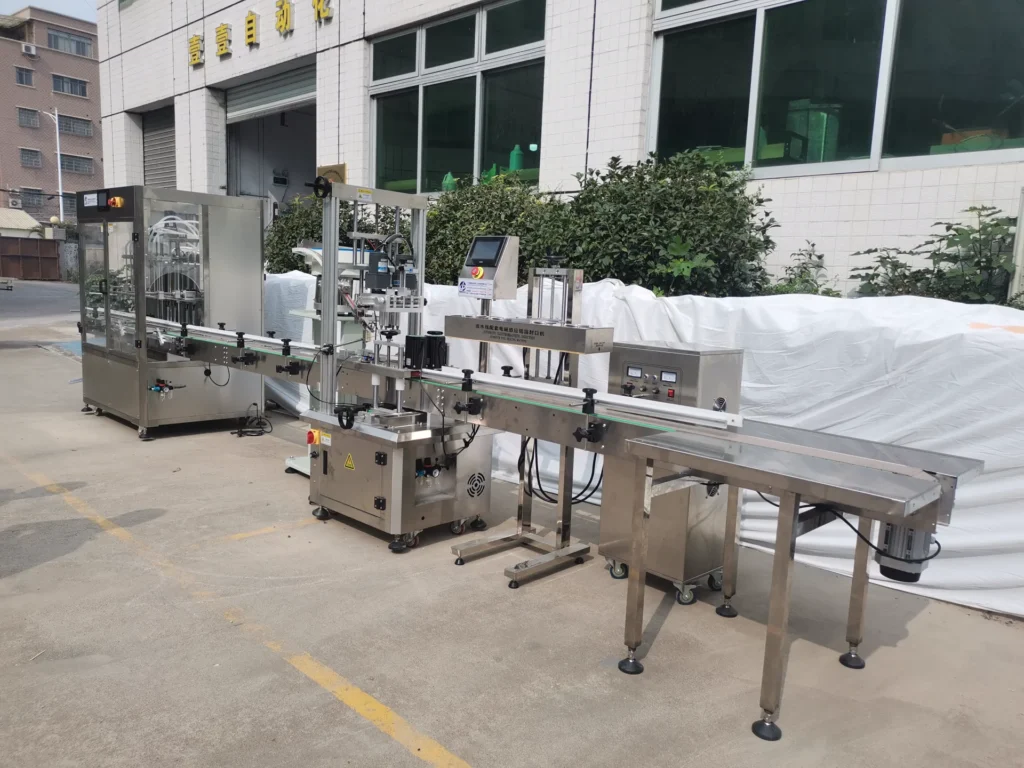
| Level 2. Filling, capping, and labeling | Filler, capper, and labeler, bought together or added one station at a time. A conveyor may link them | Reduce hand capping and hand labeling, and make shelf-ready bottles |
| Level 3. Bottle feeding, cap feeding, and conveyor handoff | Bottle infeed matched to how bottles arrive, cap lifting into the capper’s collection or sorting section, and the conveyor connection between stations | Reduce placing every bottle and every cap. The remaining hand work depends on the bottle and the cap system |
| Level 4. Line coordination and downstream integration | The filling, capping, and labeling stations, plus the inspection, coding, conveying, carton packing, or carton sealing the project includes | One scope for the line and for the end-of-line work you want quoted |
Level 1. One filling machine
Level 1 solves the fill. Caps, labels, and cartons can stay manual. Record voltage, air, and working height so a later station has a place to connect. Bottle feeding, cap elevating, foil sealing, and carton sealing wait until those jobs are in the order.
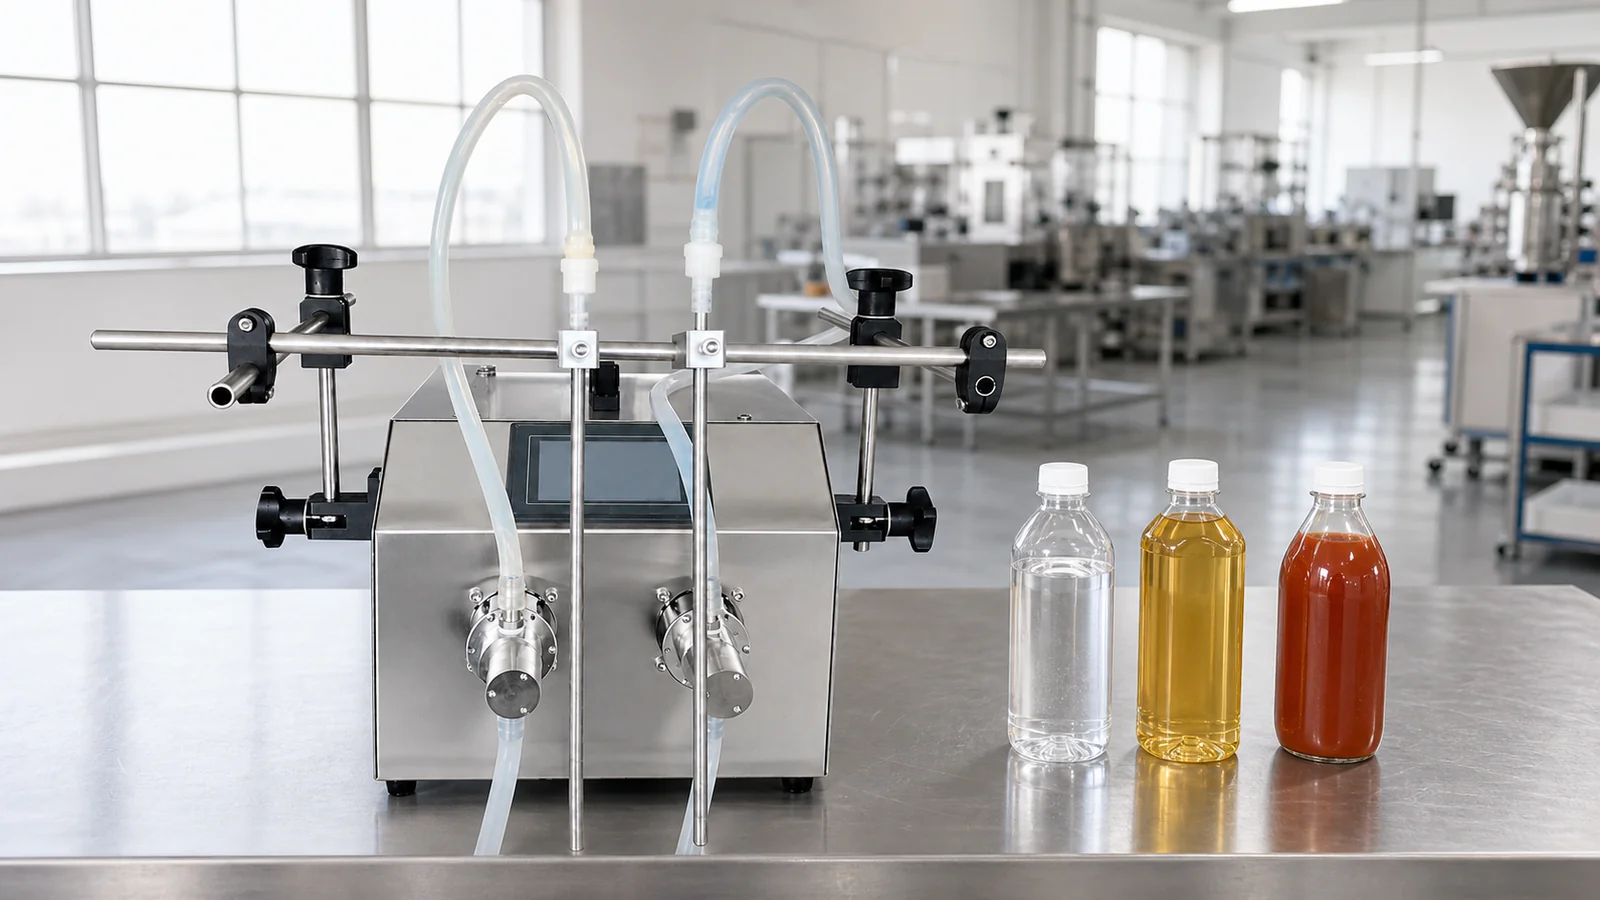
Semi-automatic filling machine. An operator places the bottle and starts each cycle. The machine fills. This suits small batches and frequent changeovers. The semi-automatic series includes gear-pump and piston machines for liquids, paste, and products with particles, in 1-, 2-, and 4-head setups. A semi-automatic liquid filling machine and a semi-automatic bottle filling machine are selected from that series after a sample. Accuracy is confirmed on your product and fill volume.
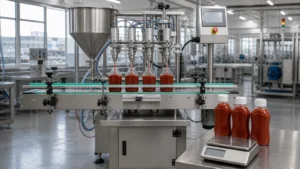
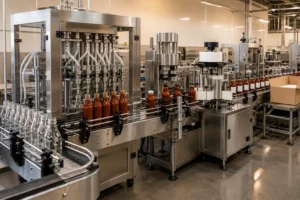
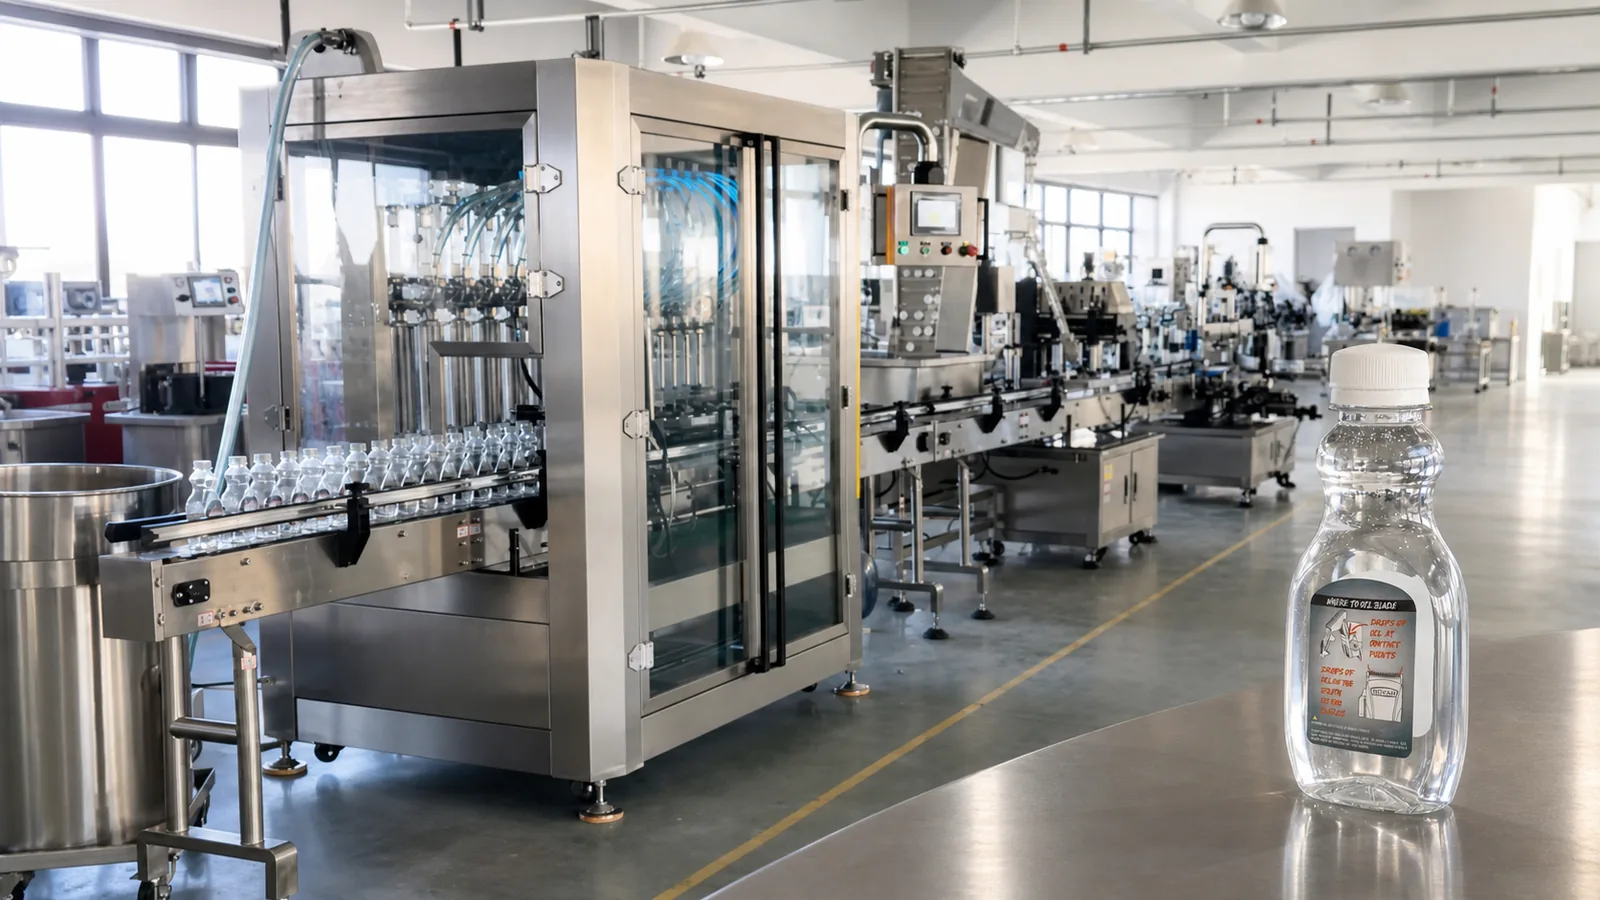
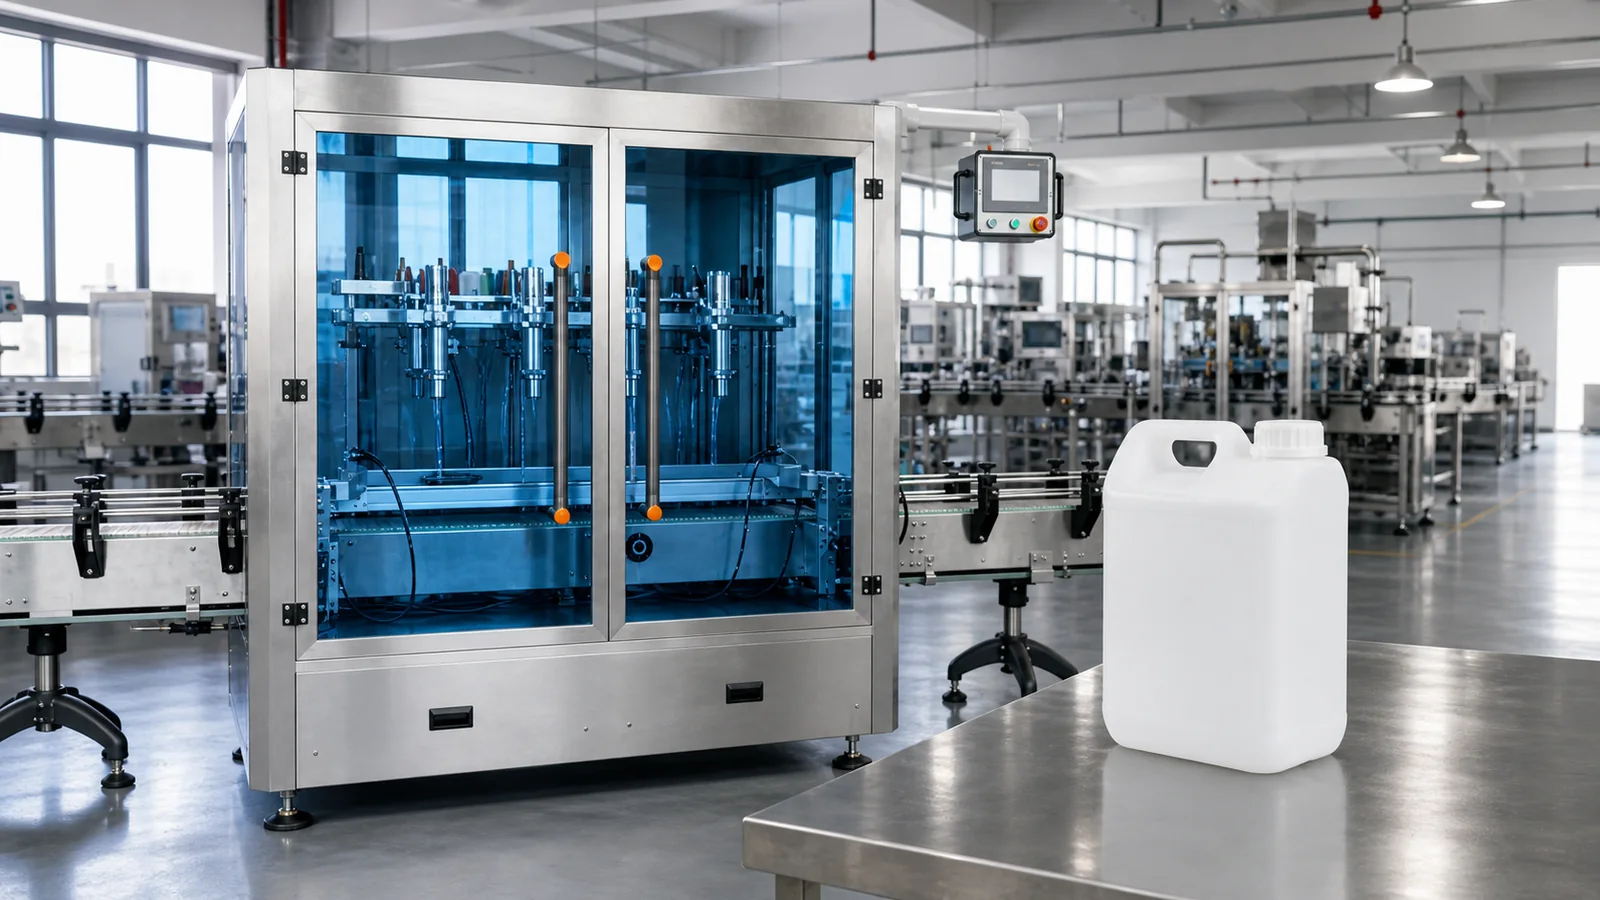
Automatic single filler. A conveyor, sensors, and controls feed, fill, and discharge the bottle. One person can supervise a steadier run. Caps and labels can still be manual. See the filling machines and the bottle filling machine. The liquid still chooses the filling method. Head count follows the output you must hold.
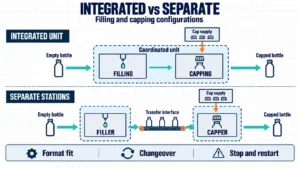
The filling method can stay the same when stations are added later. Whether a semi-automatic machine already on the floor can connect to an automatic conveyor is a separate check. It depends on that machine, the bottle, and the line height.
Level 2. Filling, capping, and labeling
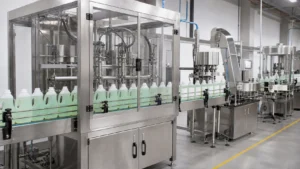
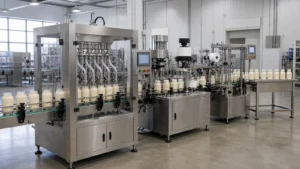
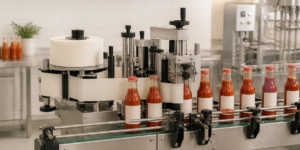
Level 2 is for shelf-ready bottles. Buy the filler, capper, and labeler together, or add the station that is slow. Filling, capping, and labeling can already be a complete bottling line. Carton packing can wait.
A filler, a capper, and a labeler are planned around the same bottle when hand capping or hand labeling slows the shift. The capper has to match the cap, so send a cap sample.
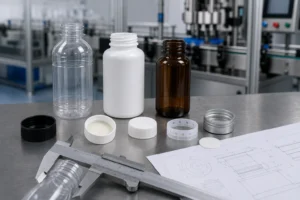
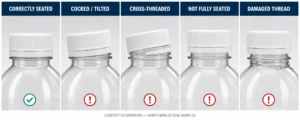
- Filling and capping. Capping machines are built around the closure. Screw caps, snap caps, pump caps, flip-tops, and aluminium ROPP closures each need their own handling. Send the cap. For a pump or trigger cap, include dip-tube length and direction.
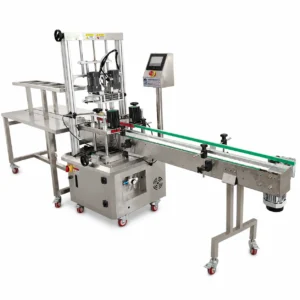
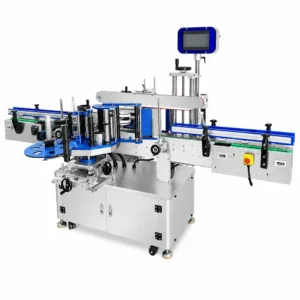
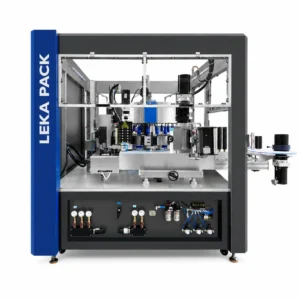
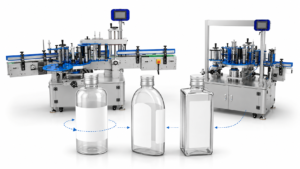
- Labeling. Labels usually go on after a clean fill. Round bottles usually take a wrap-around label. Flat and oval bottles usually take front-and-back labels. See the labeling machines. Say whether the bottle is empty or full when the label is applied. Date and batch position, on the bottle, the cap, or the label, is part of the same layout. When the label must be printed and applied on the line, include the LEKA-LB070P print-and-apply labeler.
A filler and capper in one frame is quoted when the cap sample fits that machine. For most small-factory projects, the filler, capper, and labeler are separate machines linked in the order the bottle moves.
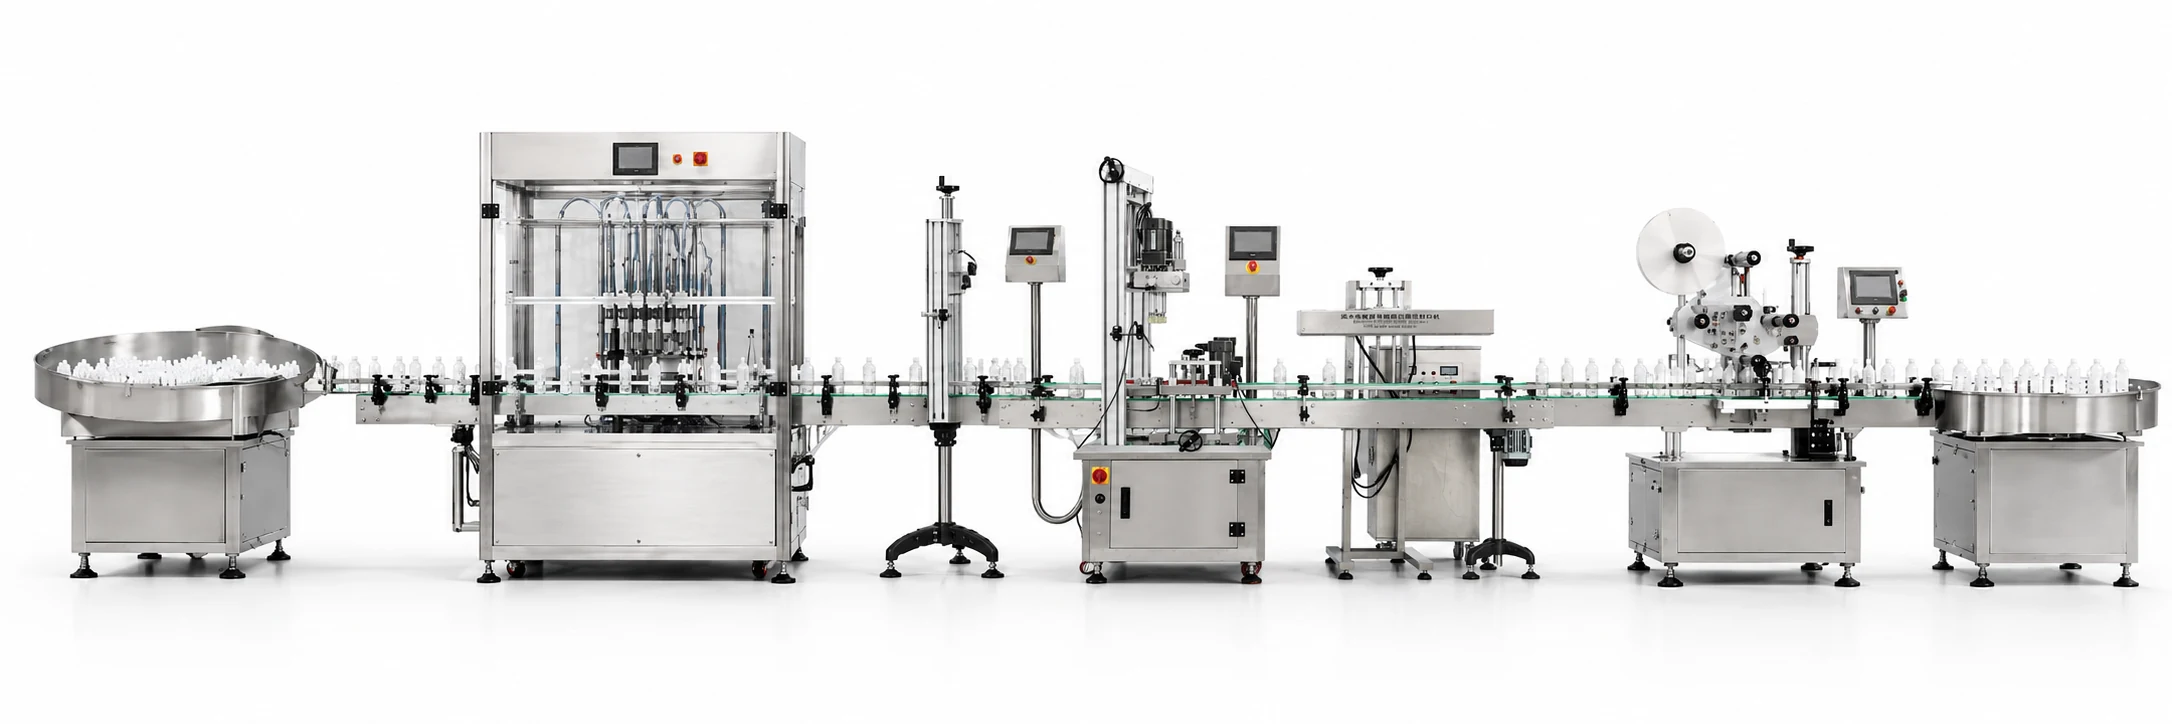
Level 3. Bottle feeding, cap feeding, and conveyor handoff
Level 3 reduces piece-by-piece handling. It keeps the filler, capper, and labeler, and adds the infeed and the handoff those stations need. People still supply bottles and caps and watch the run. How much placing remains is settled with samples.
Bottle feeding. LEKA-BU is a bottle unscrambler and bottle receiving machine. Its turntable uses variable-frequency speed control so bottles enter the conveyor in sequence. It can stand alone as a receiving machine or sit at the start of a line. The feeding setup is confirmed from the bottle type and from how bottles arrive. Round, square, flat, and irregular bottles are reviewed on samples. If bottles already arrive oriented, the project may only need a receiving table and a conveyor. If bottles arrive loose or lying down, confirm whether operators must stand them upright or whether a dedicated automatic unscrambling system is required. The LEKA-BU turntable should not be assumed to orient randomly positioned bottles.
Cap feeding. LEKA-CE lifts plastic and metal caps from a lower hopper to the cap collection or sorting section of an automatic capper. That reduces manual cap loading. It is the lift, installed before collection or sorting. Cap sorting, cap orientation, and the drop into the capper are confirmed with the cap sample and the capping machine. A cap feeder in the wider sense includes that sorting and release, not the elevator alone. Pump, trigger, flip-top, and other special caps stay on sample review.
Two extras are added only when the product calls for them. Foil sealing, with the LEKA-GLF-1900 or the LEKA-GLF-4000, is for projects that need a foil seal under the cap. Dry-air cleaning of empty bottles, with the LEKA-BW08-C, is for dry empty plastic, glass, or composite bottles that need air cleaning before filling. It is an air clean. Water rinsing is a different process and is specified only when the product requires it.
Level 4. Line coordination and downstream integration
Level 4 is the project that ties the filling, capping, and labeling stations to the rest of the factory and quotes the downstream work in the same scope. Filling, capping, and labeling can already form a complete bottling line. Level 4 adds what that line still lacks for your order: inspection, a coding position, conveyor changes for the room, collection, carton packing, or carton sealing.
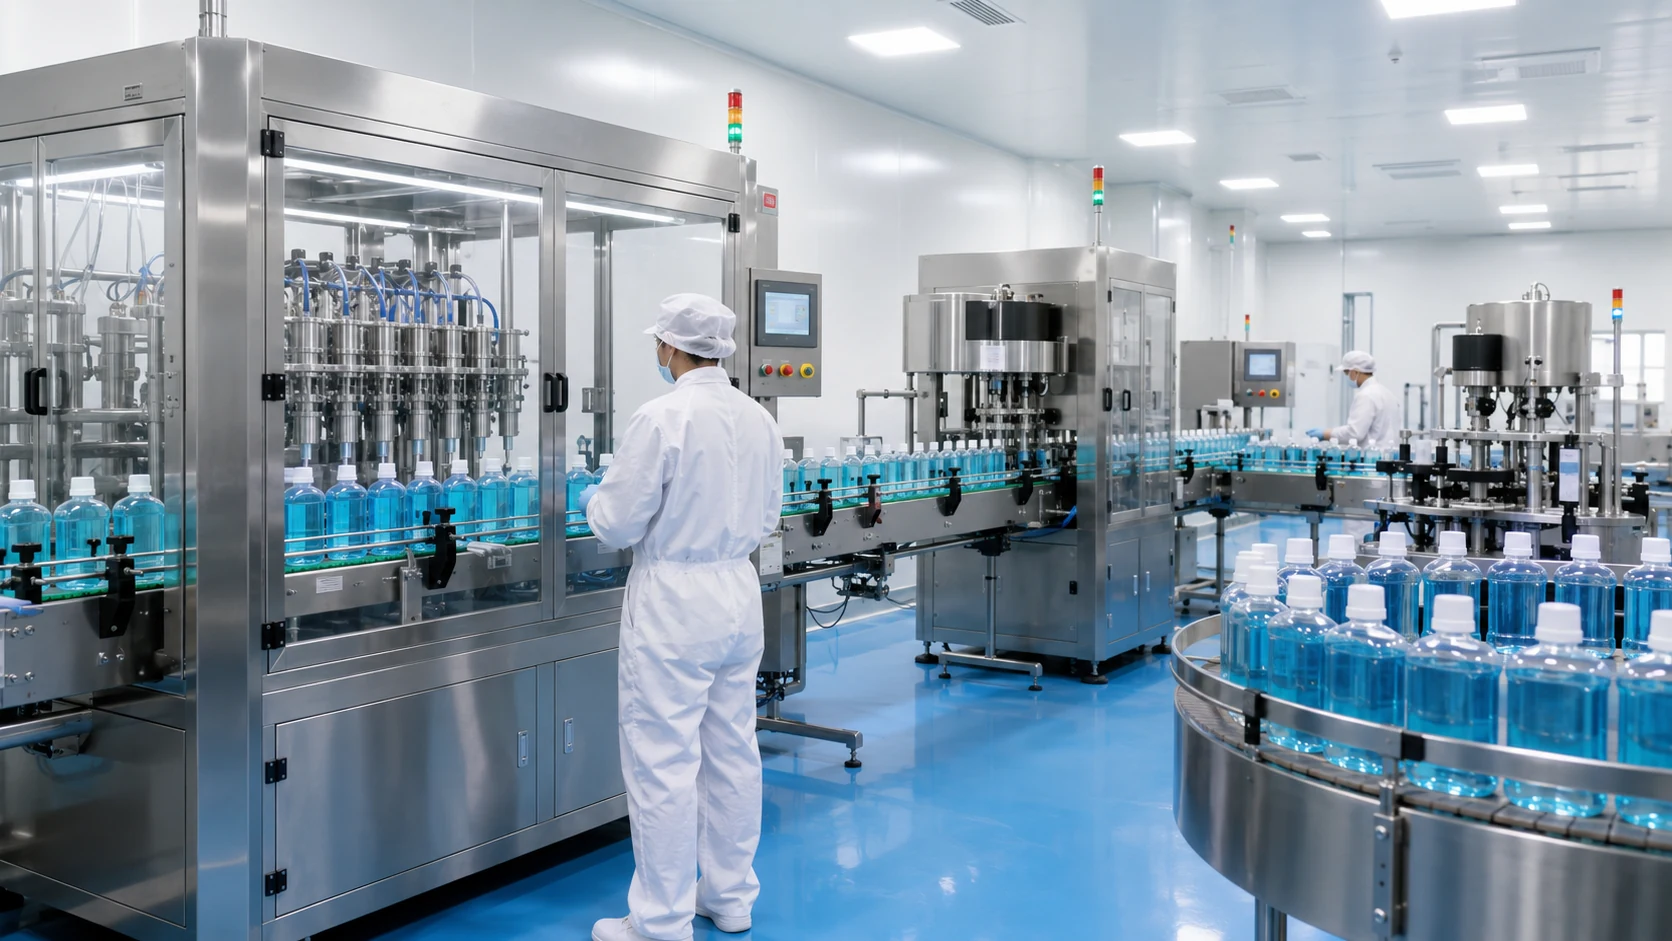
LEKA-CS is the semi-automatic carton sealer used when tape sealing is part of the order. People still bring cartons to a semi-automatic sealer unless the packing scope says otherwise. Case packing, shrink wrapping, and palletizing are quoted as their own items when the project includes them.
Sustained output is the slowest station in that scope. The bottle filling machine output guide shows how to read a filler figure against the rest of the line. The station list for a bottling project sits on the bottle packaging line solutions page.
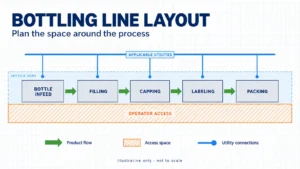
Layout comes before a length is promised. The bottling line layout guide covers the job, clear space, how people and materials move, handoff between machines, access, and utilities. Straight, L-shaped, and U-shaped plans follow the room. Water, drain, and CIP are confirmed for the product. Without a floor plan, line length stays open.
Where a new filling plant starts
On the equipment side, a new plant starts with one product and one bottle.
- Test the main bottle first. Before purchasing, still provide every bottle type and fill volume you plan to run, so later sizes are checked for fit.
- Answer the four product questions.
- State the bottles that must be finished in a day, and how many people are available. Use that to choose a configuration, not a catalog speed.
- When the bottle is still changing, start with one filling machine and leave room for the next station.
- Run product, bottle, and cap samples. Confirm the fill, the cap, and the label position.
- Add the station that is slow, or specify the whole scope in one order. Local permits and product registration stay with the buyer.
Comparing the main filling methods
Thin, free-flowing liquids usually fit gravity or overflow filling. Thick products and products with small particles are often evaluated on piston or pump filling. Servo and flow-meter filling suit frequent changeovers. Net-weight filling suits large containers or products whose volume changes with temperature. A diving nozzle and corrosion-resistant materials sit on top of a base method.
| Method | What it does | Often evaluated for | Confirm before you specify |
|---|---|---|---|
| Gravity | Liquid flows from a raised tank into the bottle | Thin, non-carbonated liquids such as water, thin juices, and thin oils. Available as semi-automatic or automatic | Thick products, particles, carbonated drinks, and time-based fills that drift with temperature. Foaming products may need another method or a diving nozzle |
| Overflow | Fills to one visible level and returns the excess | Thin to medium liquids in clear bottles, including many foaming cleaners | Thick products and particles. Bottle volume has to be consistent because the fill is a level, not a set dose |
| Piston | A piston draws a set volume and pushes it into the bottle | Thick products such as sauces, creams, and gels. A common choice when small particles must pass | Particle size, viscosity, and the product path. More parts to clean on a mixed range |
| Pump | A pump matched to the liquid meters the fill | Medium to high viscosity, such as liquid soap, detergent, and gels | Pump type against particle size. Pair with a diving nozzle when foam has to be controlled |
| Servo piston | A servo drive repeats a saved dose and can correct toward a target | Frequent recipe changes | Whether a simpler drive already meets the accuracy on your sample |
| Flow meter | A meter stops the fill at a set amount | Thin liquids and lines that wash down often | High viscosity and particles, which are harder to push through the meter |
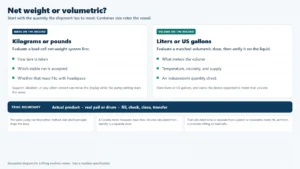
| Net weight | Each container is filled to a target weight | Jerrycans, drums, and tins, and products affected by temperature or viscosity | Small bottles, where weighing every container slows the cycle |
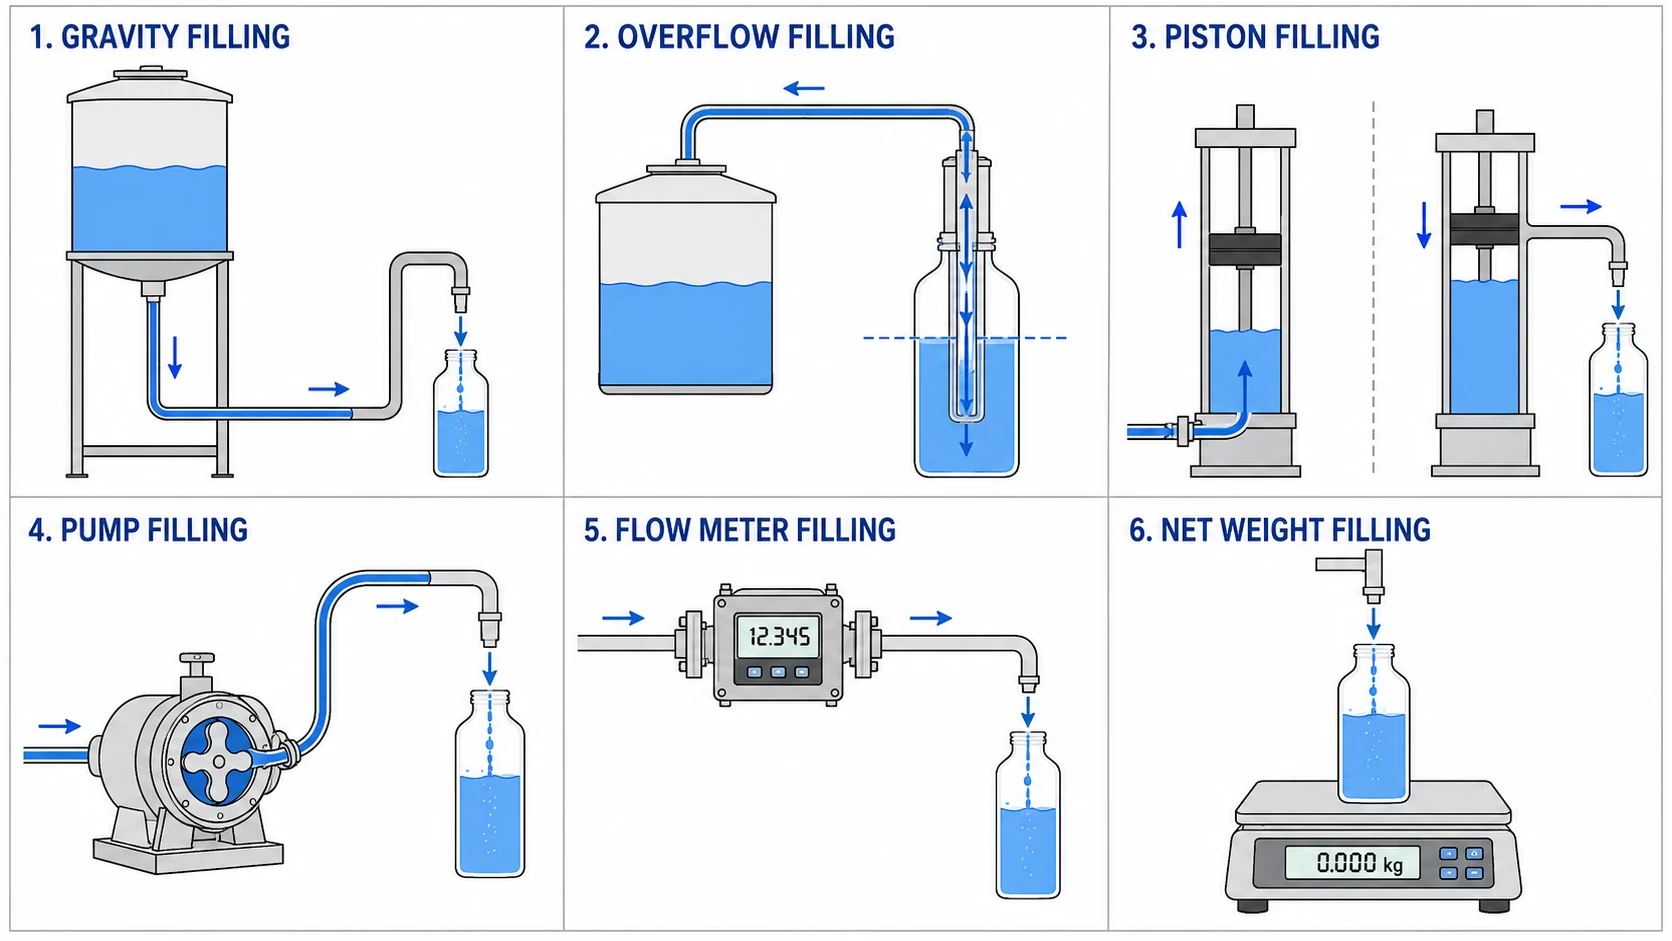
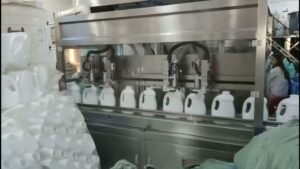
For foaming products, a diving (bottom-up) nozzle fills from beneath the rising surface so the product flows under the liquid. For corrosive products, select all wetted parts and seals using the exact chemical composition, concentration, operating temperature, and cleaning conditions. For sodium hypochlorite bleach, do not assume 316L stainless steel is suitable. Compatible plastics and seal materials should be confirmed for the actual formulation before the machine is specified. A pump filler with a diving nozzle is one shampoo configuration to evaluate. Overflow remains available for thin, non-carbonated foaming products that need a level fill.
Fill accuracy is judged on your product, container, and setup. A brochure figure belongs to the test condition printed with it. Confirm it on a sample.
Match your product to a starting point
Treat the table as a direction. Samples confirm the machine.
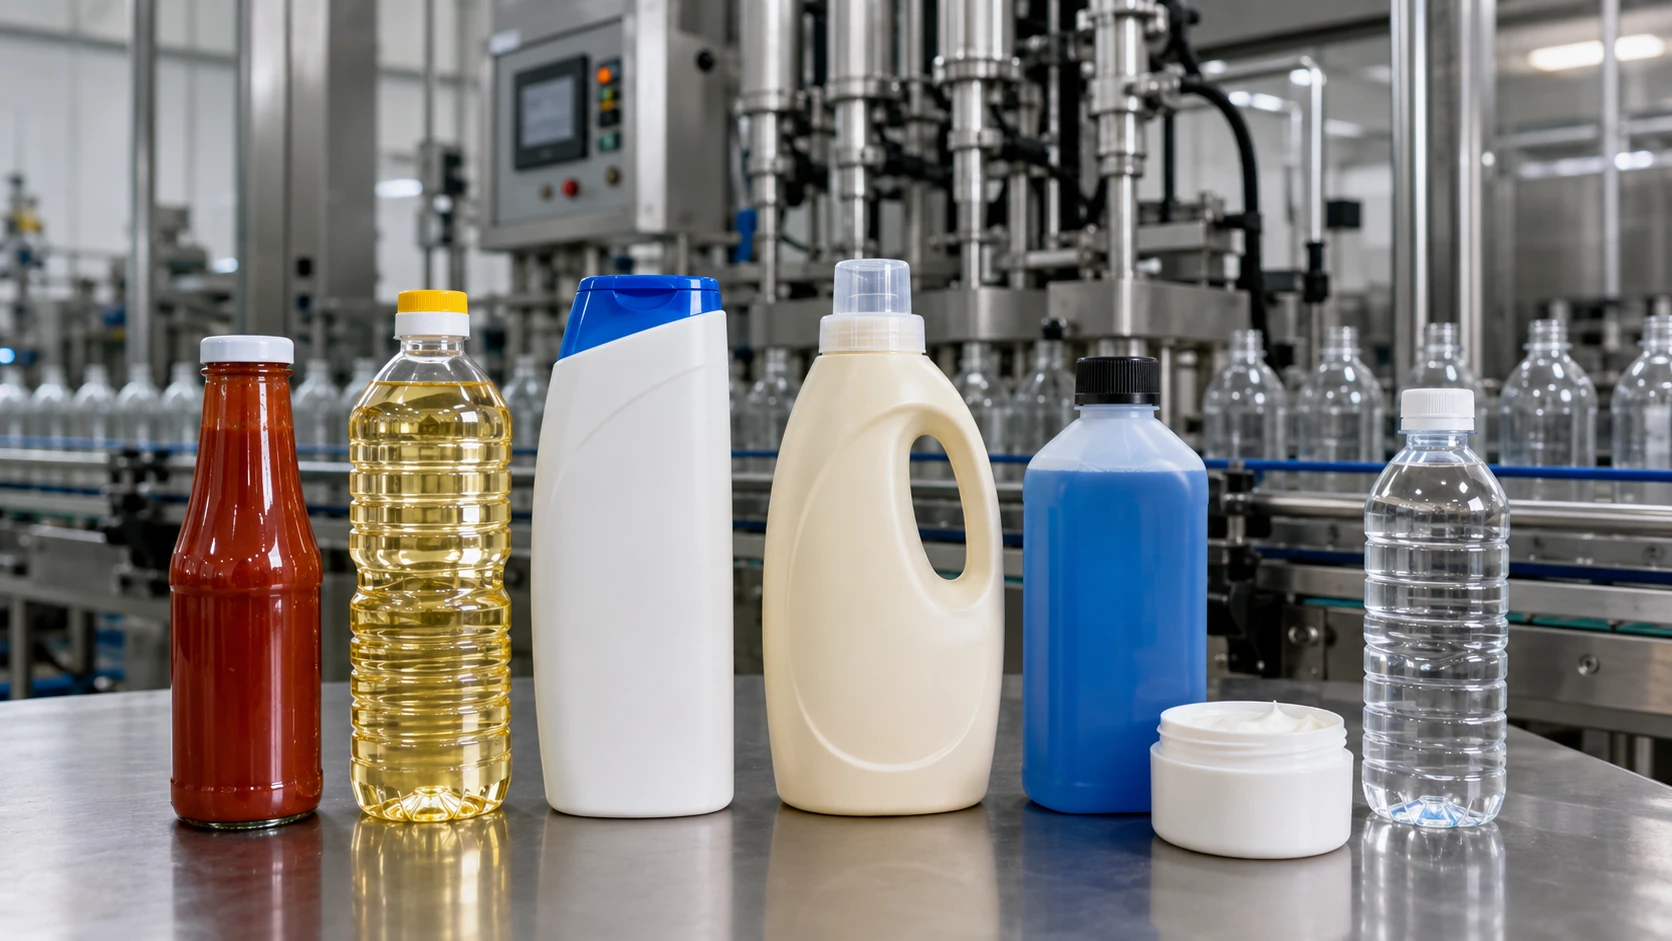
| Product | Behavior | Starting point to evaluate | Containers | Next step |
|---|---|---|---|---|
| Water and non-carbonated thin beverages | Thin, still liquids | Gravity or overflow | PET or glass | Carbonated drinks require a separate filling assessment, typically involving counter-pressure filling, with temperature and pressure controlled to retain carbonation |
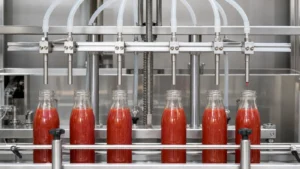
| Sauces and ketchup | Thick, often with pieces | Piston filling is common. Pump filling is compared when the particle size and viscosity suit it | Glass jars, PET bottles | Confirm particle size, viscosity, and mouth size. See sauce filling equipment |
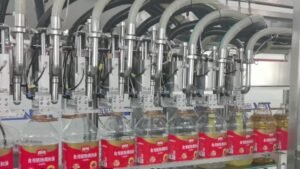
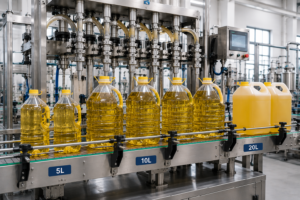
| Edible and cooking oil | Thin to thick by oil | Gravity for thin oils, piston for thicker oils, net weight for large containers | PET, glass, HDPE jerrycans | Anti-drip nozzles keep necks clean. See the cooking oil packaging guide |
| Shampoo and body wash | Medium to high viscosity; foams | Pump filling with a diving nozzle, checked against foam level | PET or HDPE | See the liquid soap filling machine page |
| Detergent and liquid soap | Foams; some formulas are high-pH | Pump filling, a diving nozzle if foam requires it, and upgraded contact materials if the chemistry requires them | PET or HDPE | Confirm the chemistry before materials are chosen |
| Bleach and chemical liquids | Corrosive; often thin | Wetted parts and seals confirmed for the exact formula | Plastic bottles, jerrycans, drums | For sodium hypochlorite, do not assume 316L stainless steel is suitable. Confirm compatible plastics and seals for the actual formulation |
| Creams, gels, essential oils | Thin to thick; often small fills | Piston for many creams and gels; pump or piston for small fills | Jars and small bottles | Confirm the dose and the nozzle on samples |
Which configuration to discuss first
| Situation | Discuss this first | Send |
|---|---|---|
| Thin, non-carbonated liquid | Gravity or overflow | Product, fill volume, bottle photo, target output |
| Thick sauce with pieces | Piston, after particle size and path are known | Sauce type, particle size, mouth size, fill volume |
| Foaming shampoo or detergent | Pump with a diving nozzle, or overflow if the liquid is thin and a level fill matters | Product, a sample or viscosity, bottle and cap photos |
| Corrosive bleach or acid | Materials matched to the chemistry | Chemistry, fill volume, container |
| Product and bottle still changing | Level 1, usually semi-automatic | Target output, fill volume, voltage |
| Hand capping or hand labeling is slow | Level 2, the slow station or all three | Bottle, cap sample, label method, target output |
| Placing bottles or caps takes the shift | Level 3, after bottle arrival and cap sorting are defined | Stable bottle and cap samples |
| Inspection, coding, or cartons are part of this order | Level 4, with the filling, capping, and labeling stations | Layout, voltage, output, packing scope |
For a first reply, send the product name, photos of the bottle and cap, and the output you need.
How your bottle, cap, and label shape the machines
The same liquid can need a different machine when the packaging changes. Narrow mouths need a nozzle that enters cleanly. The capper is built around the closure. Labels go on after a clean fill. Confirm all three with samples.
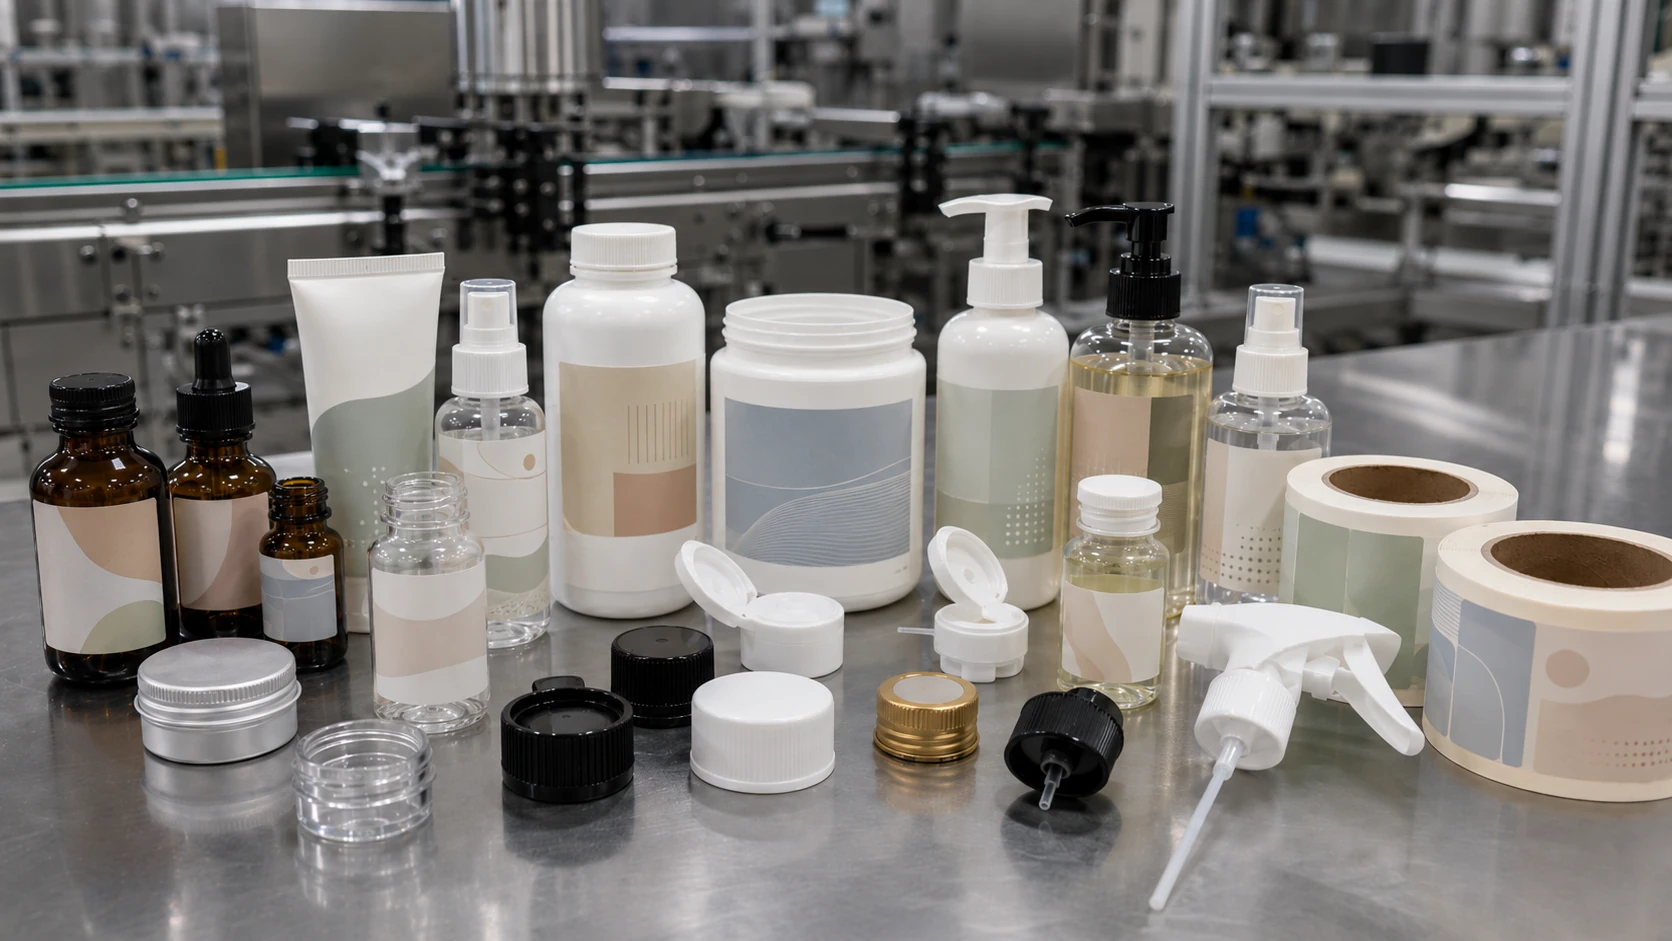
Bottle material and shape affect the nozzle, the guides, and the conveyor. Glass handles hot-fill temperatures. PET is convenient and has thermal limits. HDPE jerrycans are common for bulk. At Level 3, the same bottle decides whether infeed is a receiving table, a turntable feeding in sequence, or a custom guide.
Screw caps, snap caps, pump caps, flip-tops, and aluminium ROPP closures each need their own capping setup. At Level 2 a person can still place a difficult cap. At Level 3 the cap has to be lifted, sorted, oriented, and released into the capper. Those are separate checks.
Cylindrical bottles usually take a wrap-around label. Flat oval bottles take front-and-back labels. A wet neck hurts adhesion, so a clean cutoff comes before the labeler is specified.
Common mistakes
| Mistake | What to do instead |
|---|---|
| Buying for a hoped-for output | Specify the output you must hold on a named bottle |
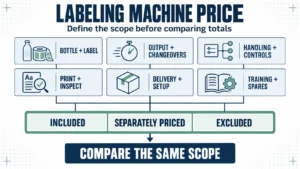
| Comparing only the purchase price | Include cleaning, spares, changeover, and the next station |
| Ignoring changeover | Ask how your product mix is cleaned and changed |
| Speeding up only the filler | Add capping or labeling when those hand steps are slow |
| Treating a cap elevator as the whole cap-feeding system | Confirm sorting, orientation, and the drop into the capper |
| Treating every loose bottle as ready for one standard infeed | Match LEKA-BU, or a simpler receiving setup, to how bottles arrive |
| Assuming the semi-automatic filler you own will bolt onto an automatic line | Check frame, discharge height, and controls before it is reused |
| Calling carton packing a condition for a complete bottling line | Filling, capping, and labeling can be a complete bottling line |
| Slowing the whole line to fight foam | Evaluate overflow or a diving nozzle on the actual foam |
| Specifying machines before samples exist | Confirm bottle, cap, and label first |
What to send
First message. Product name, photos of the bottle and cap, and target output. That is enough for a first configuration.
When the discussion continues, add what you have:
| Item | Why it matters | Example |
|---|---|---|
| Viscosity, foam, particles, corrosion, temperature, or a sample | Sets the filling method | Foaming body wash, or a sample |
| Fill volumes | Sets nozzle and machine size | The sizes you actually run |
| Bottle material, height, width, neck, and whether it stands | Sets guides, conveyor, and infeed | PET round bottle, photo attached |
| How empty bottles arrive | Sets receiving, turntable feeding, or manual placement | Loose in a carton, or already oriented |
| Cap sample, including dip tube where there is one | Sets the capper, and any lift, sort, and drop | Flip-top, sample available |
| Label position, and empty or full bottle | Sets the labeler | Wrap-around after filling |
| Date and batch position | Sets the coding station | On the label, the cap, or the bottle |
| Foil, and neck size | Decides whether a foil sealer is in the order | Foil under the cap |
| Output on one named bottle | Sets heads and the slowest station | Daily or hourly number you must finish |
| Which job is slow today | Picks the configuration | We cap by hand |
| Voltage, phase, and air | Matches the supply | Local voltage and whether air is available |
| Room, columns, and doors | Sets straight, L, or U layout | A simple sketch |
| Cartons: hand pack, or sealing on a machine | Keeps end-of-line work in or out of this order | Hand pack for now |
A configuration matched to the product
The useful scope is the one that fits the product, the bottles, the output, and the people on the shift. LEKA Pack Line configures filling, capping, labeling, coding, and conveying around that brief. The filling method can continue as stations are added. Each existing machine is checked before it is connected to a faster line.
Send the product, the bottle and cap photos, and the target output. Engineers reply with the configuration to evaluate. Where it helps, the product is tested before you commit.
Frequently asked questions
How do I choose a filling machine for my product?
Start with thickness, foam, particles, and corrosion. Those traits point to a filling method to evaluate. The bottle, cap, label, and target output then decide how much of the line belongs in this order. Share the product and the bottle, or a sample, before the model is chosen.
Should I buy a semi-automatic or an automatic filling machine?
A semi-automatic filling machine suits small batches, a limited budget, and frequent changes. An automatic single filler suits a steadier volume where one person supervises the filling station. Both are Level 1. Add capping or labeling when that hand step is slow. Whether your current semi-automatic machine can join an automatic conveyor is checked on that machine.
What filling machine is suitable for sauce or ketchup?
Piston filling is a common choice for sauces and ketchup. It fits when the particle size, the viscosity, and the product path allow the pieces to pass and the dose to stay volumetric. A pump is compared when those three points suit it. On a narrow mouth the nozzle has to enter cleanly, and an anti-drip nozzle helps a thick product cut off. Confirm with samples. Sauce-specific options are on the sauce filling equipment page.
What filling machine is best for foaming liquids like shampoo or detergent?
There is more than one workable method. Overflow filling is often evaluated for thin foaming products that need a level fill. For shampoo, body wash, and many detergents, a pump filler with a diving nozzle is a configuration to evaluate: the nozzle fills from beneath the rising surface so the product is less likely to trap air. Viscosity and foam level decide which trial comes first. See the liquid soap filling machine page.
What filling machine is best for edible oil?
Gravity filling is the usual start for thin oils. Piston filling is the usual comparison for thicker oils. Net-weight filling is the usual comparison for jerrycans and drums. Anti-drip nozzles keep necks clean. Food-grade stainless steel and a suitable cleaning design support hygiene. The oil and the container decide the trial. See the cooking oil packaging guide.
How do I fill corrosive liquids like bleach or acid safely?
Select all wetted parts and seals using the exact chemical composition, concentration, operating temperature, and cleaning conditions. For sodium hypochlorite bleach, do not assume 316L stainless steel is suitable. Compatible plastics and seal materials should be confirmed for the actual formulation before the machine is specified.
When should I add bottle feeding and a cap elevator?
Add them when placing bottles or caps takes the shift, and the bottle and cap are stable enough to test. LEKA-BU sends bottles from a variable-frequency turntable onto the conveyor in sequence, or works as a receiving machine. The setup follows the bottle and the way bottles arrive. LEKA-CE lifts caps to the capper’s collection or sorting section. Sorting, orientation, and the drop into the capper are confirmed with the cap and the capping machine. Operators still replenish bottles and caps; bottle placement depends on the confirmed infeed design.
When do I need a complete filling line instead of just a filler?
Add a capper or a labeler when that hand step slows the day. Filling, capping, and labeling can be a complete bottling line. Add bottle feeding and cap feeding when piece-by-piece handling is the constraint, after the infeed and the cap path are defined. Add inspection, coding, conveyor changes, or carton sealing when those items are part of the order. Carton packing is not required for that bottling line to be complete. The line runs at its slowest station.
What information should I send before asking for a quote?
For the first reply: the product, photos of the bottle and cap, and the target output. As the configuration is narrowed, add viscosity or a sample, foam, particles, corrosion, fill volume, how bottles arrive, the label method, voltage, layout, and whether cartons are in this order.
Can I start with a semi-automatic machine and upgrade later?
Yes. You can keep the filling method and add a capper, a labeler, bottle and cap feeding, or downstream packing when you need them. You can also order several stations together, or only the one machine that is missing. The semi-automatic filler you already own is checked separately before it is connected to an automatic line. Opening the plant, on the equipment side, starts with the product and the bottle. Local permits and product registration stay with the buyer.
How many bottles per hour can a filling machine fill?
There is no single number. Output depends on the heads, the bottle, the viscosity, the method, and the slowest station in the scope you buy. A filler catalog figure describes the filler. The output guide shows how to read it against the line.